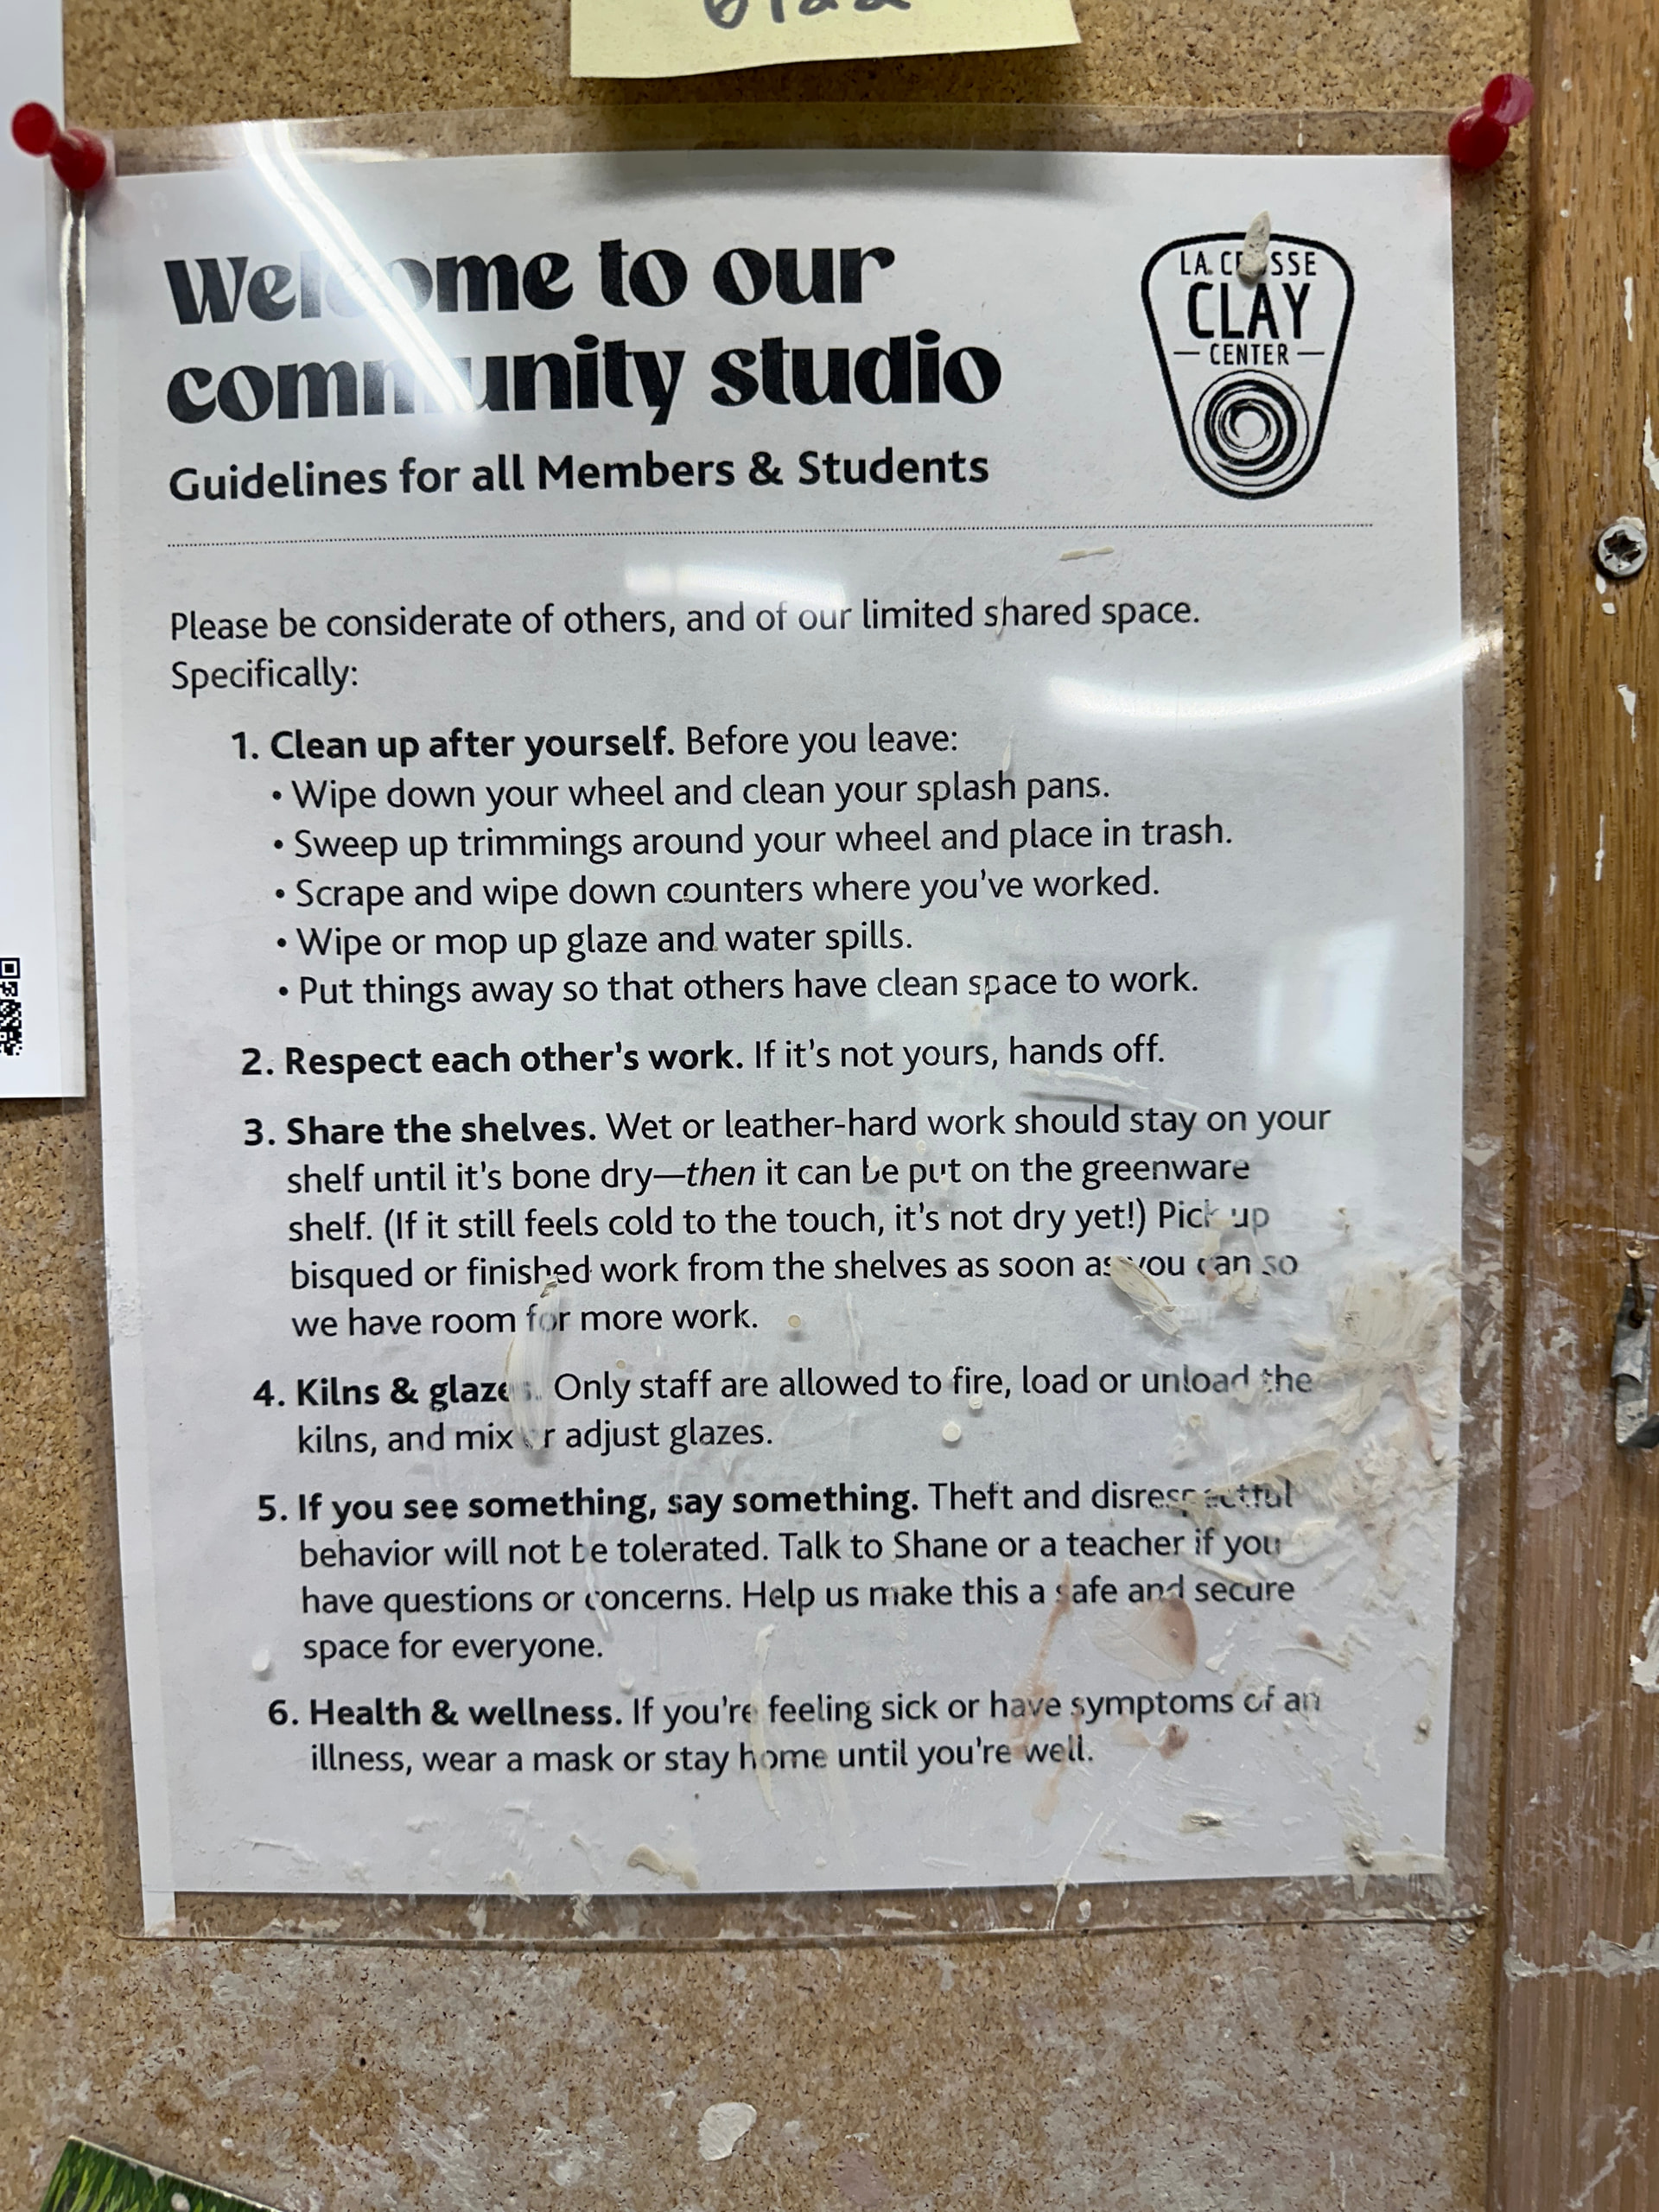
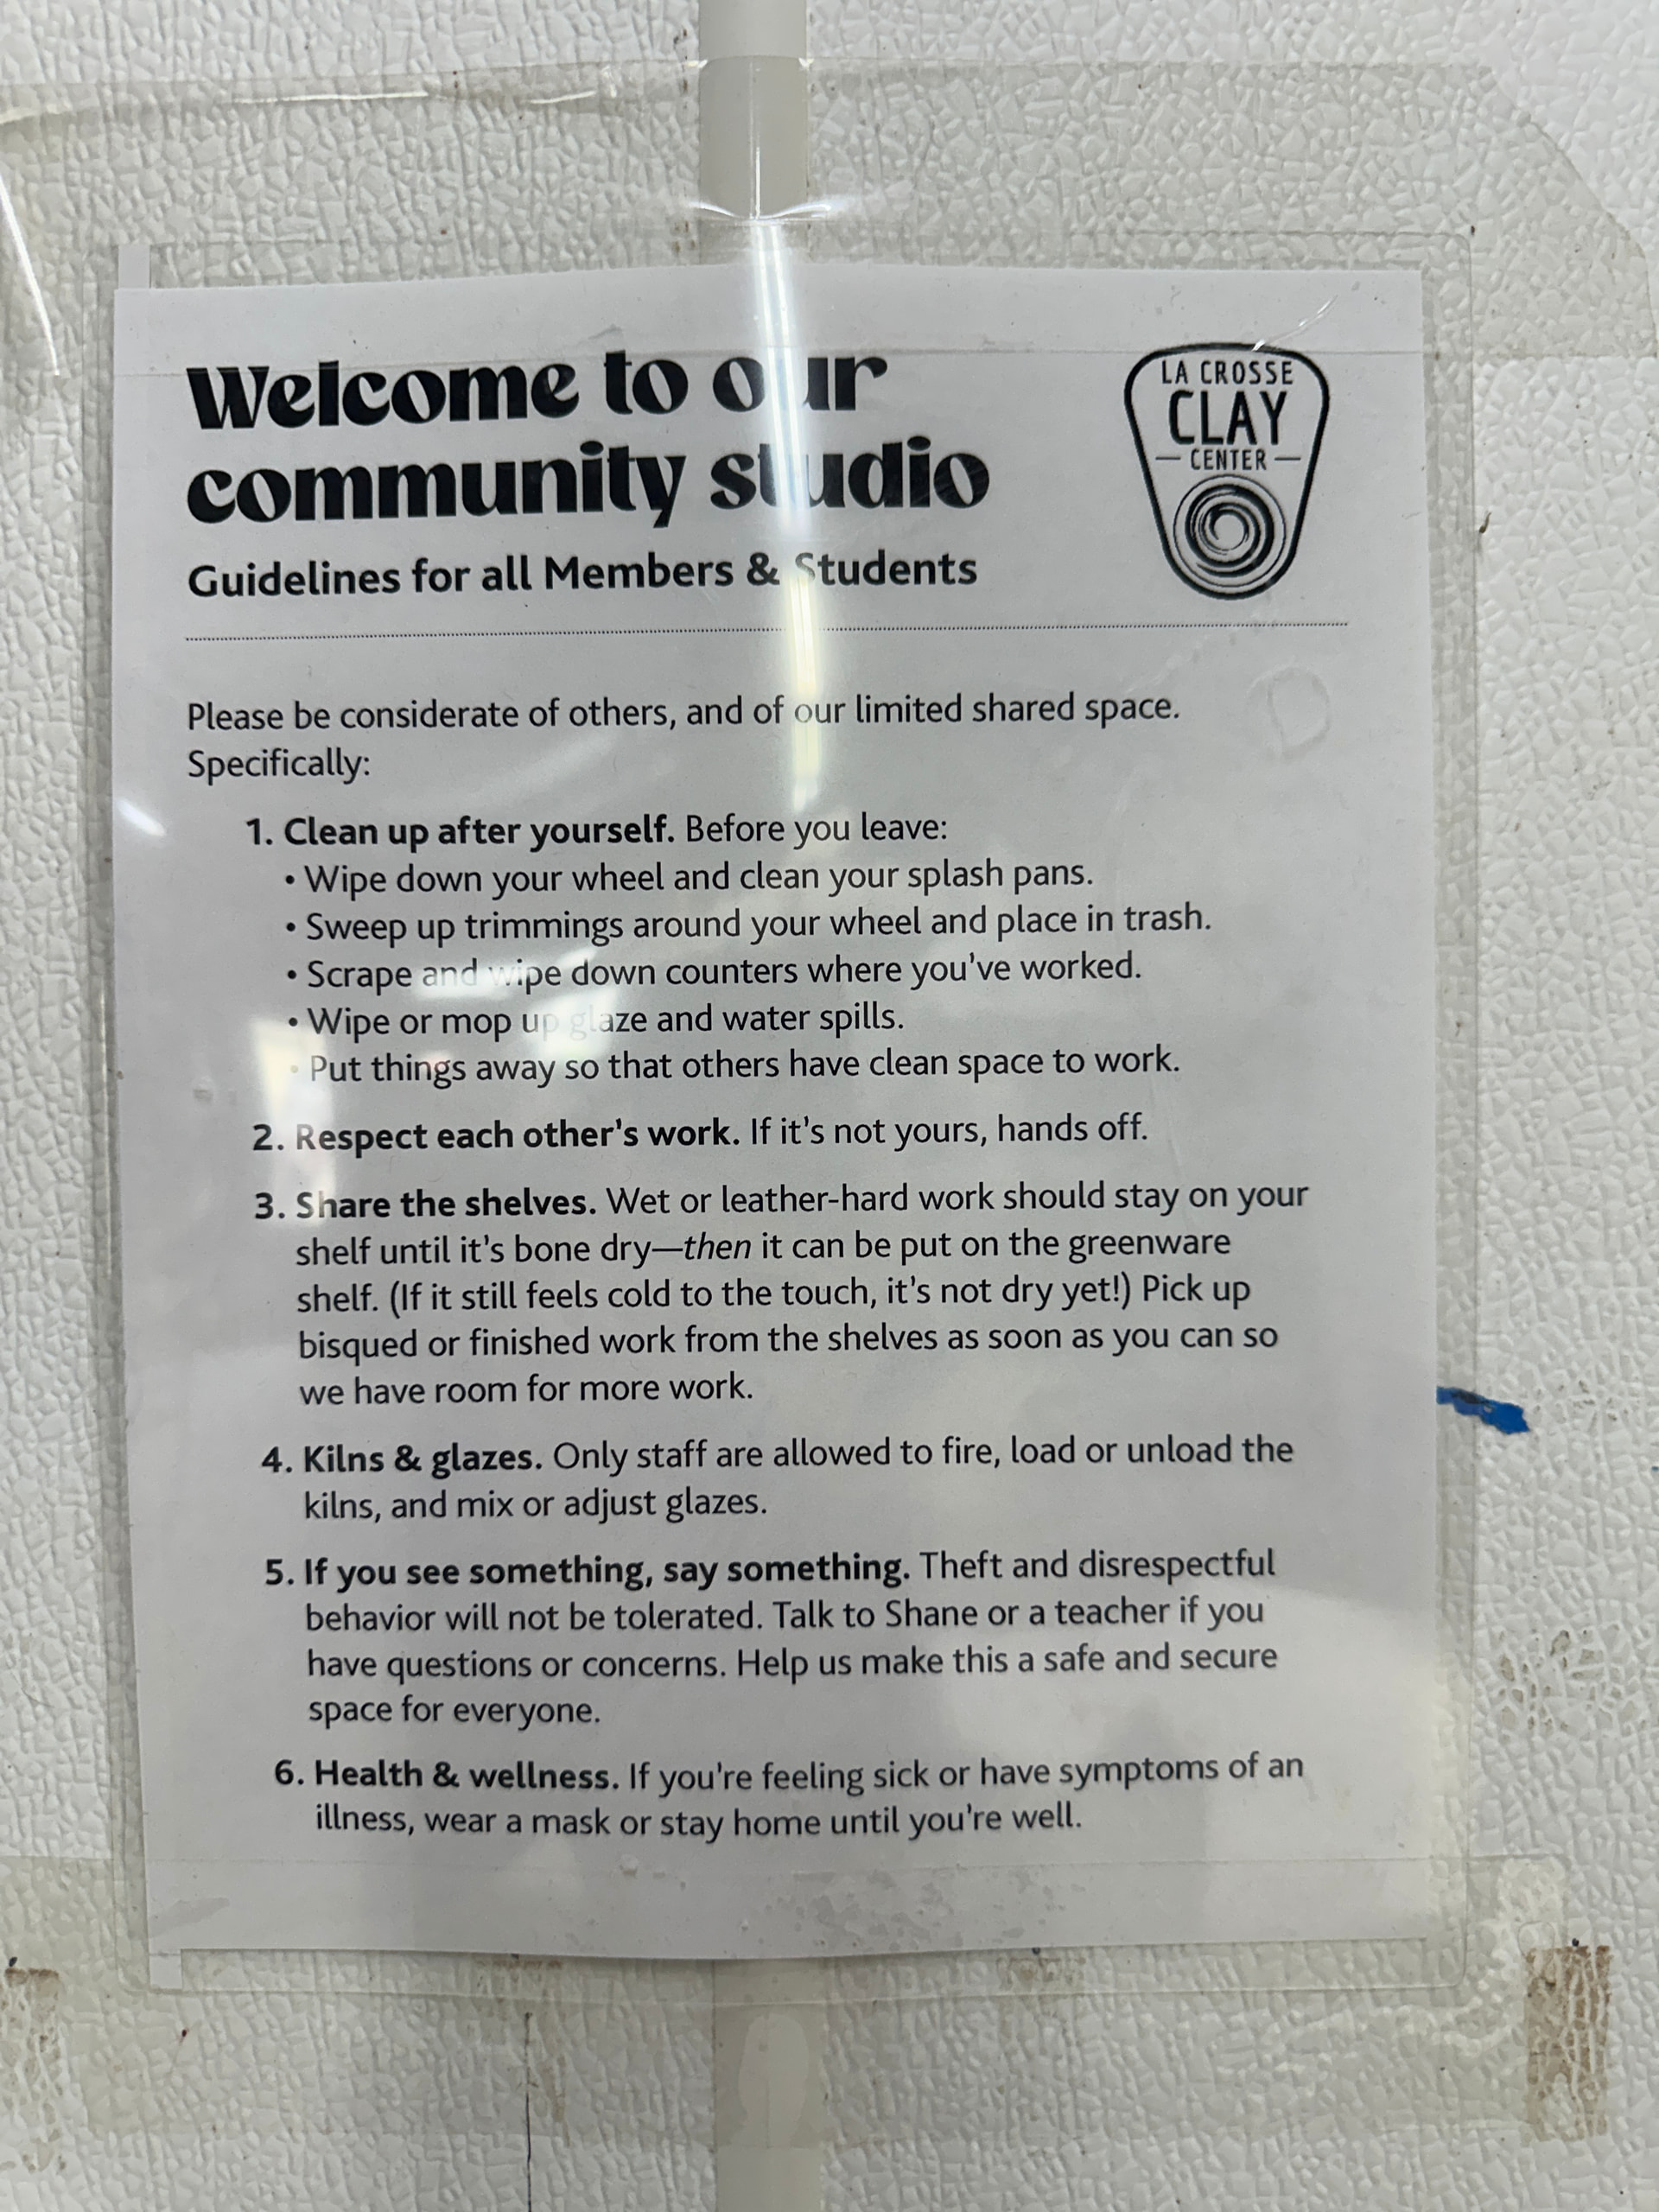
I’ll post some photos in the comments so that I can describe a little bit about each one. I’ll start with a couple of signs I realized just now that there are more that I probably didn’t get photos of but this is a good start these are duplicate signs in different rooms
1 Like
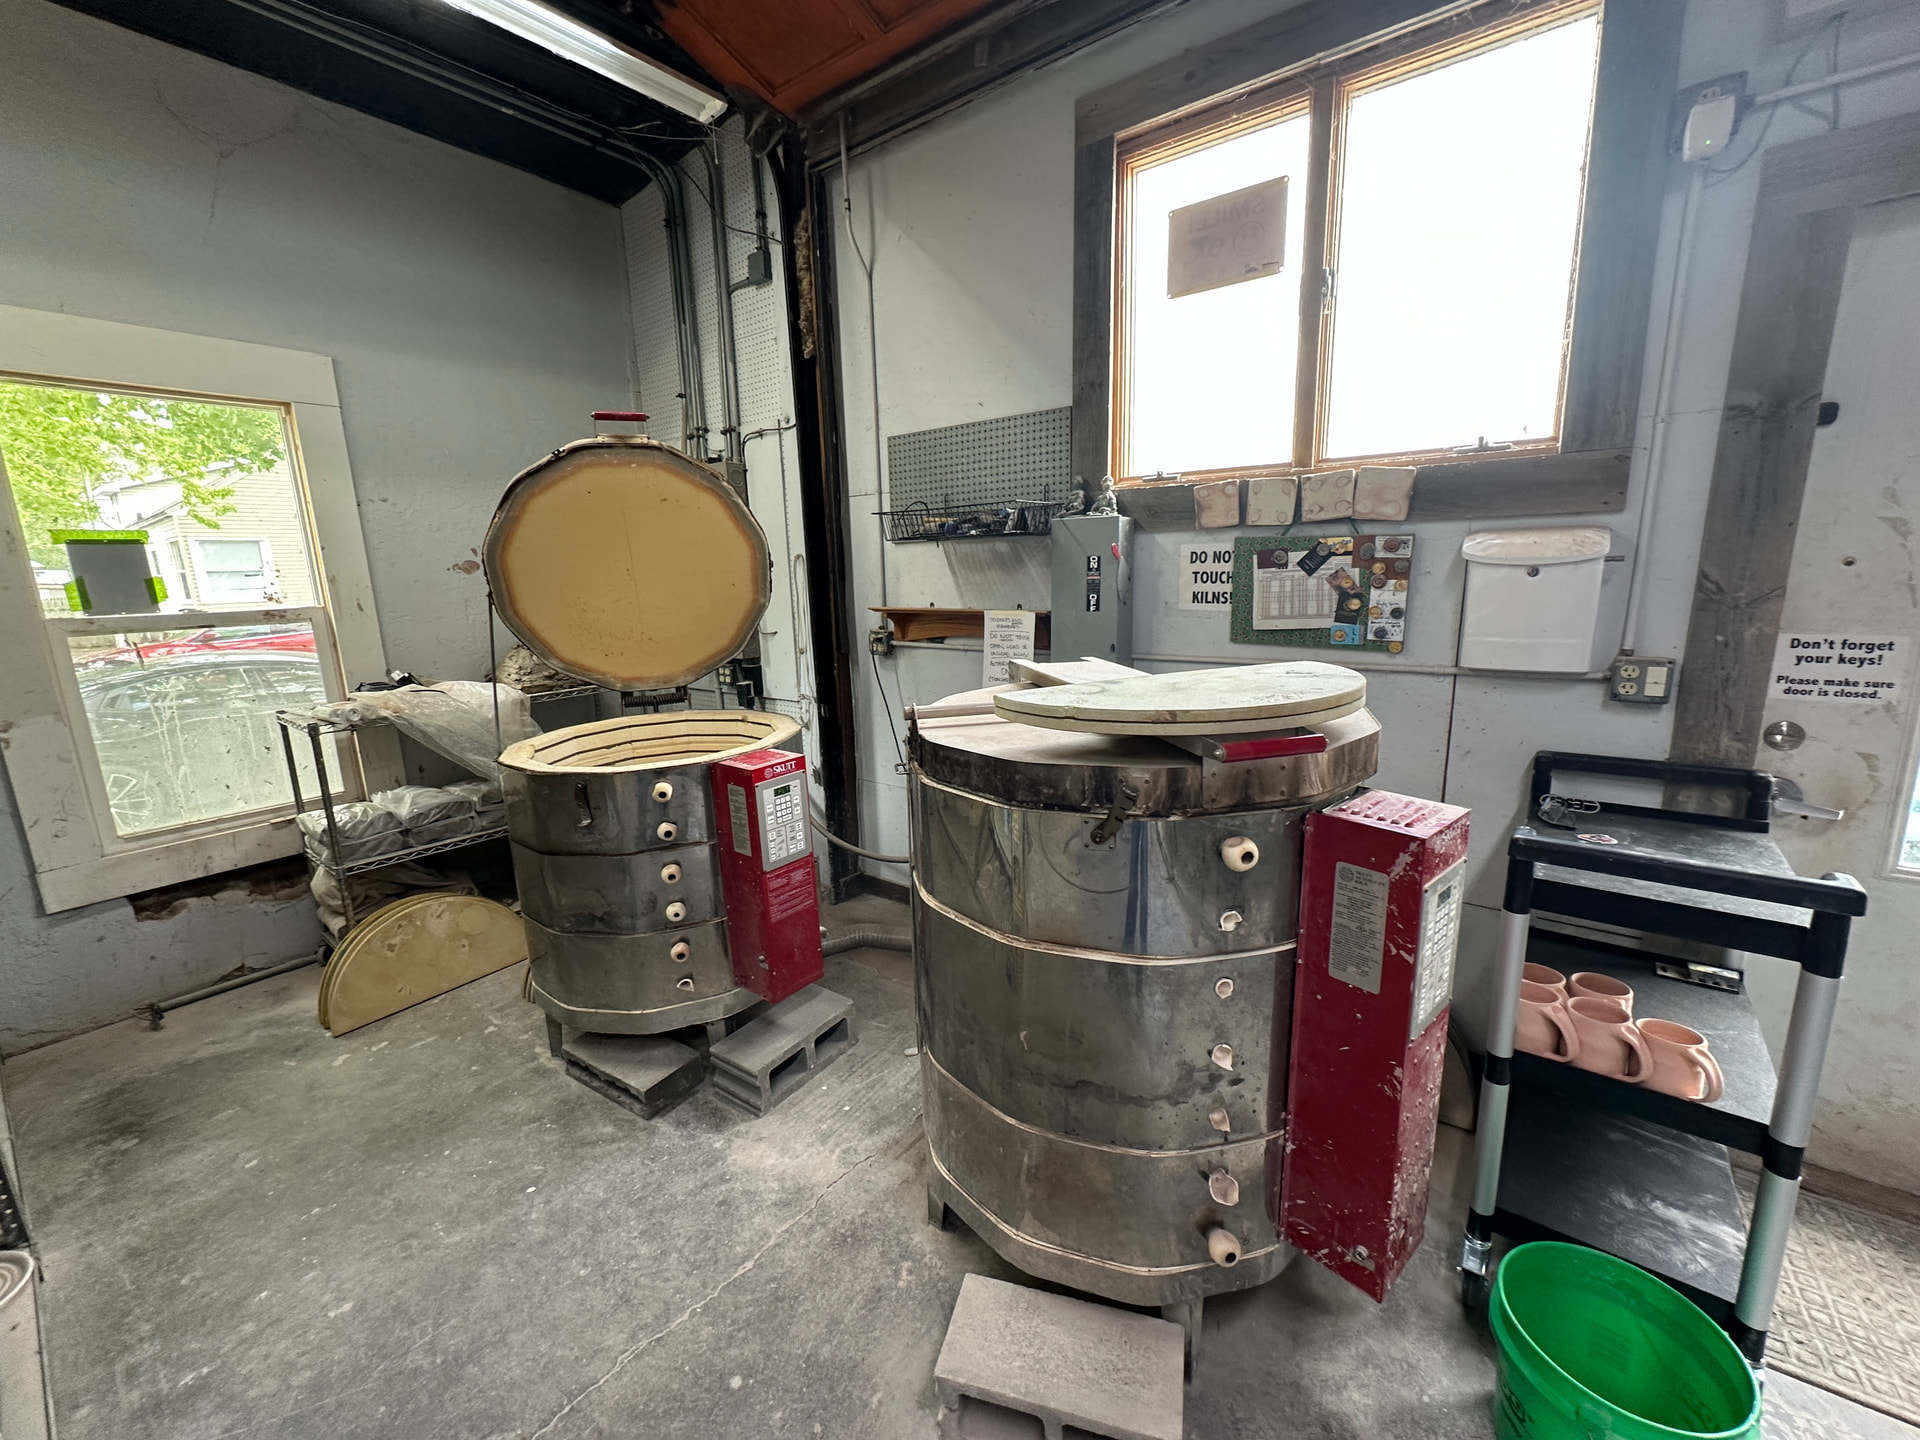
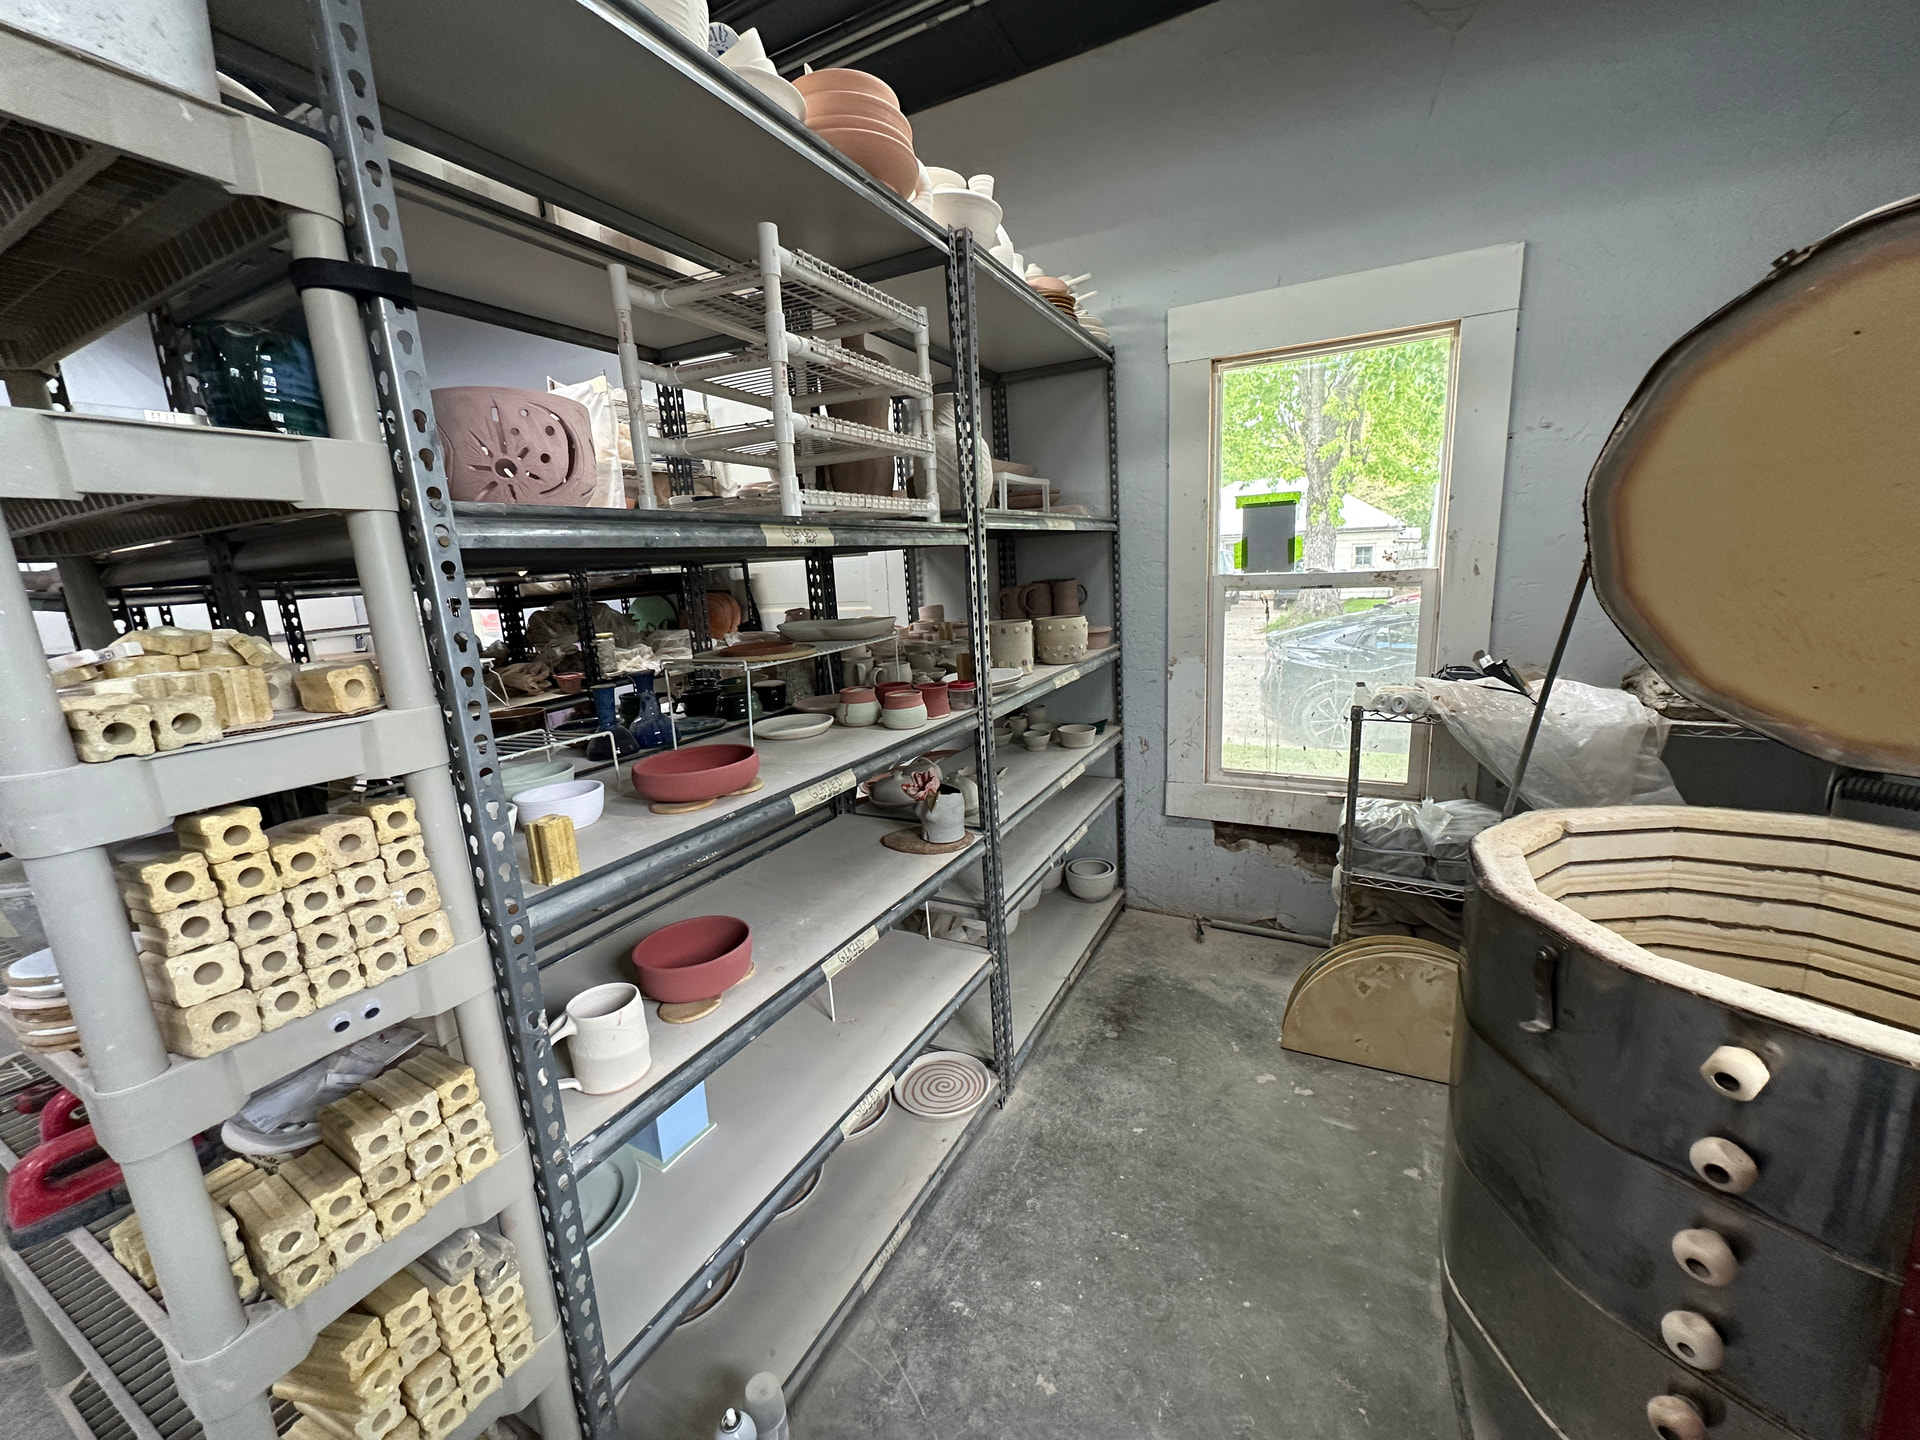
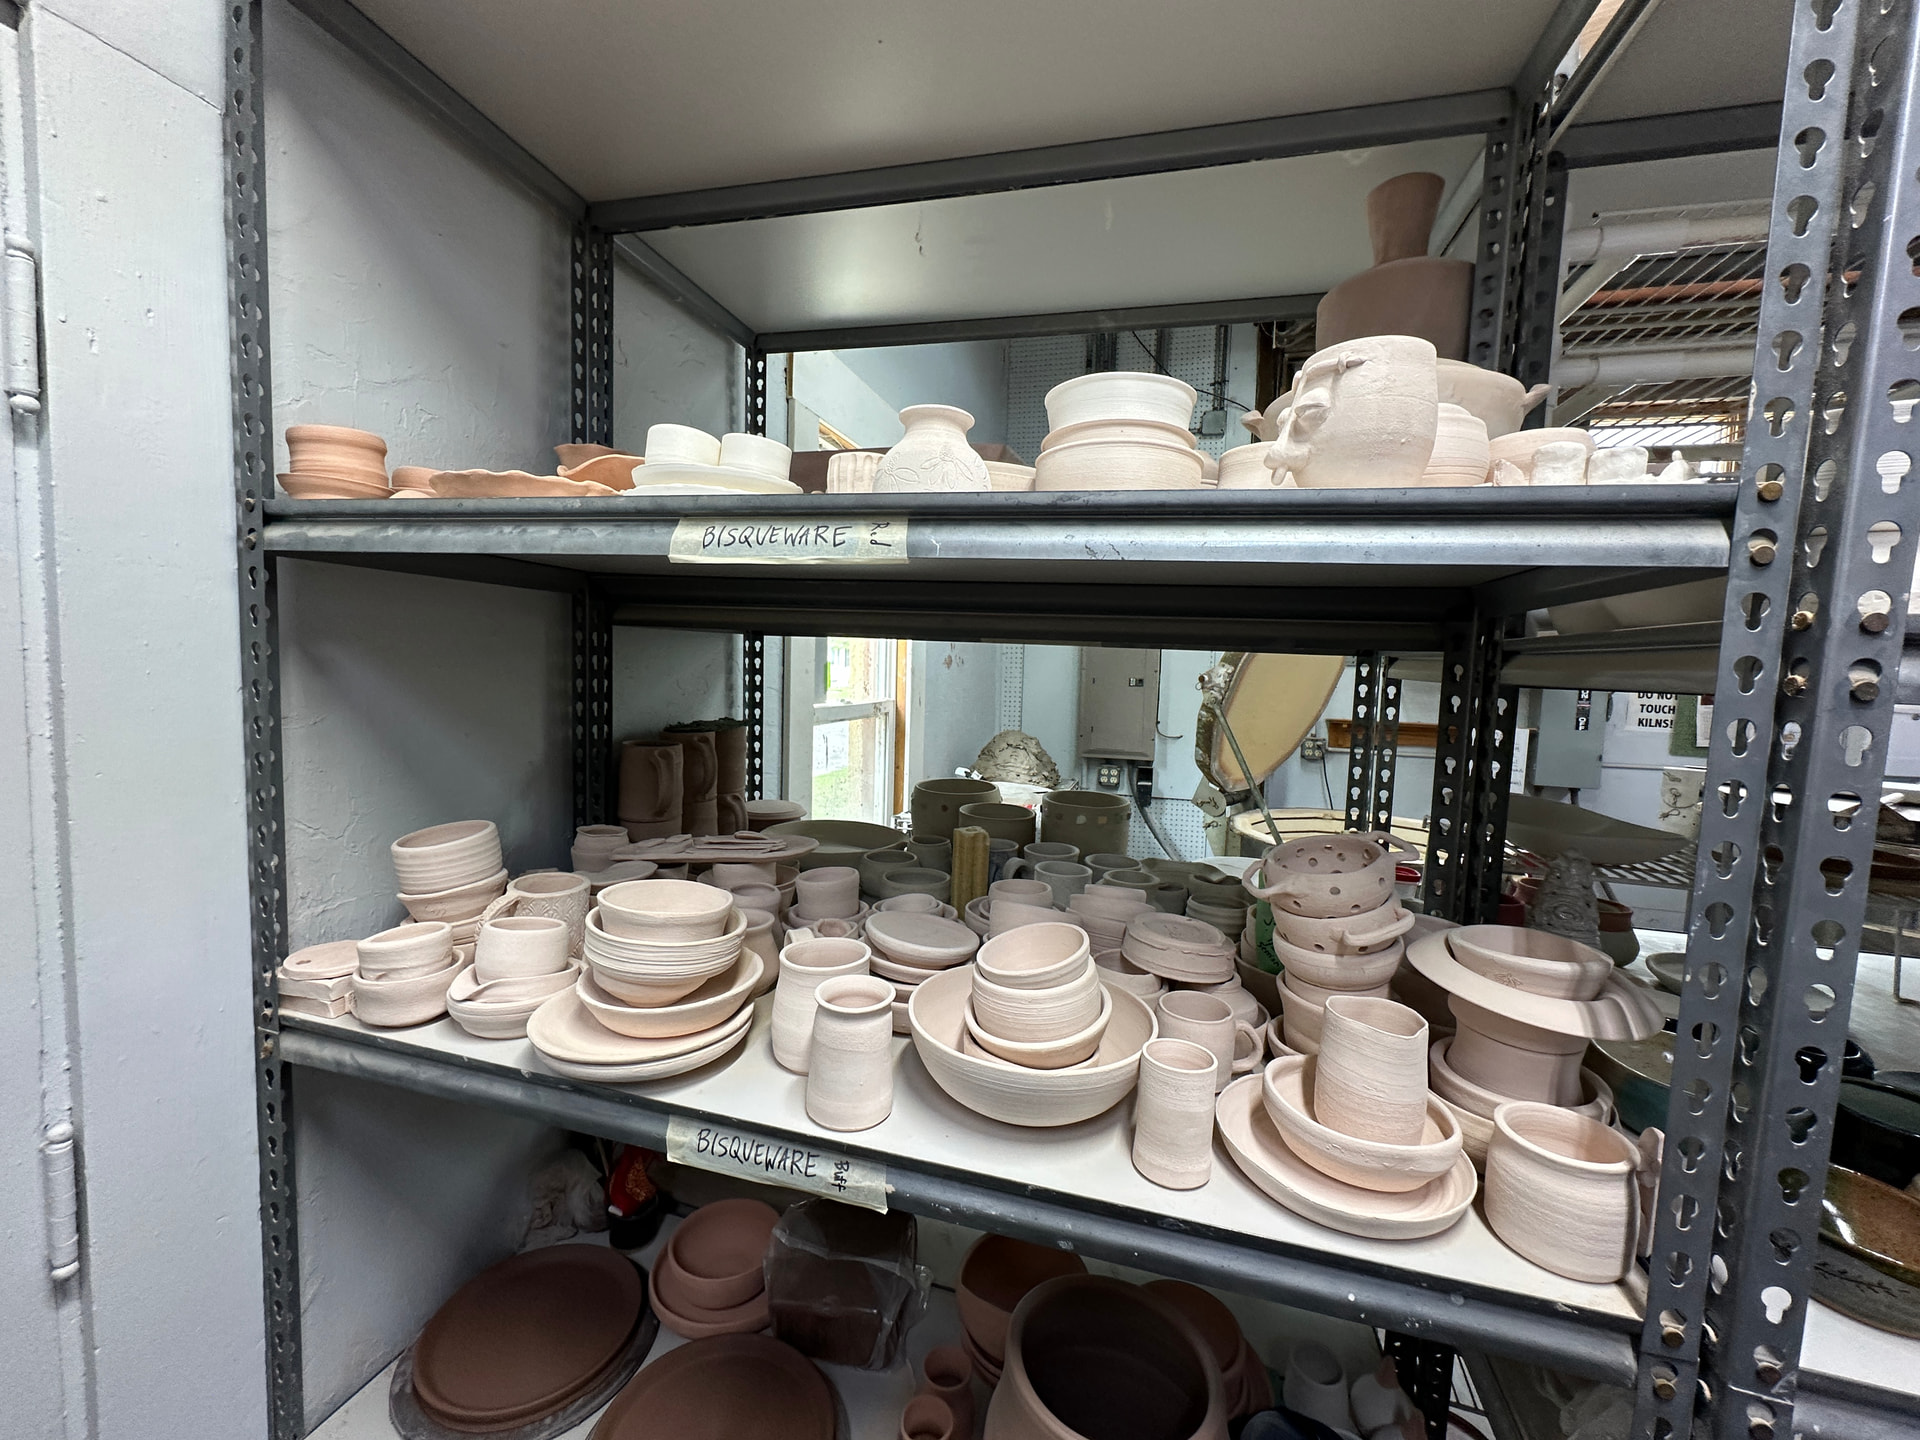
Kiln area Two kilns - one for bisque and one for glaze. items to be bisqued are place on the shelves in front of that kiln and items to be glazed are on those shelves. shelves are clearly marked there is a sign on the wall behind the kilns indicating who can run the kilns
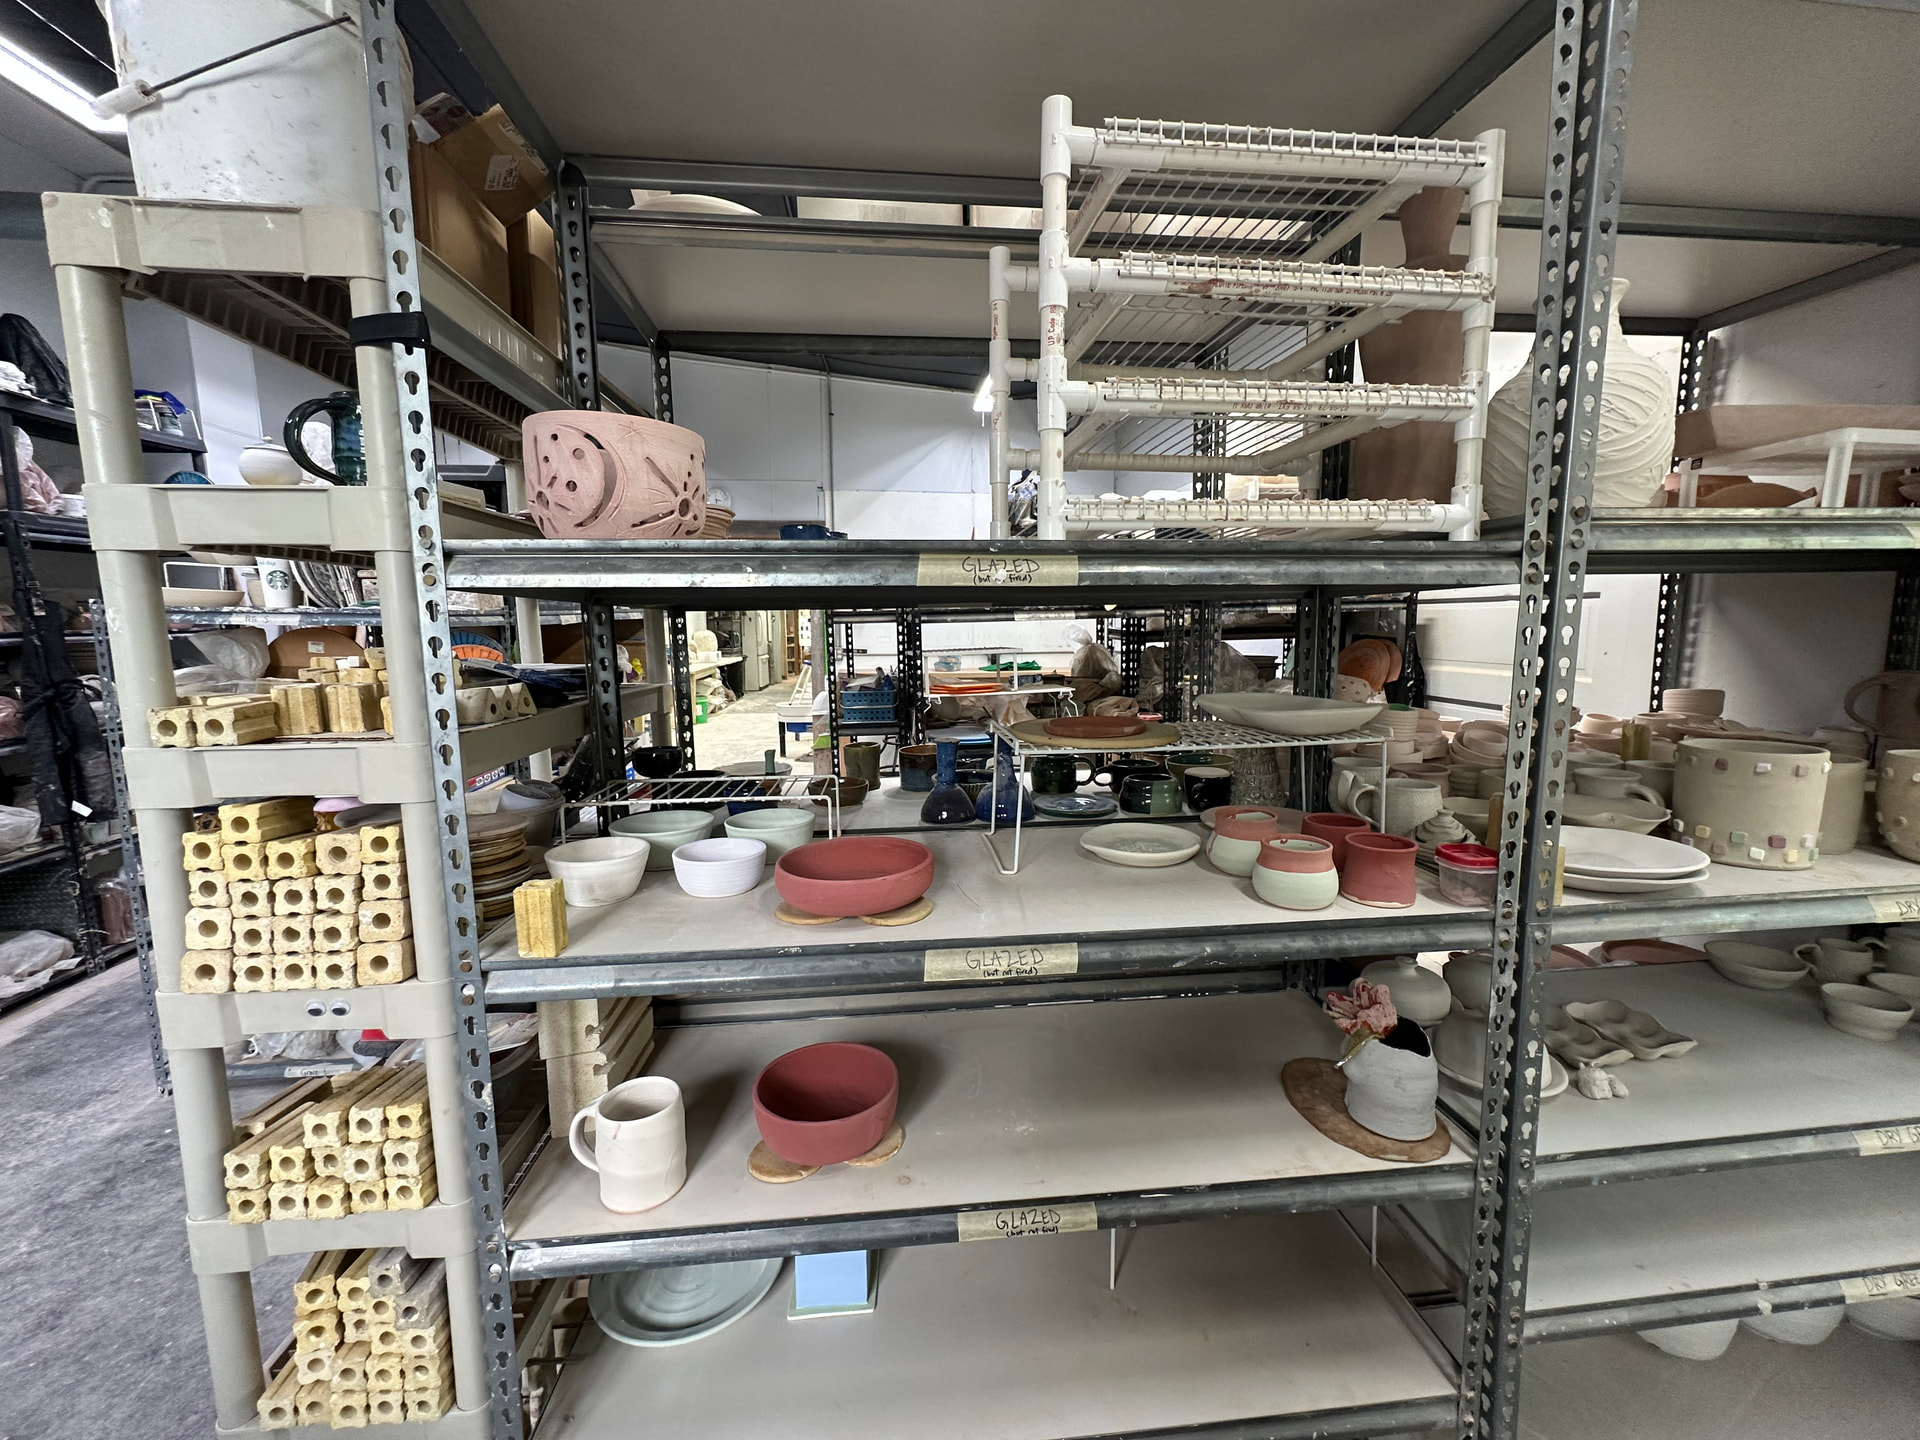
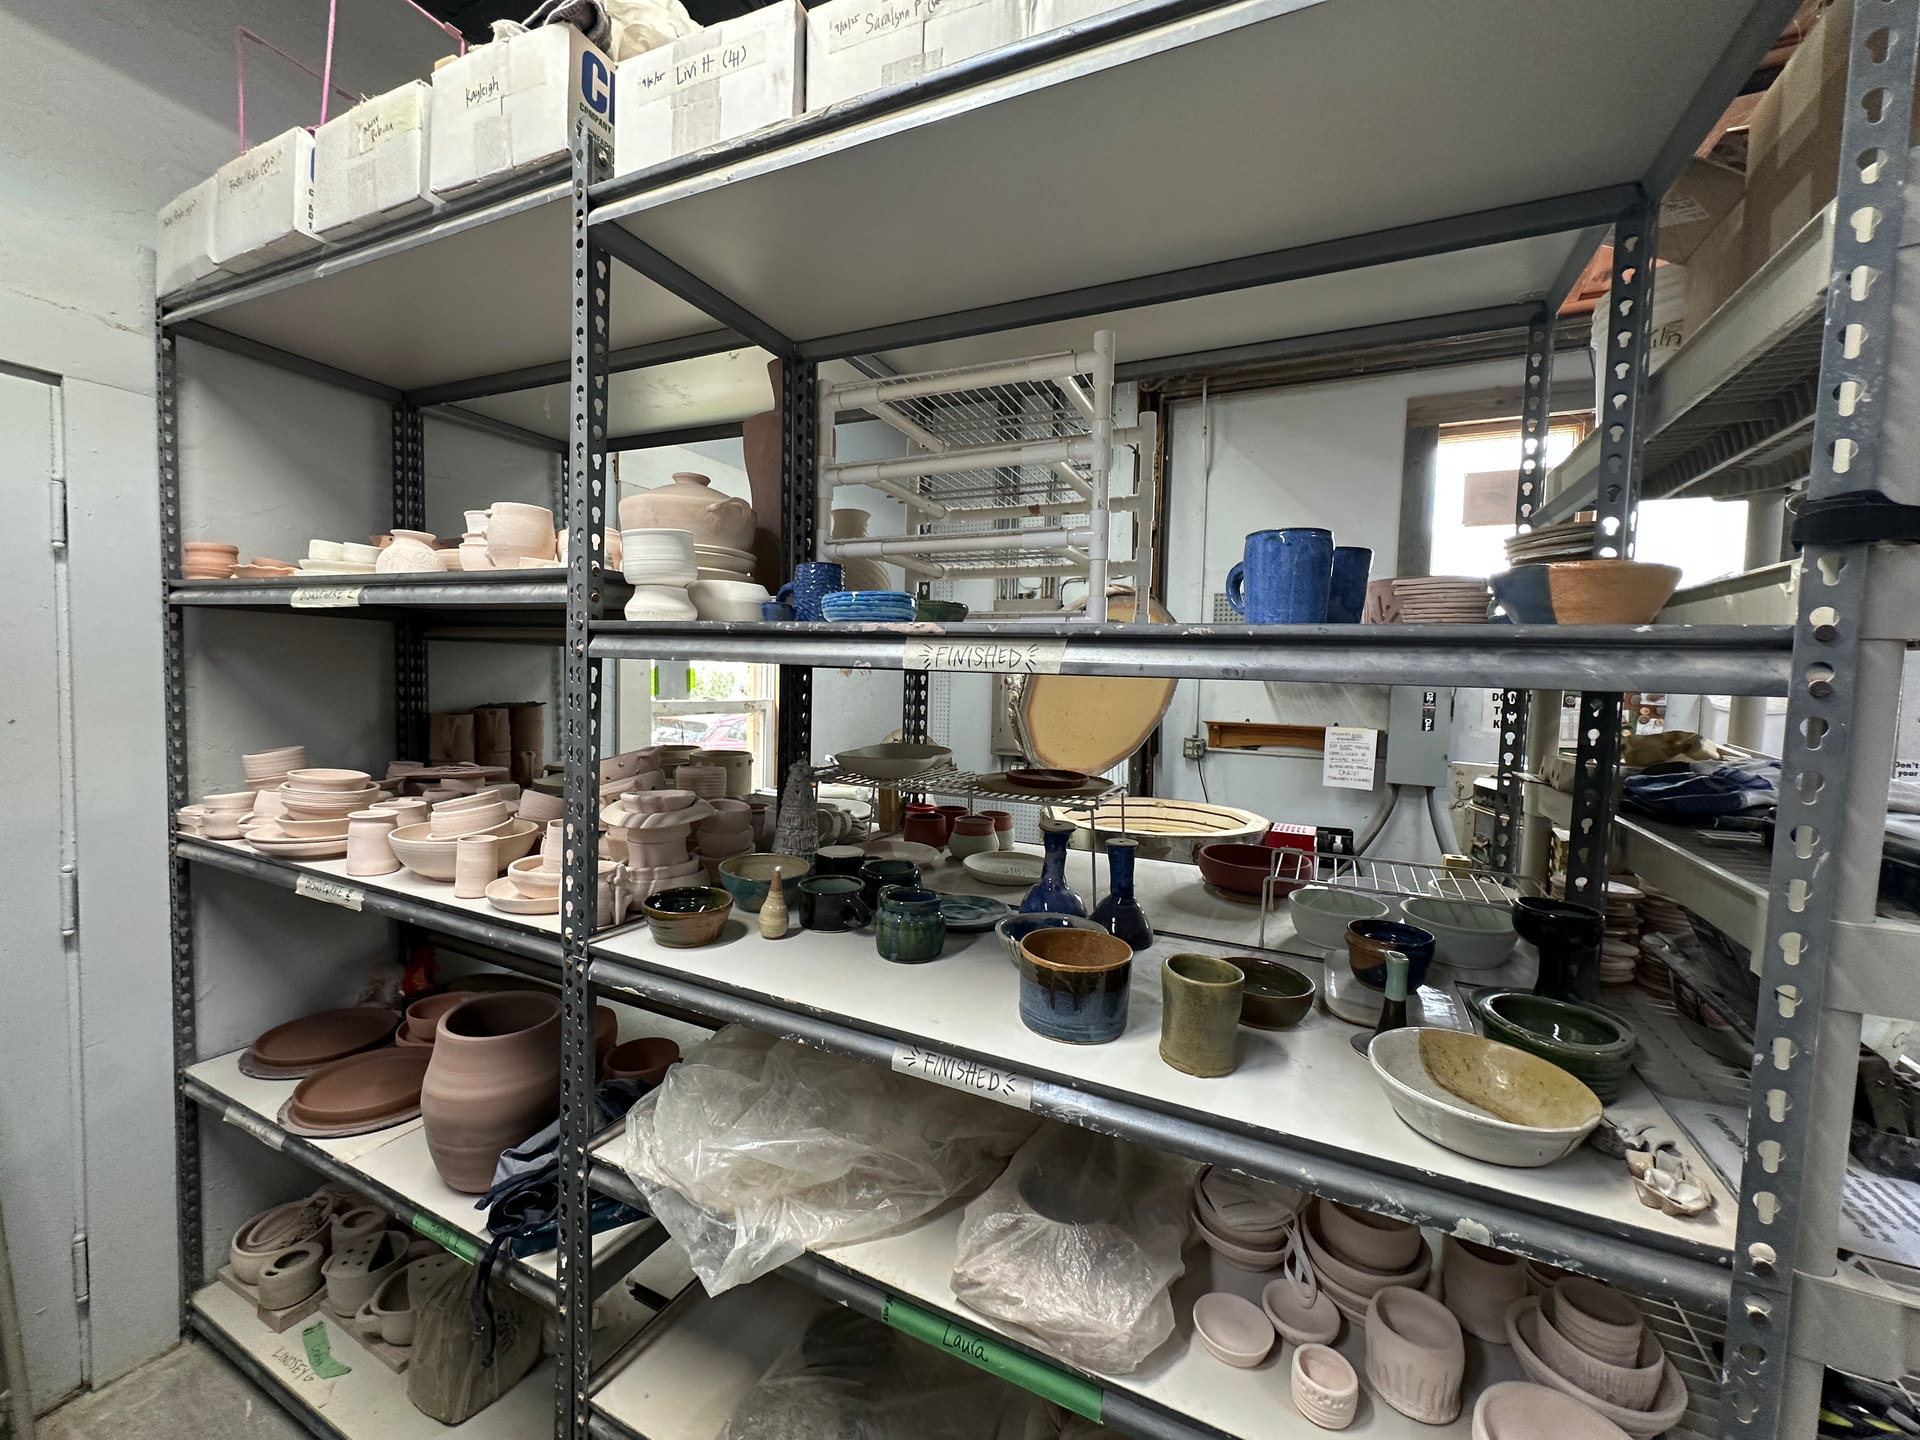
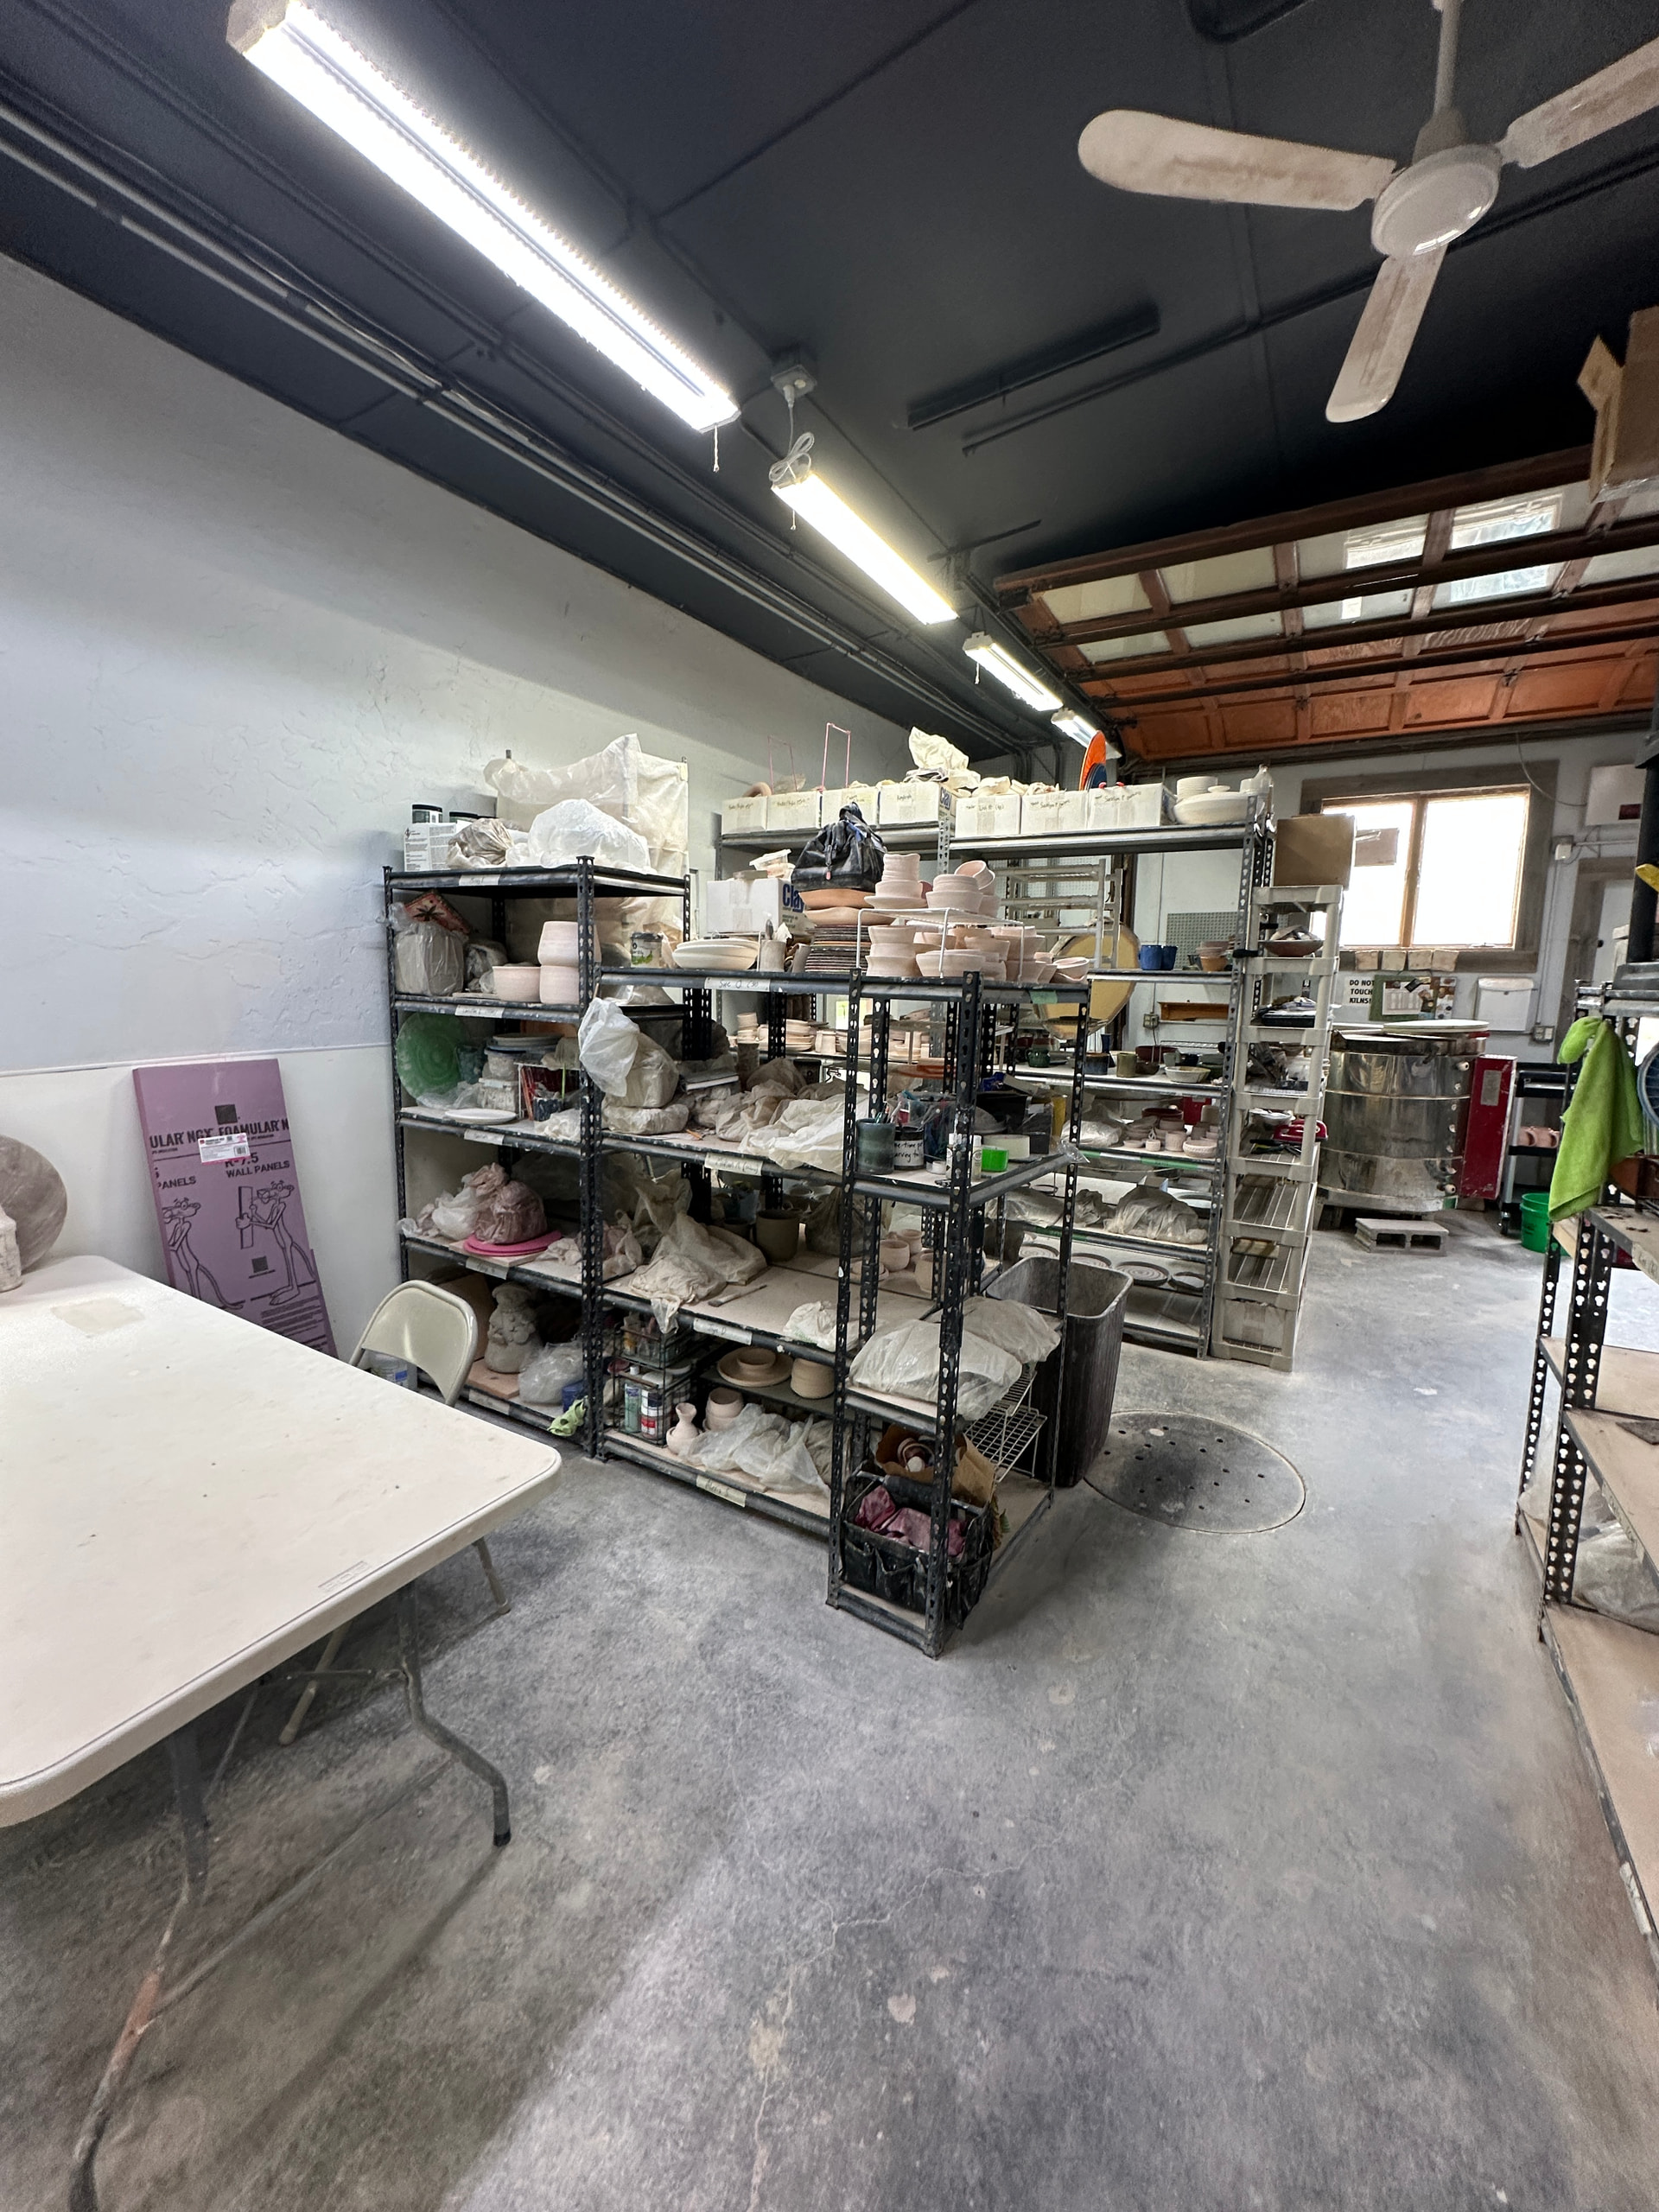
On the other side of those shelves are the shelves for items that come out of the kiln. This is overflow. They will put your item on your shelf if you are a member and they know your makers mark. So these shelves with items that came from the bisqued kiln and from the glaze kiln are items that are likely students who don’t have a membership (thus a smaller shelf for their stuff).
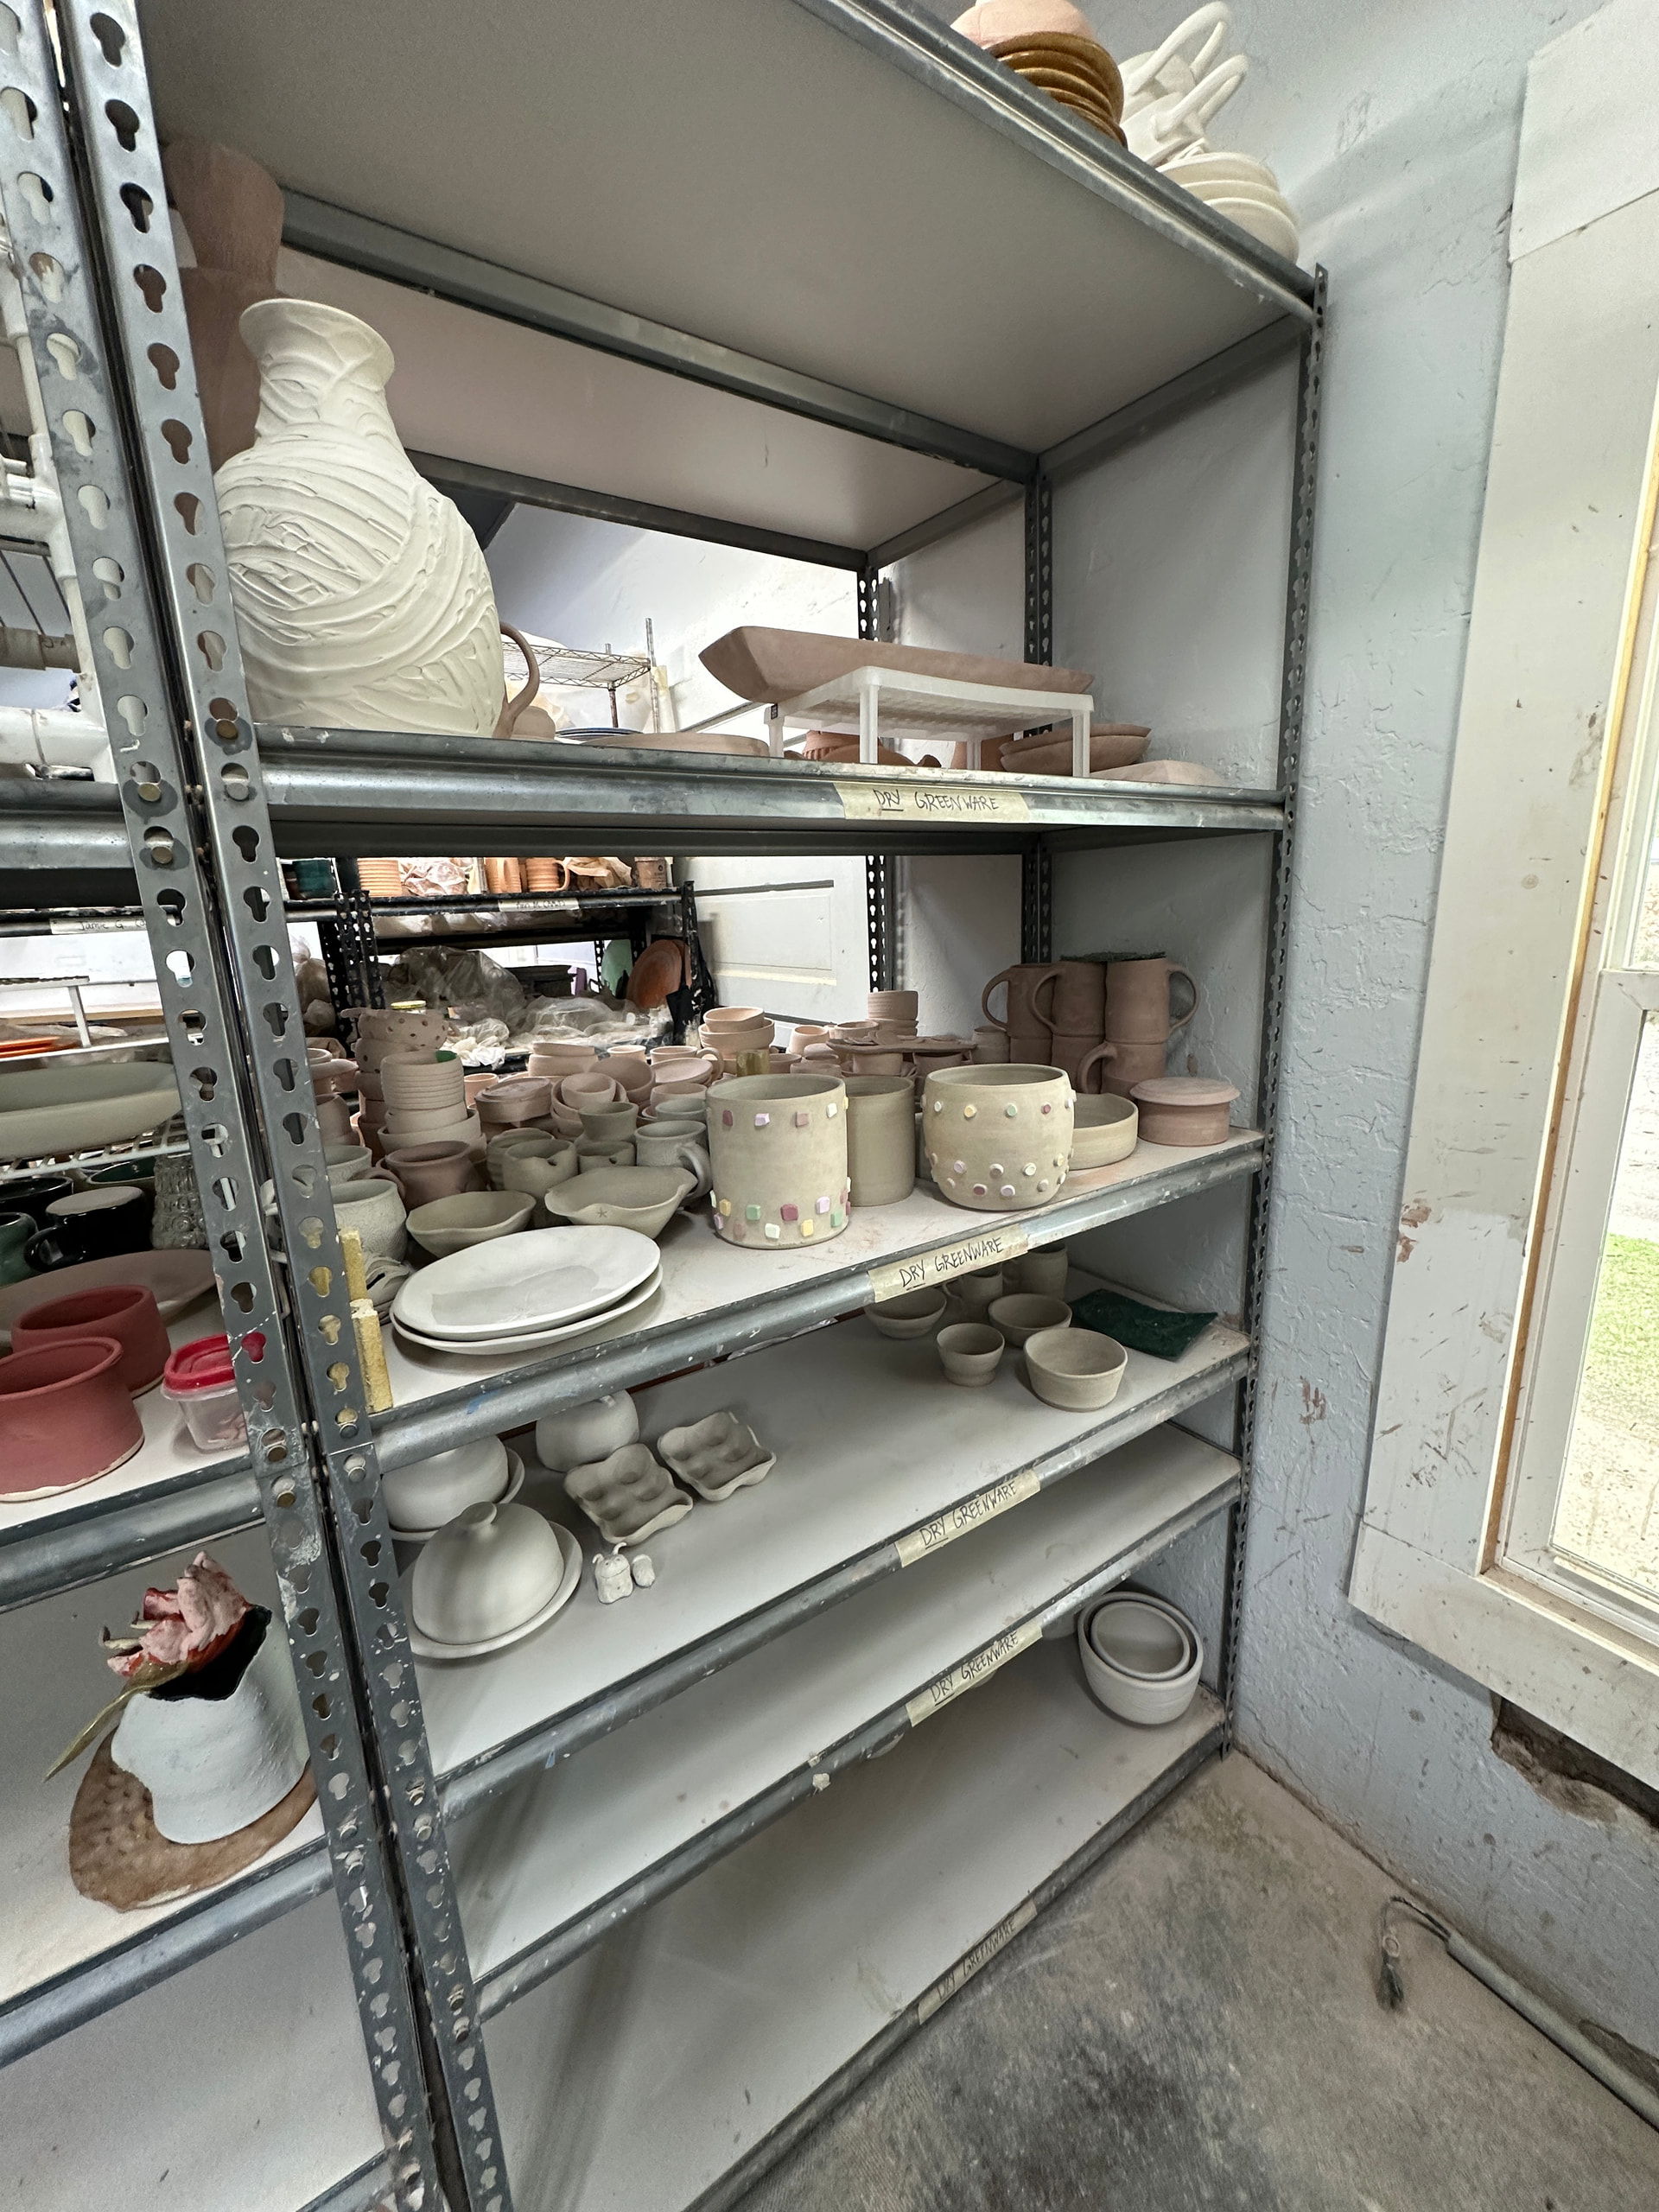
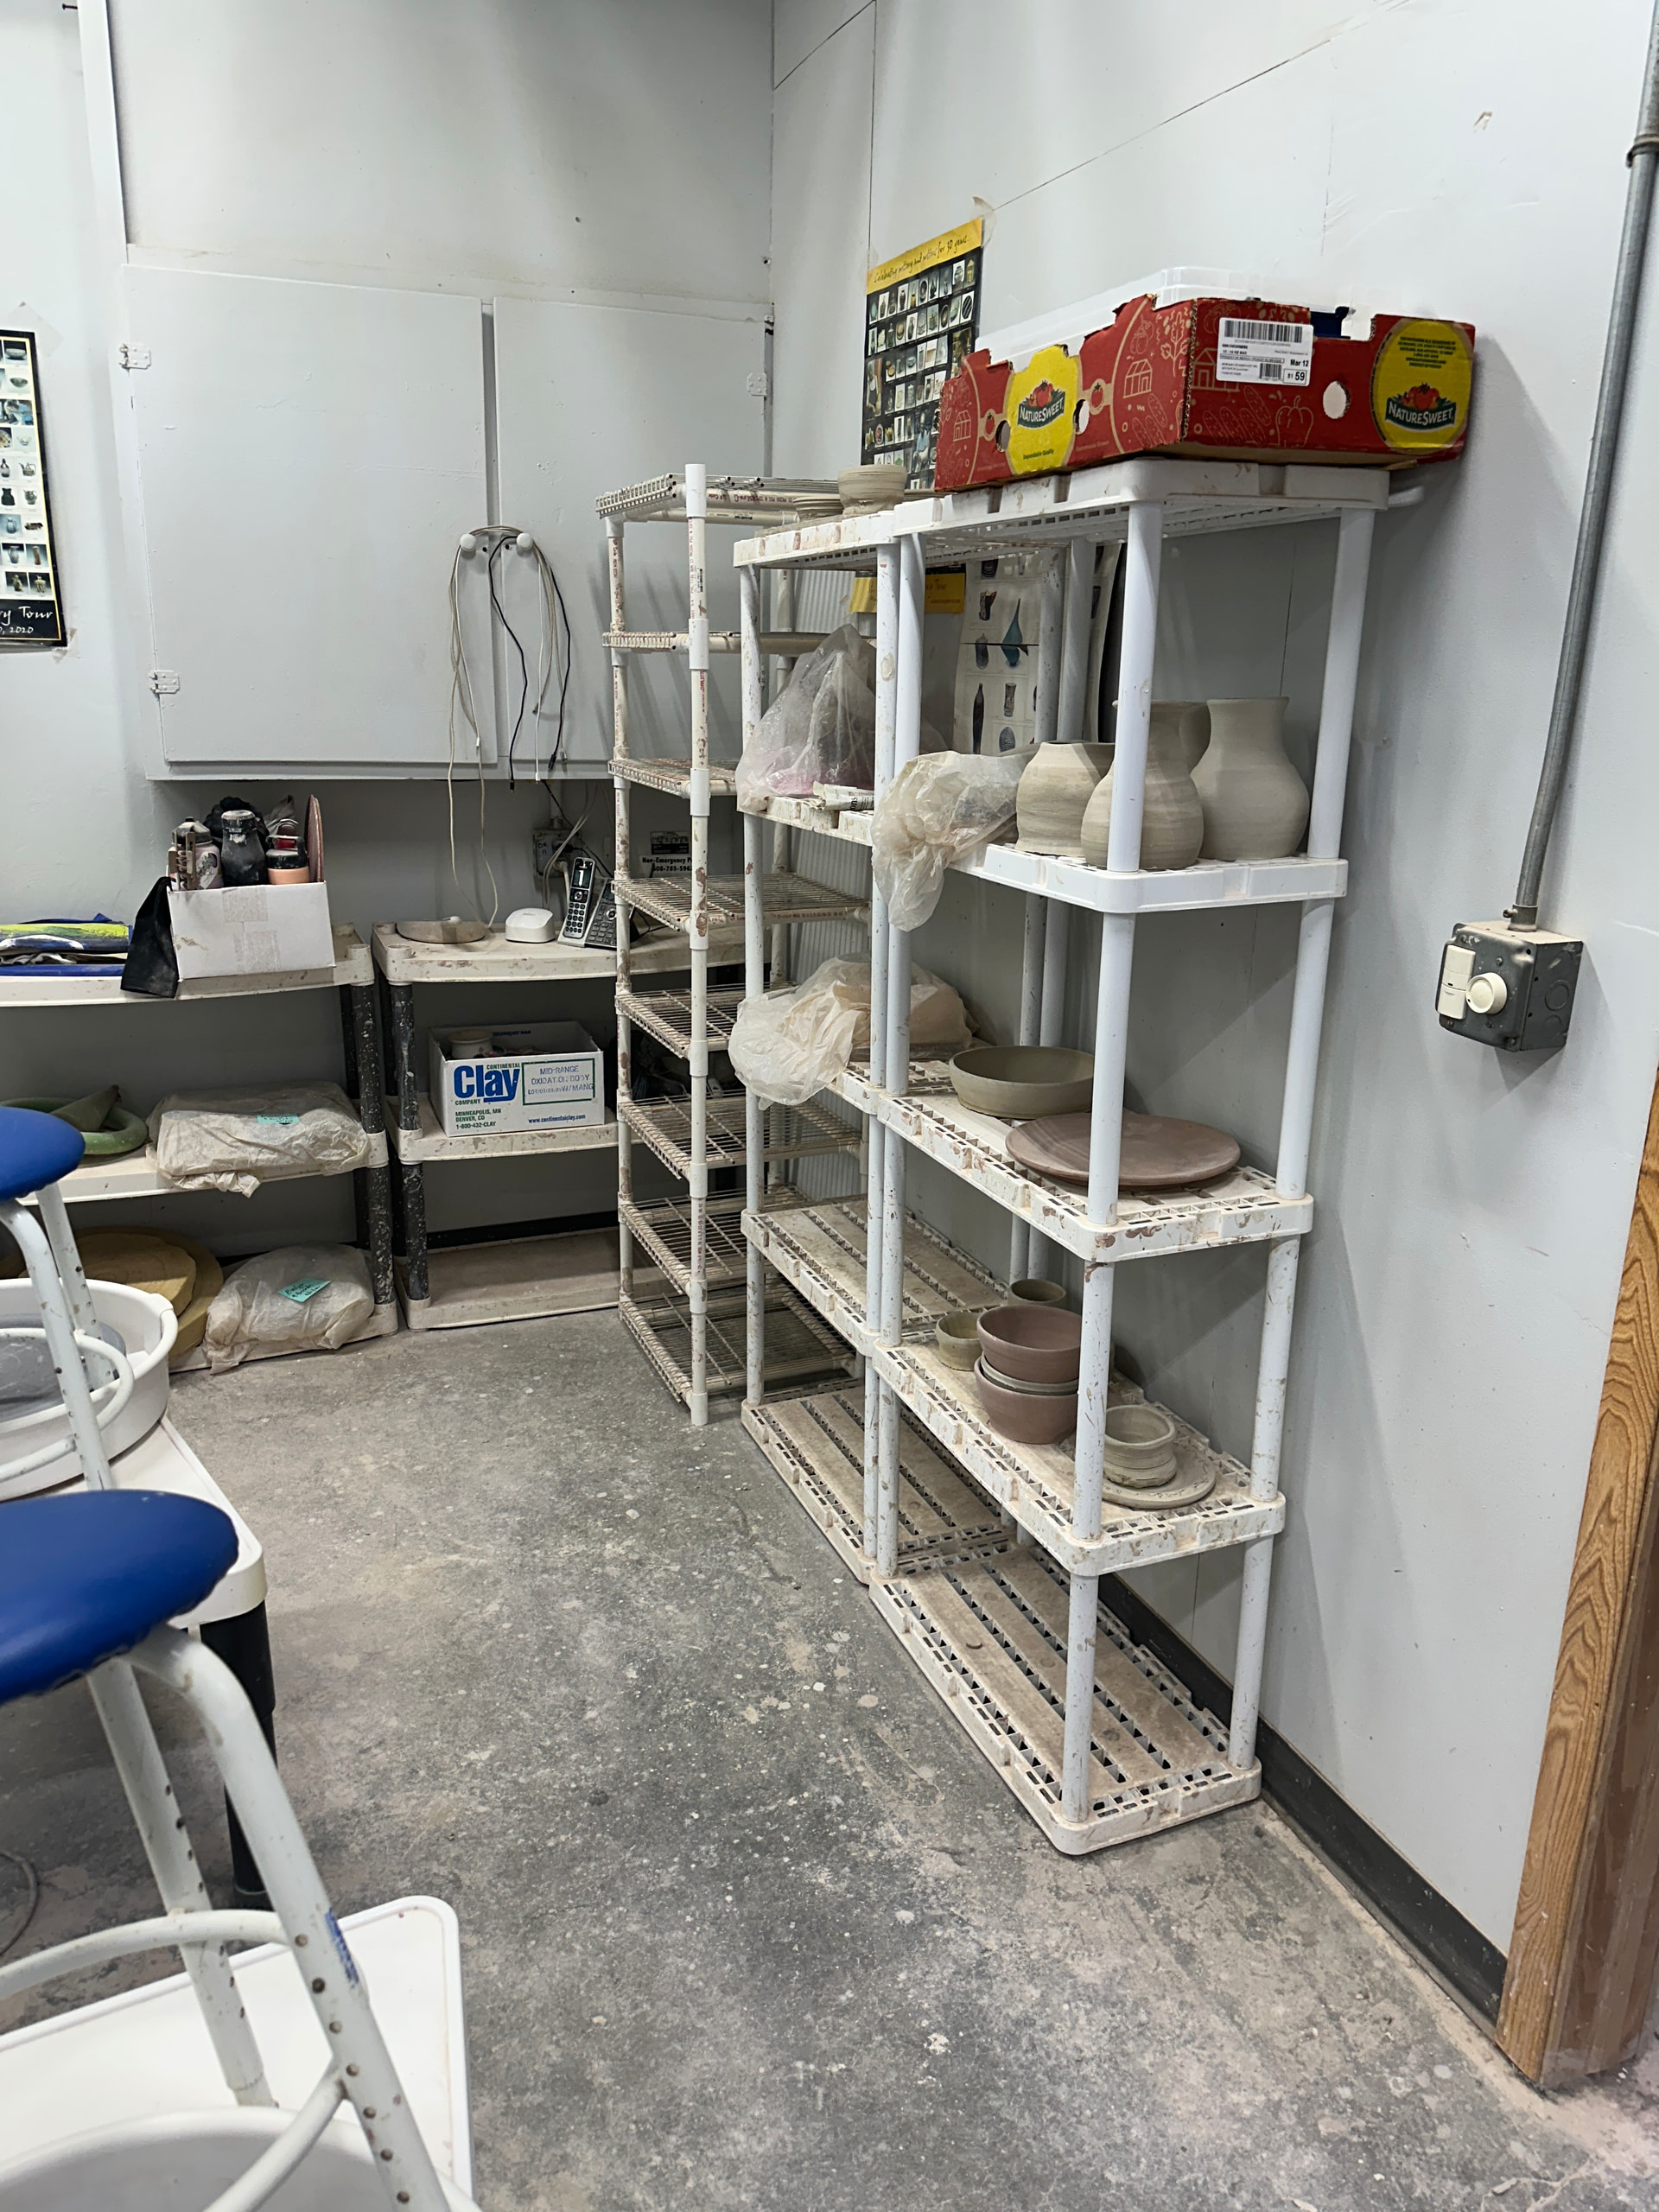
Here are student and members shelves. They are everywhere that space allows. Notice there are names on the shelves too. Also a close up of my shelf with some bisqued items
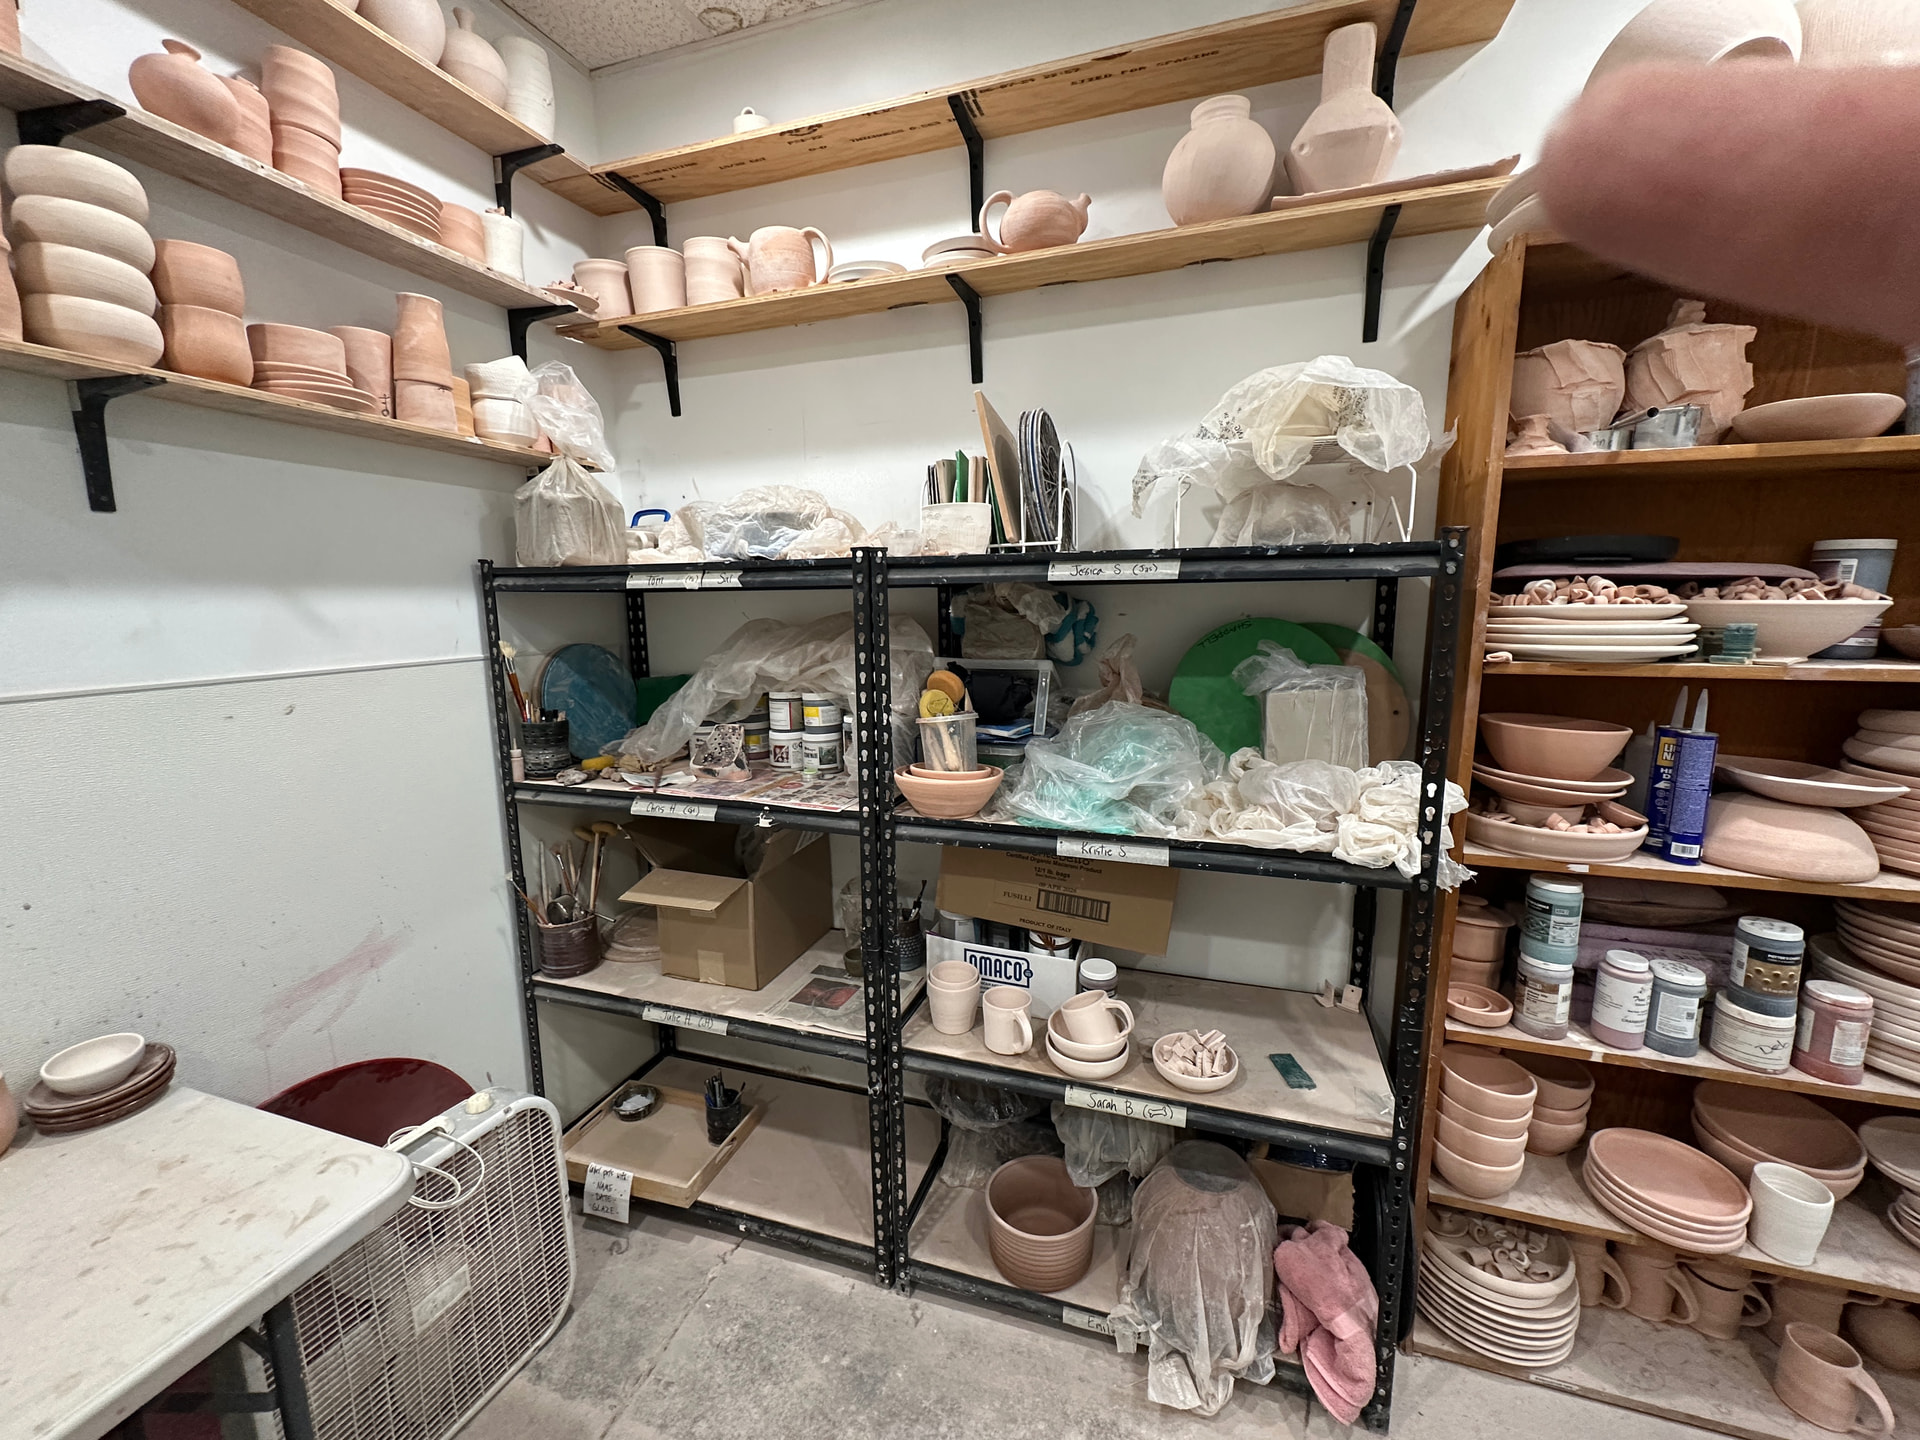

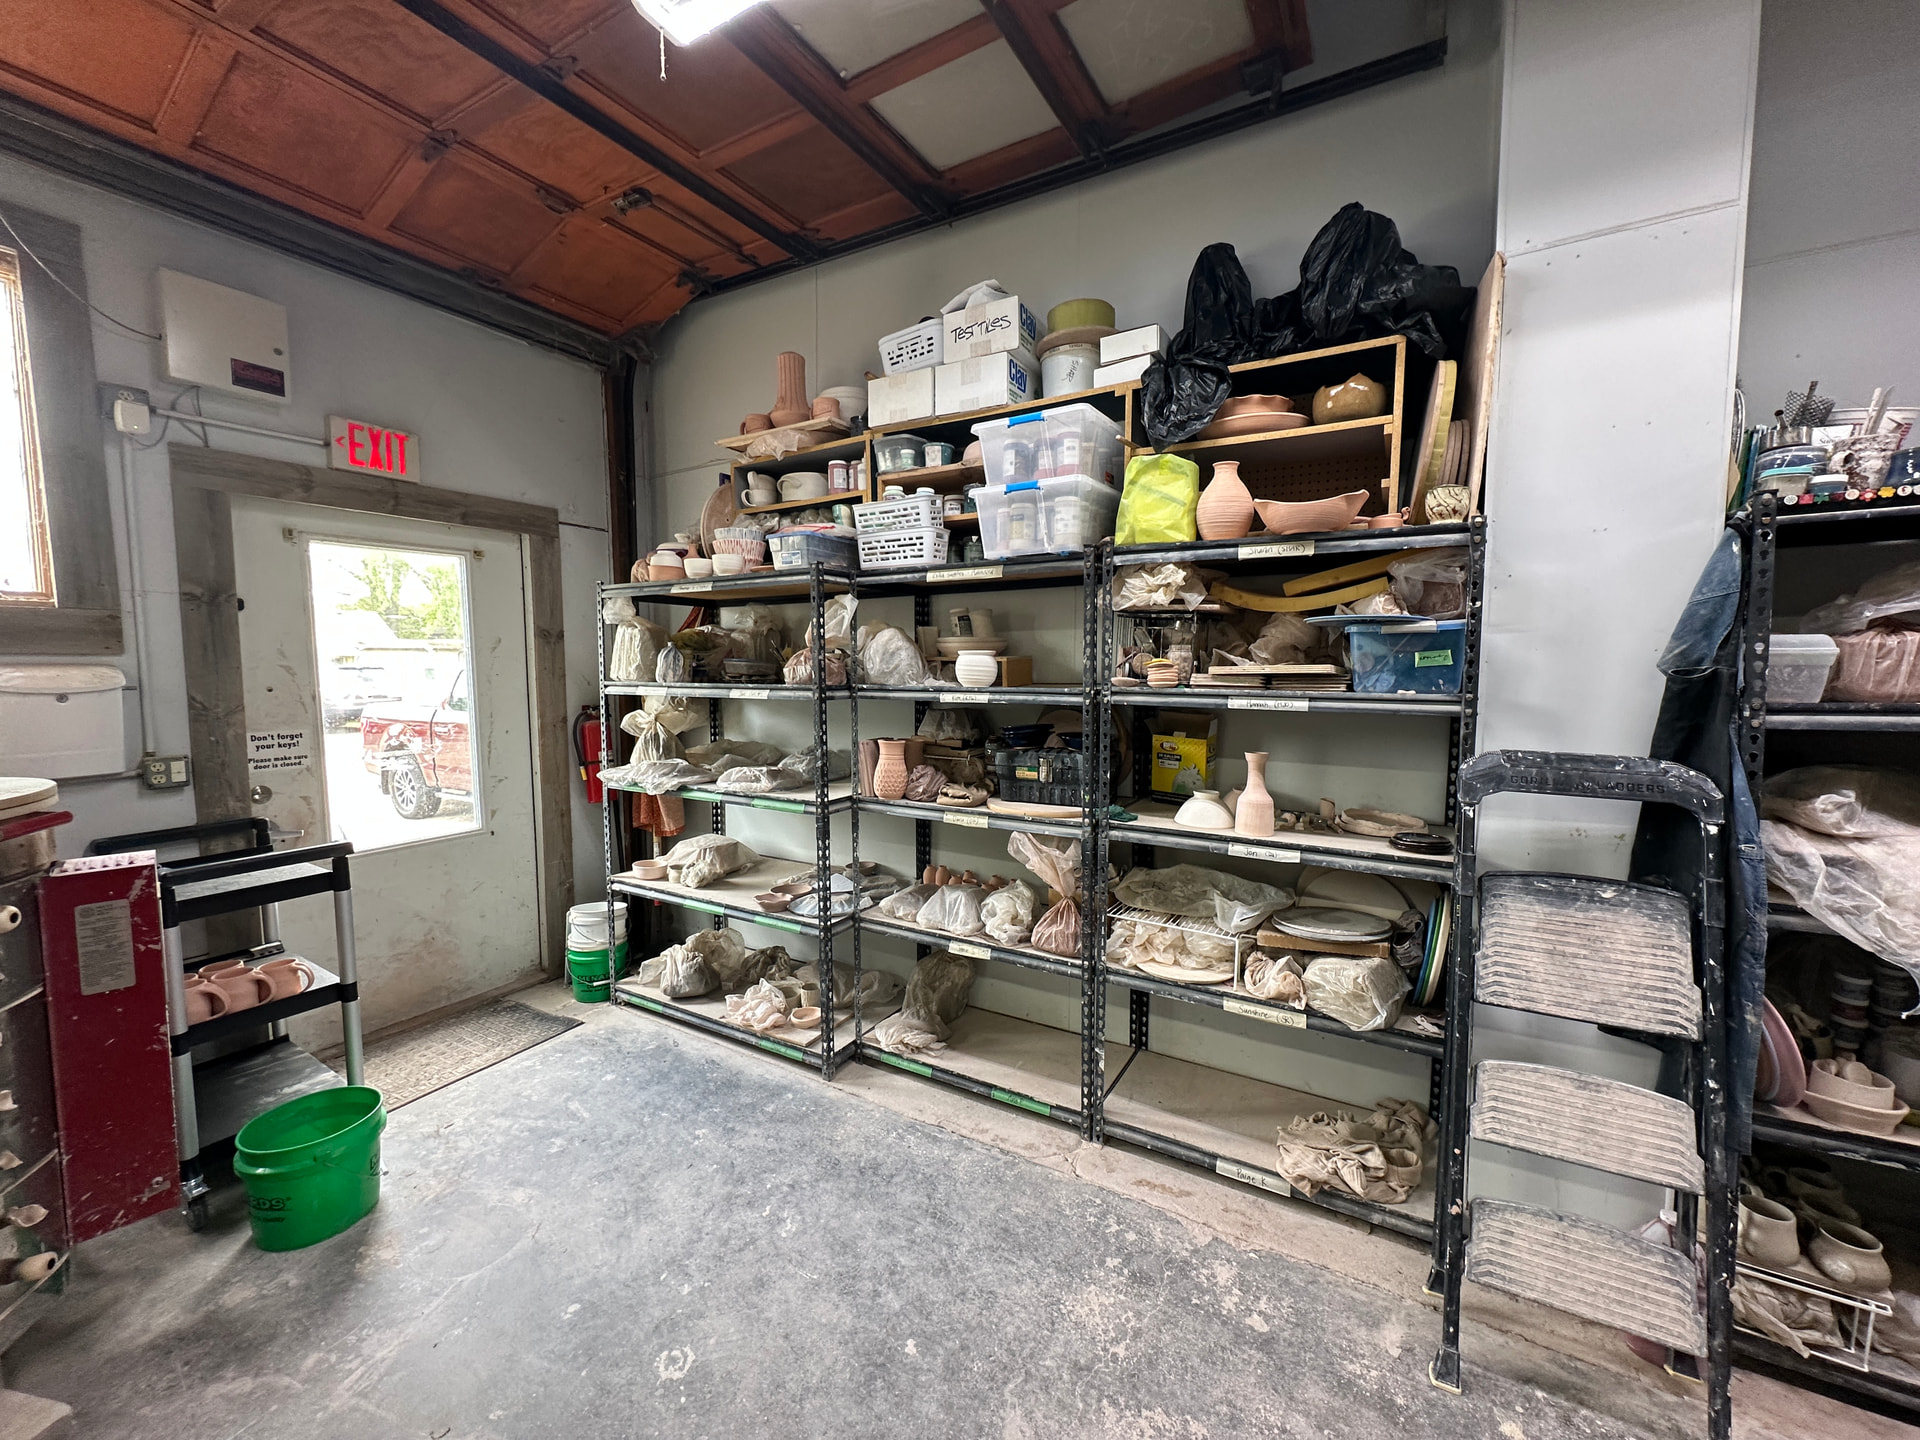
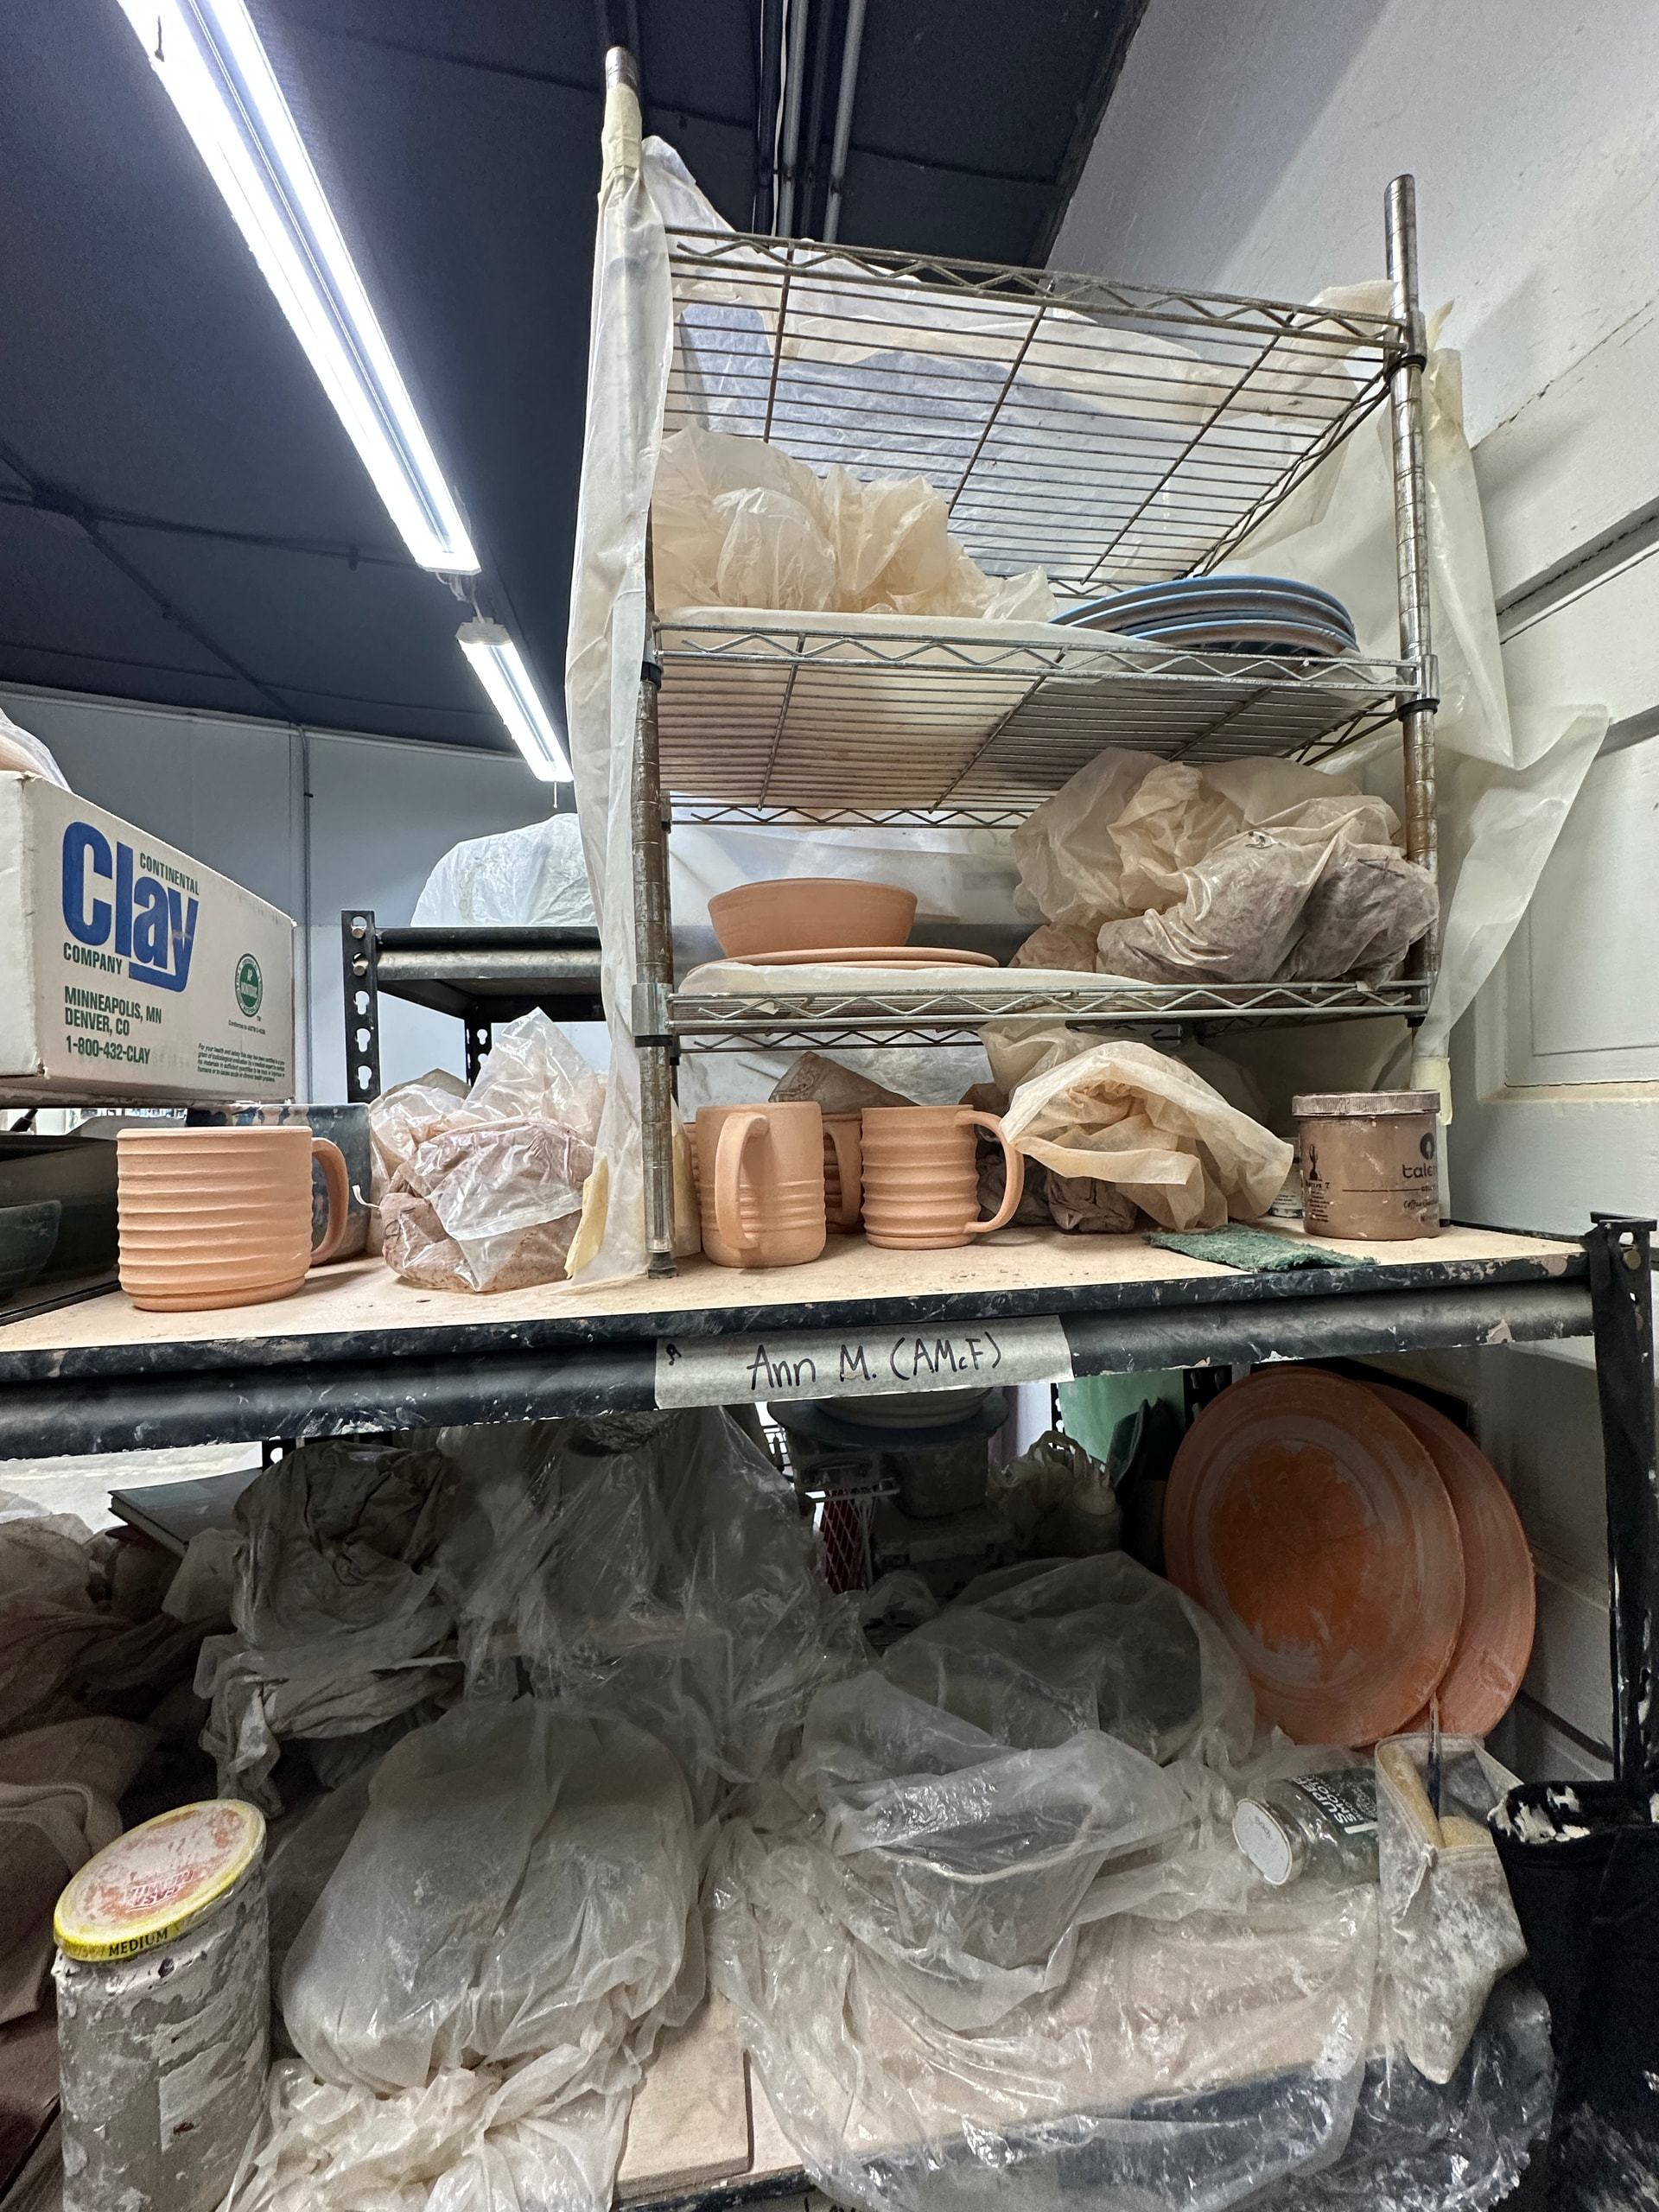
pieces.
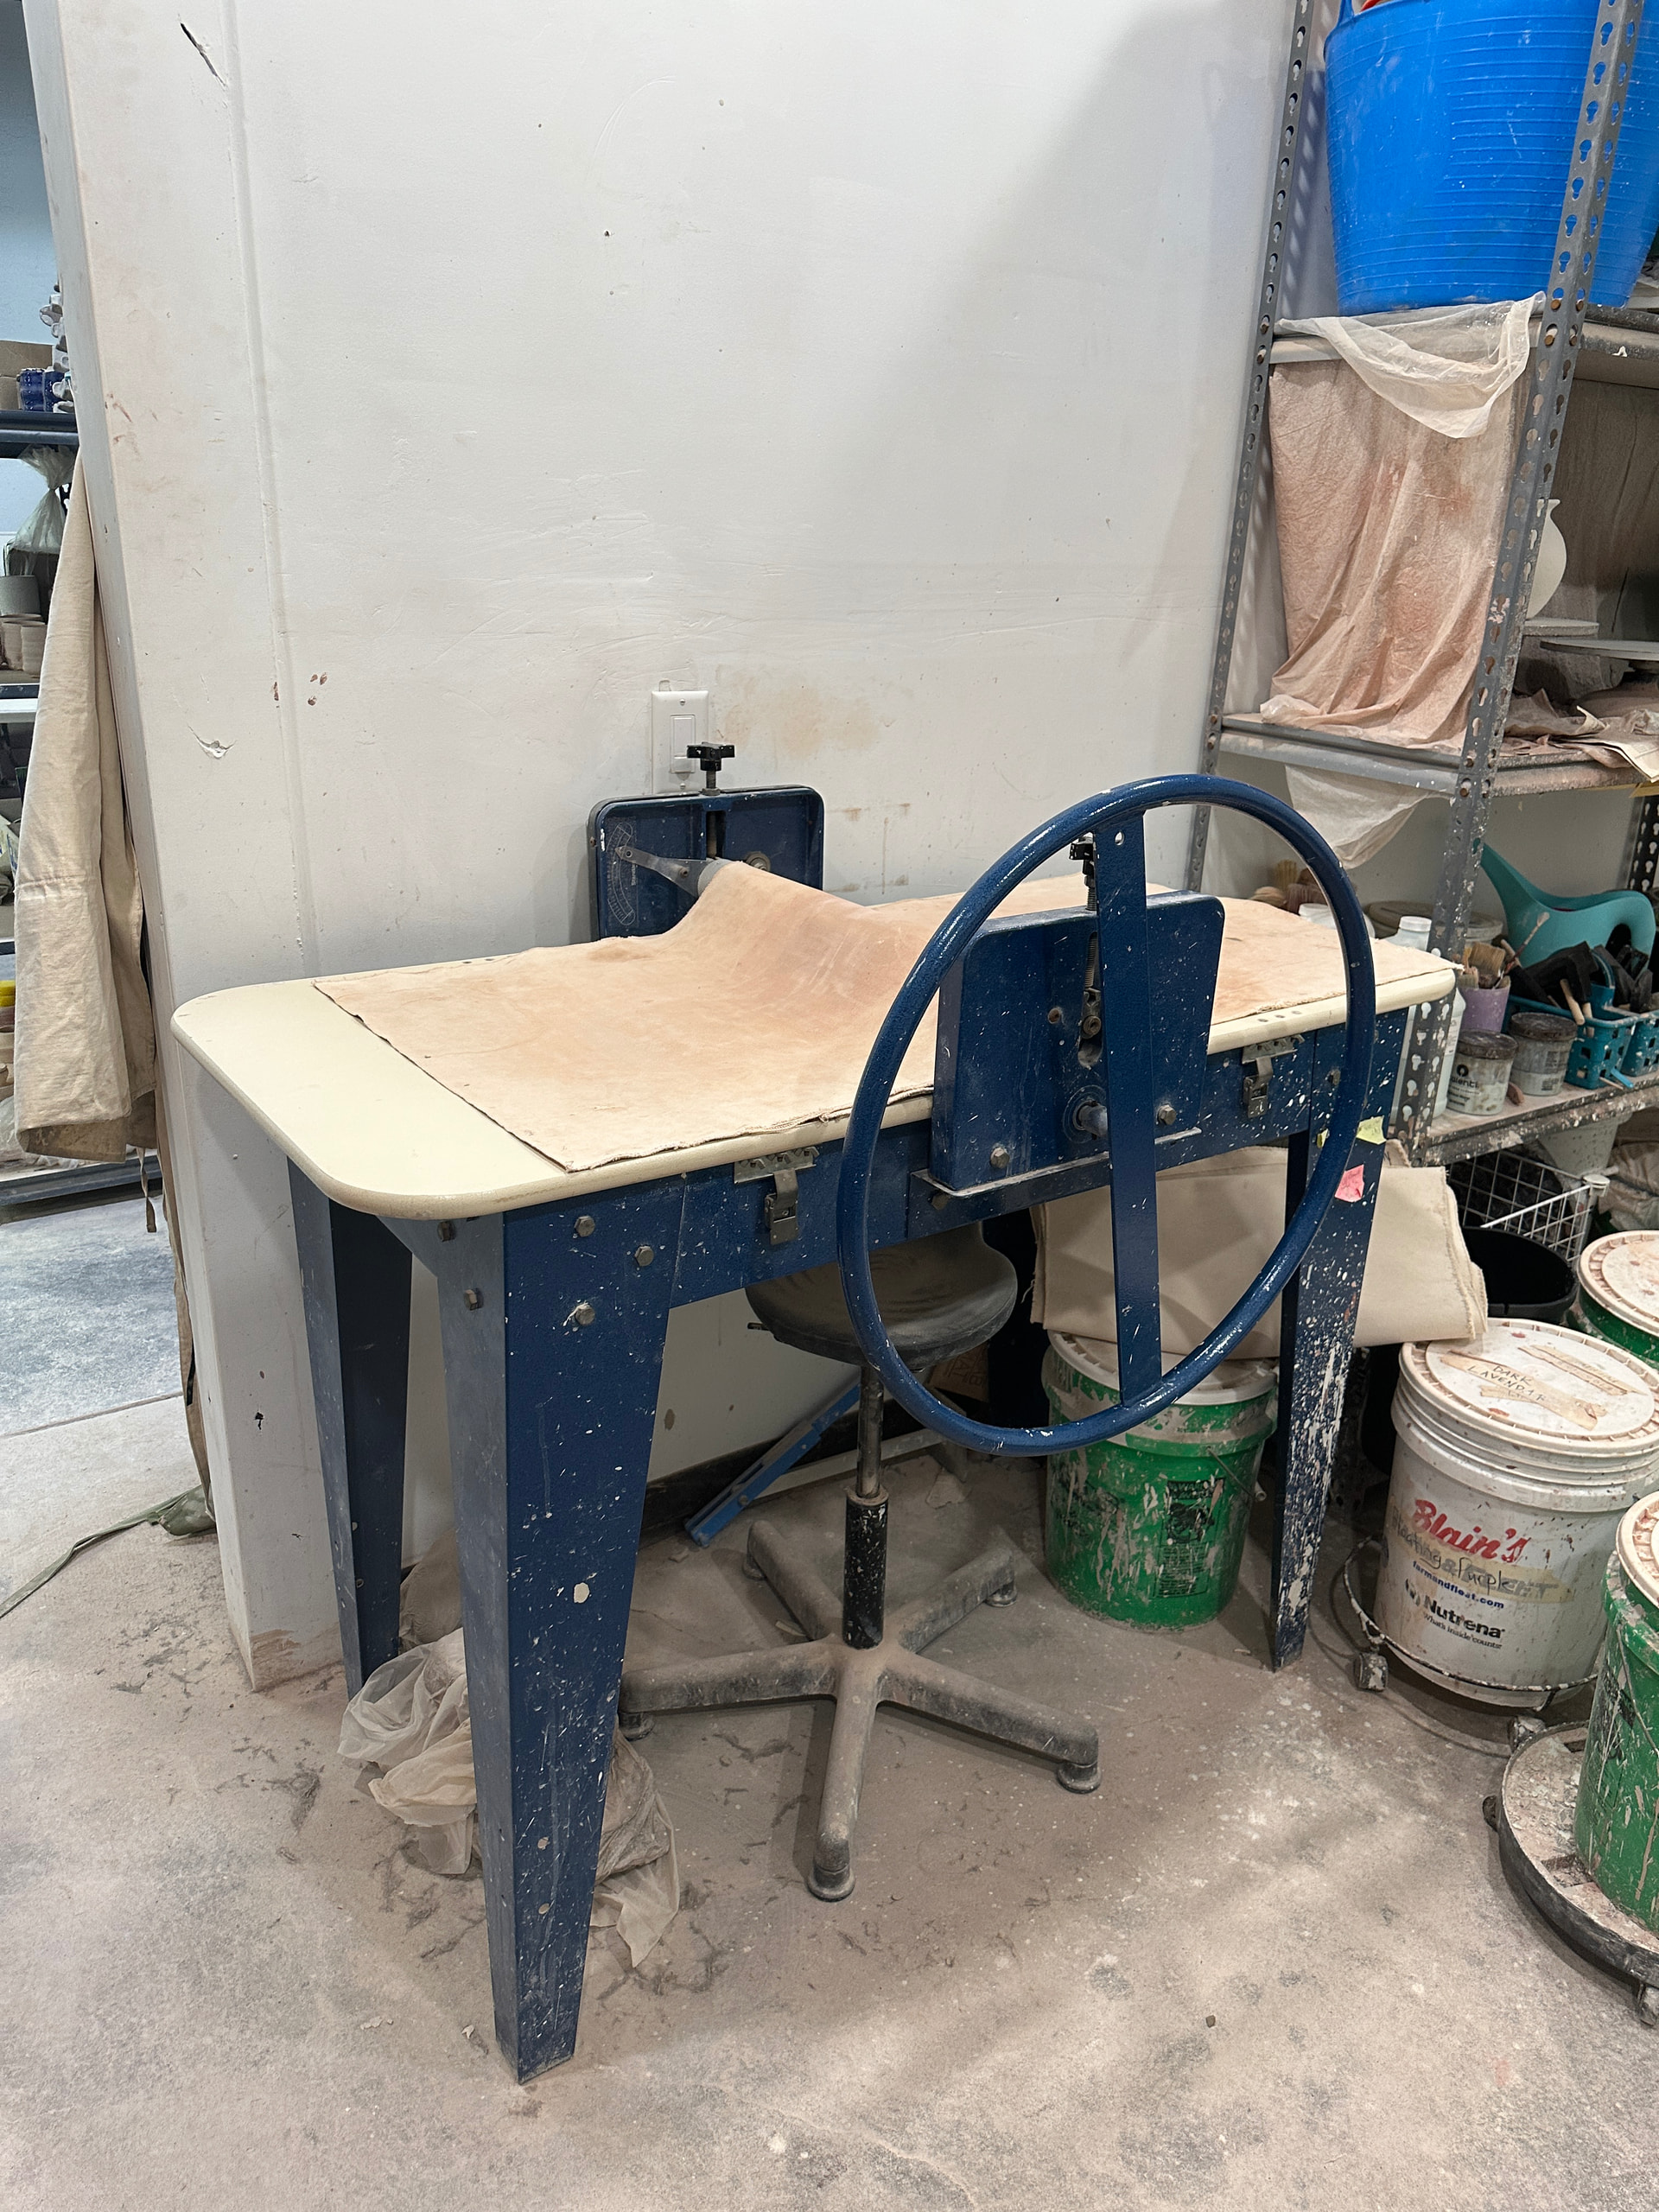
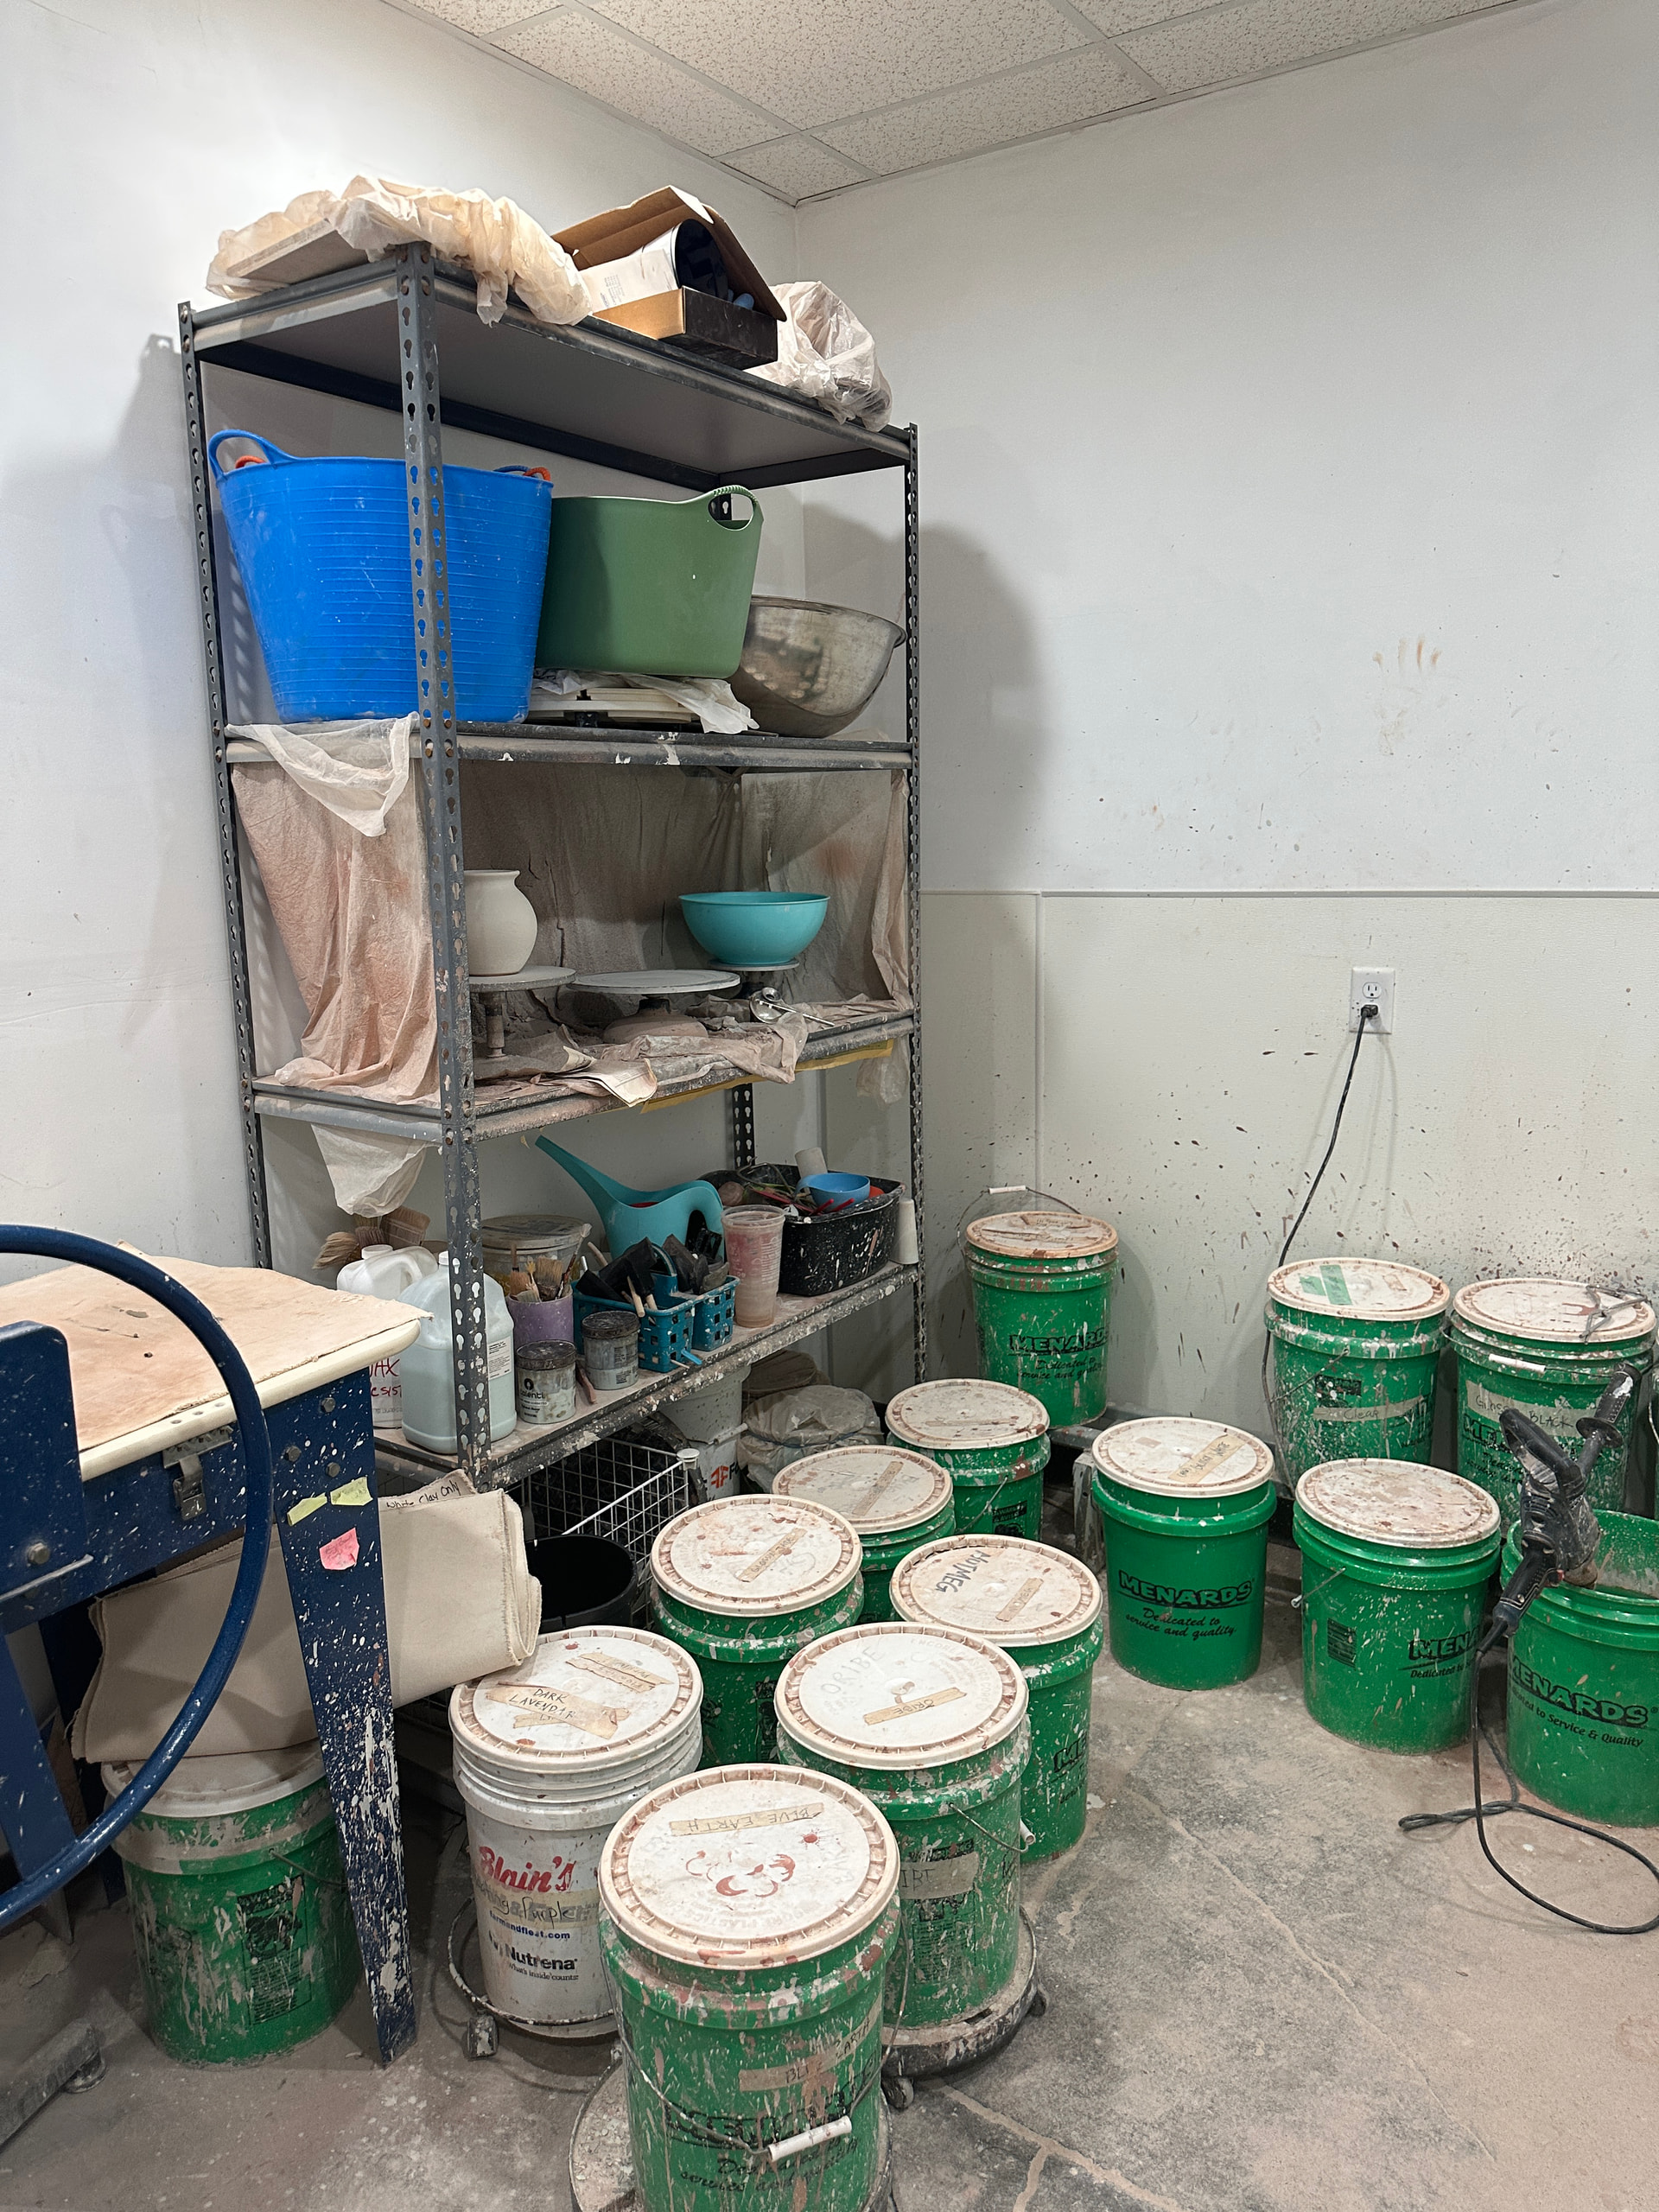
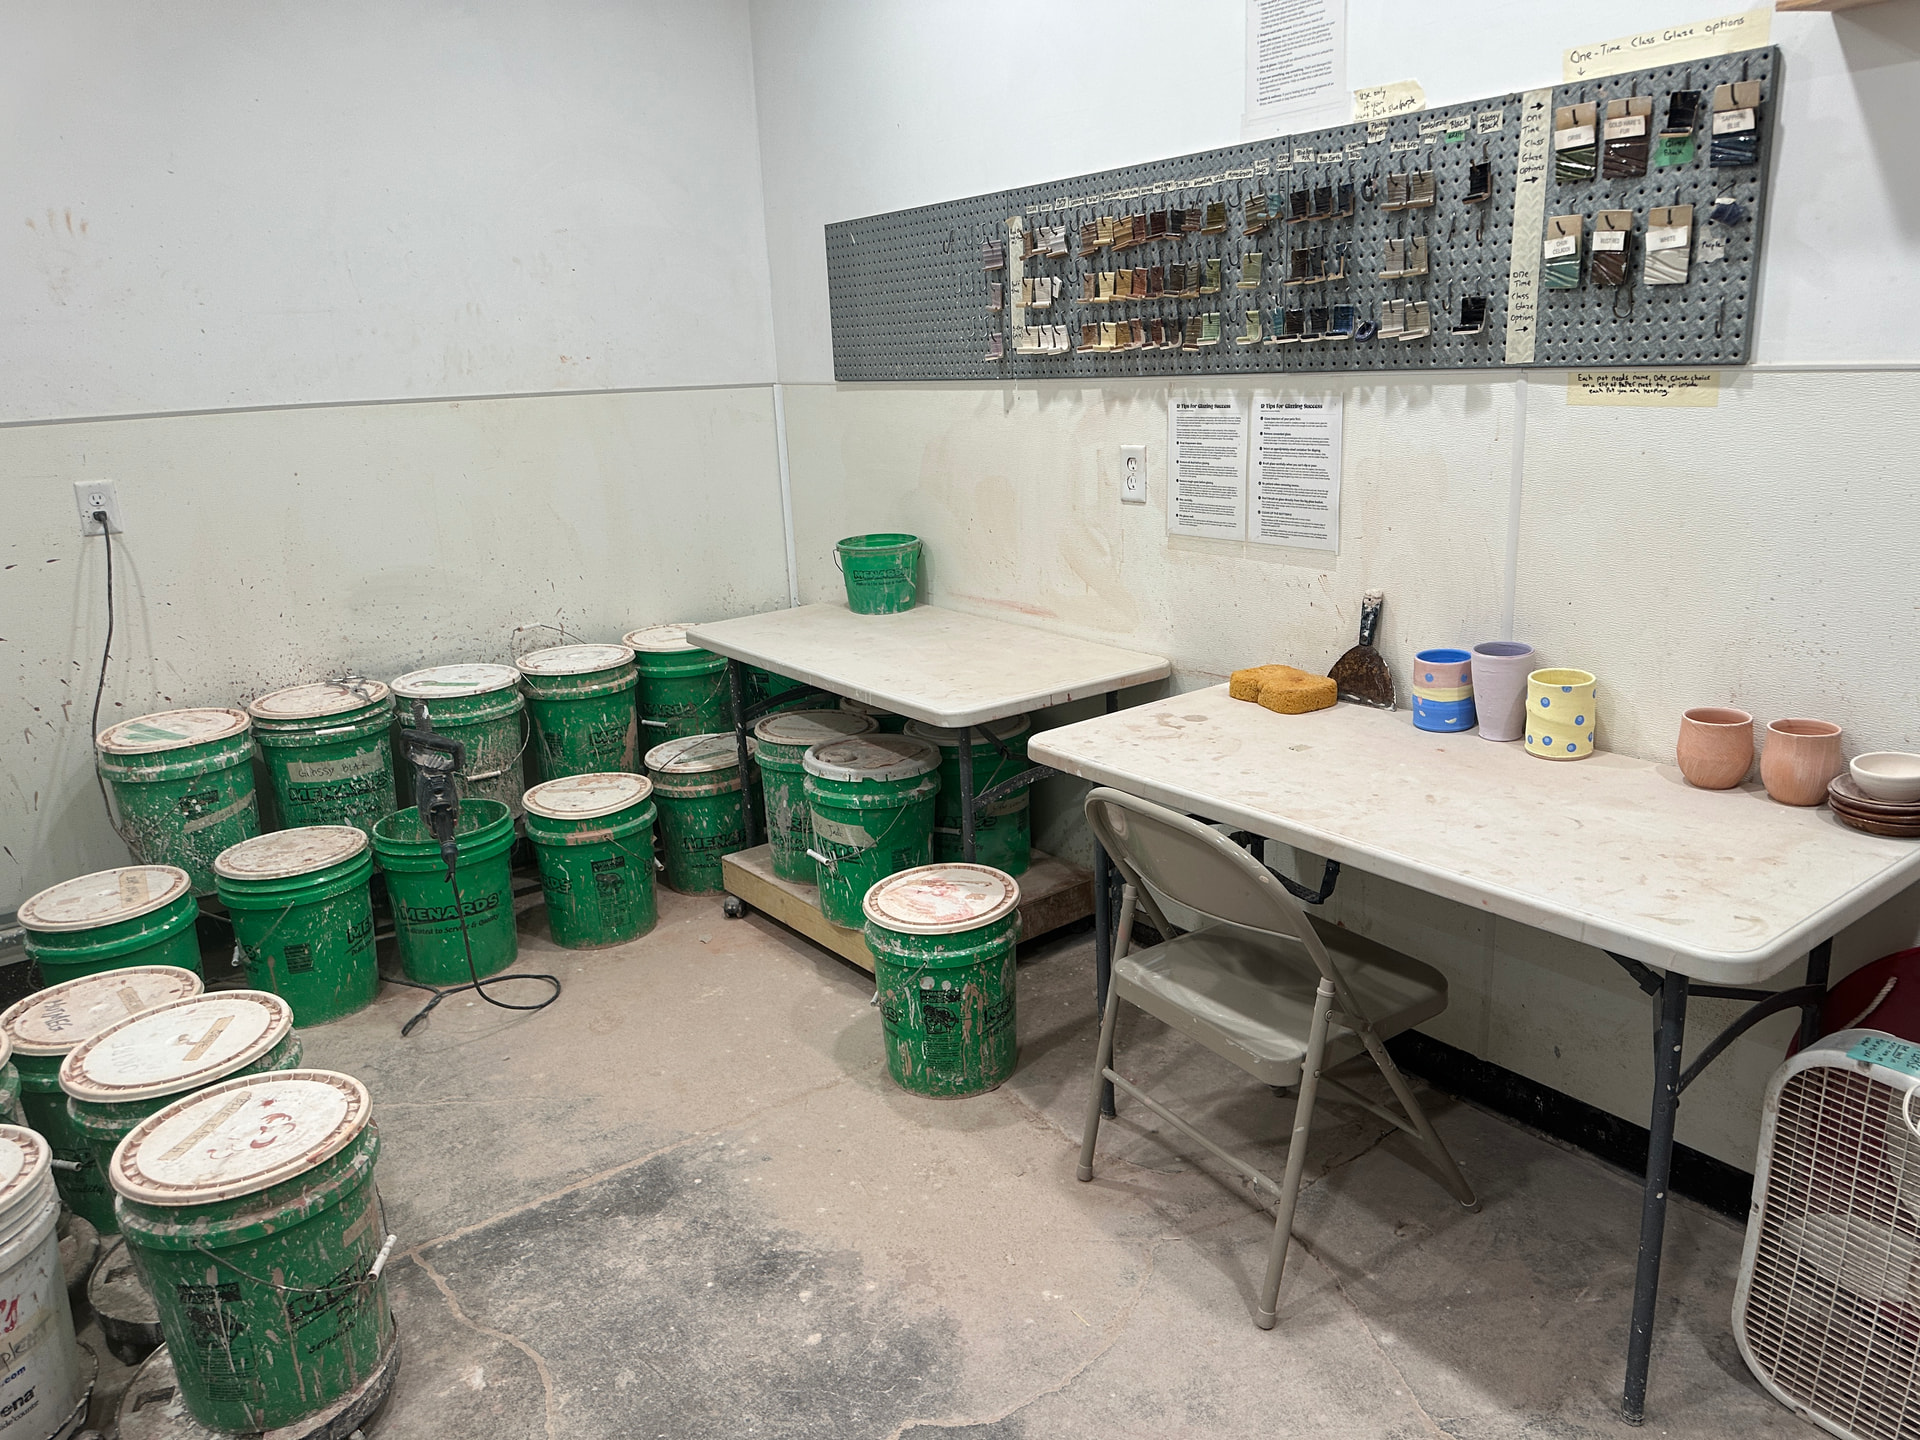
The glazing area. It is actually too small. Only two people could use this space comfortably if one person is glazing several items at one time. Notice the samples on the wall, the glaze buckets, and a shelf of materials for glazing and spray glazing. The slab roller also is in this room - just because there is space here for it
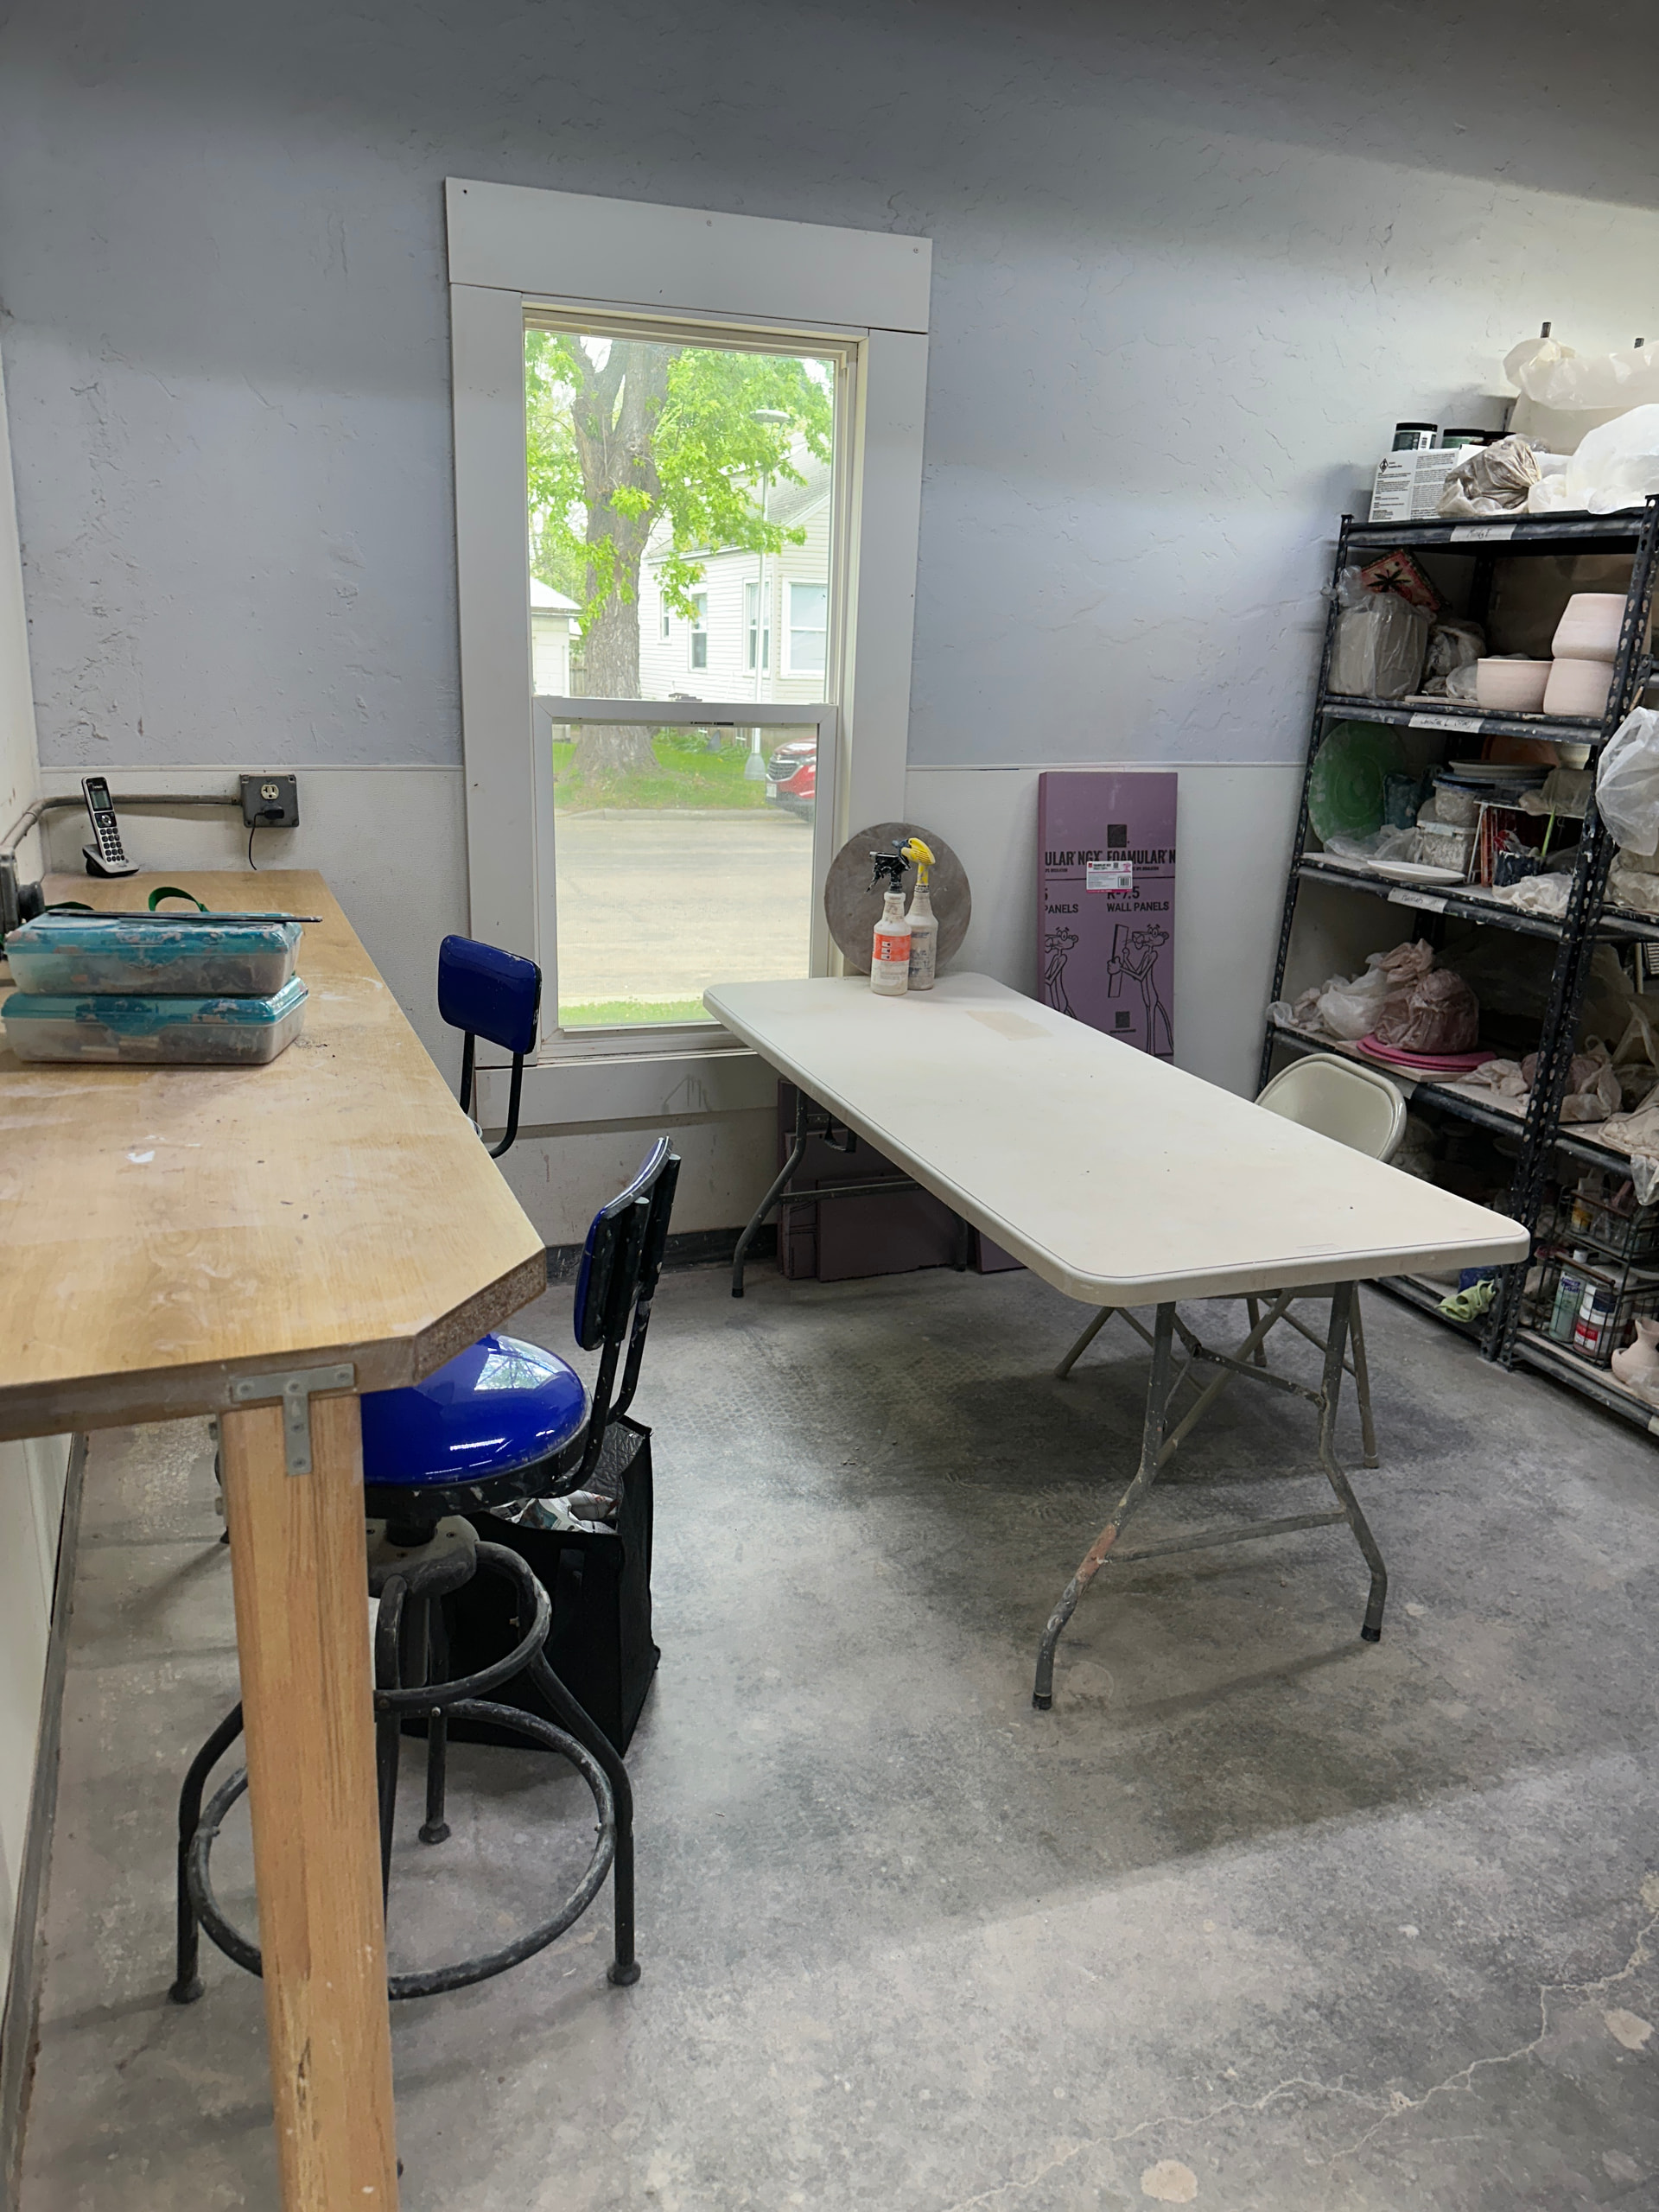
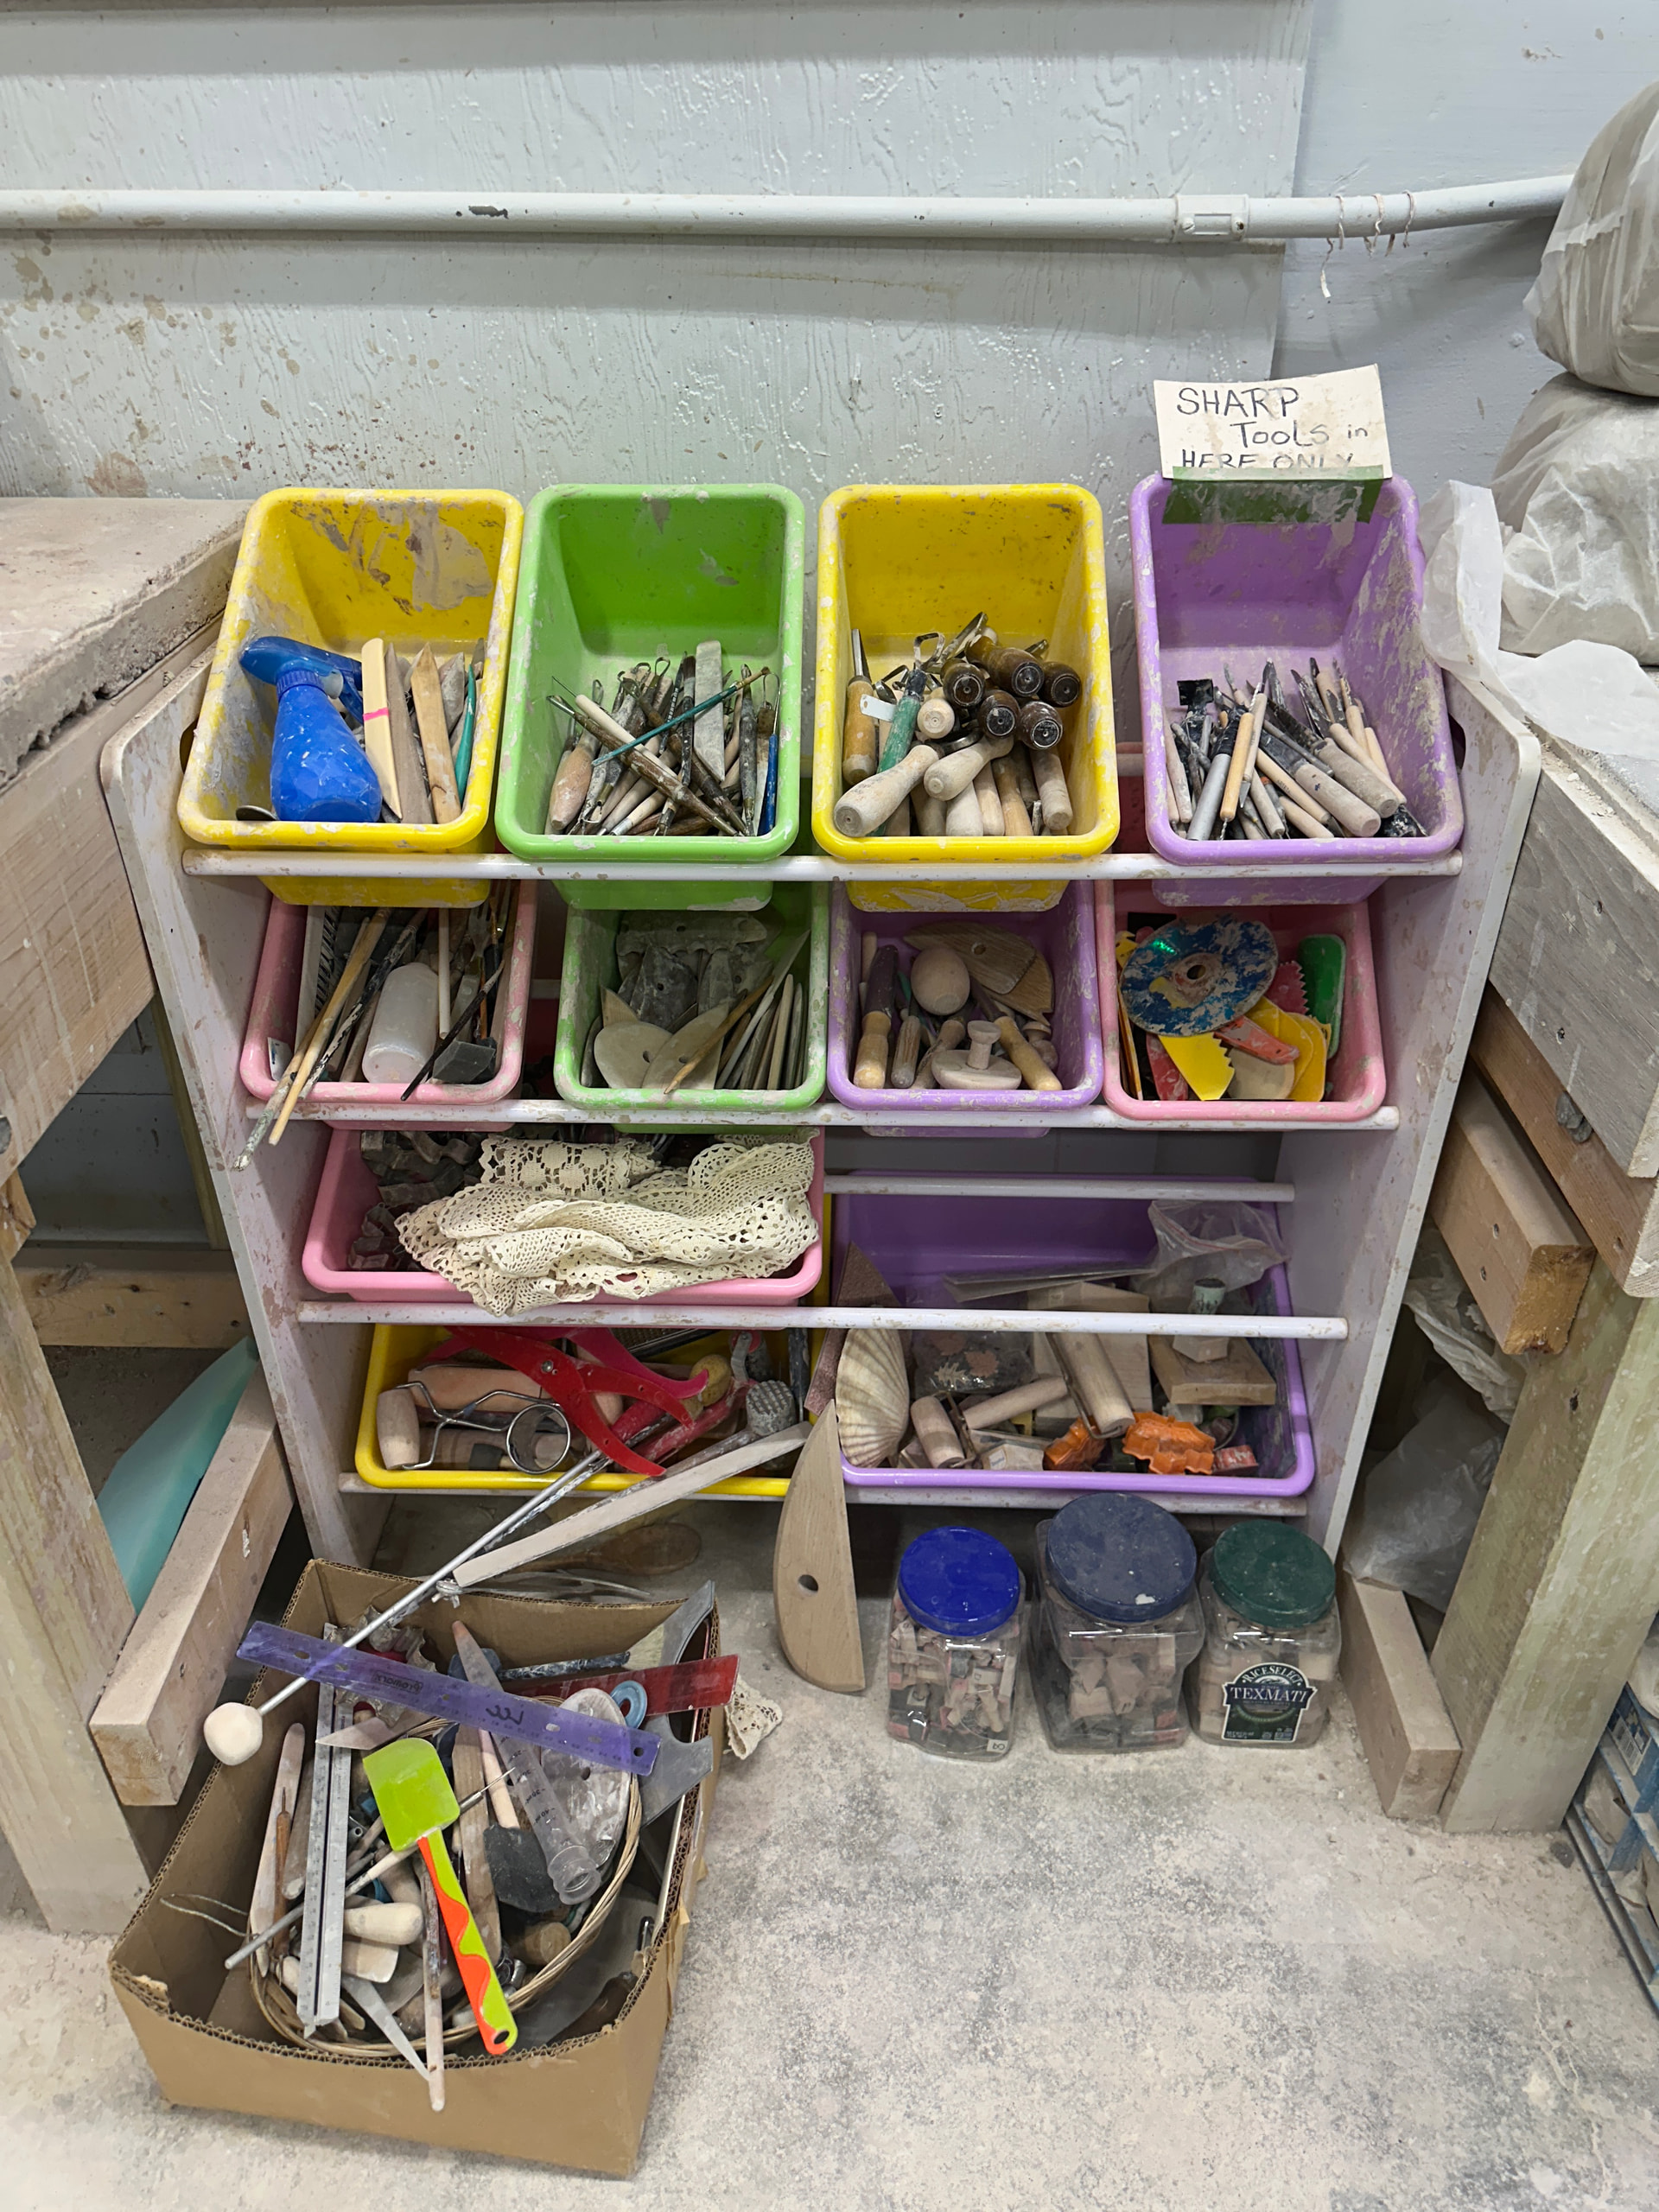
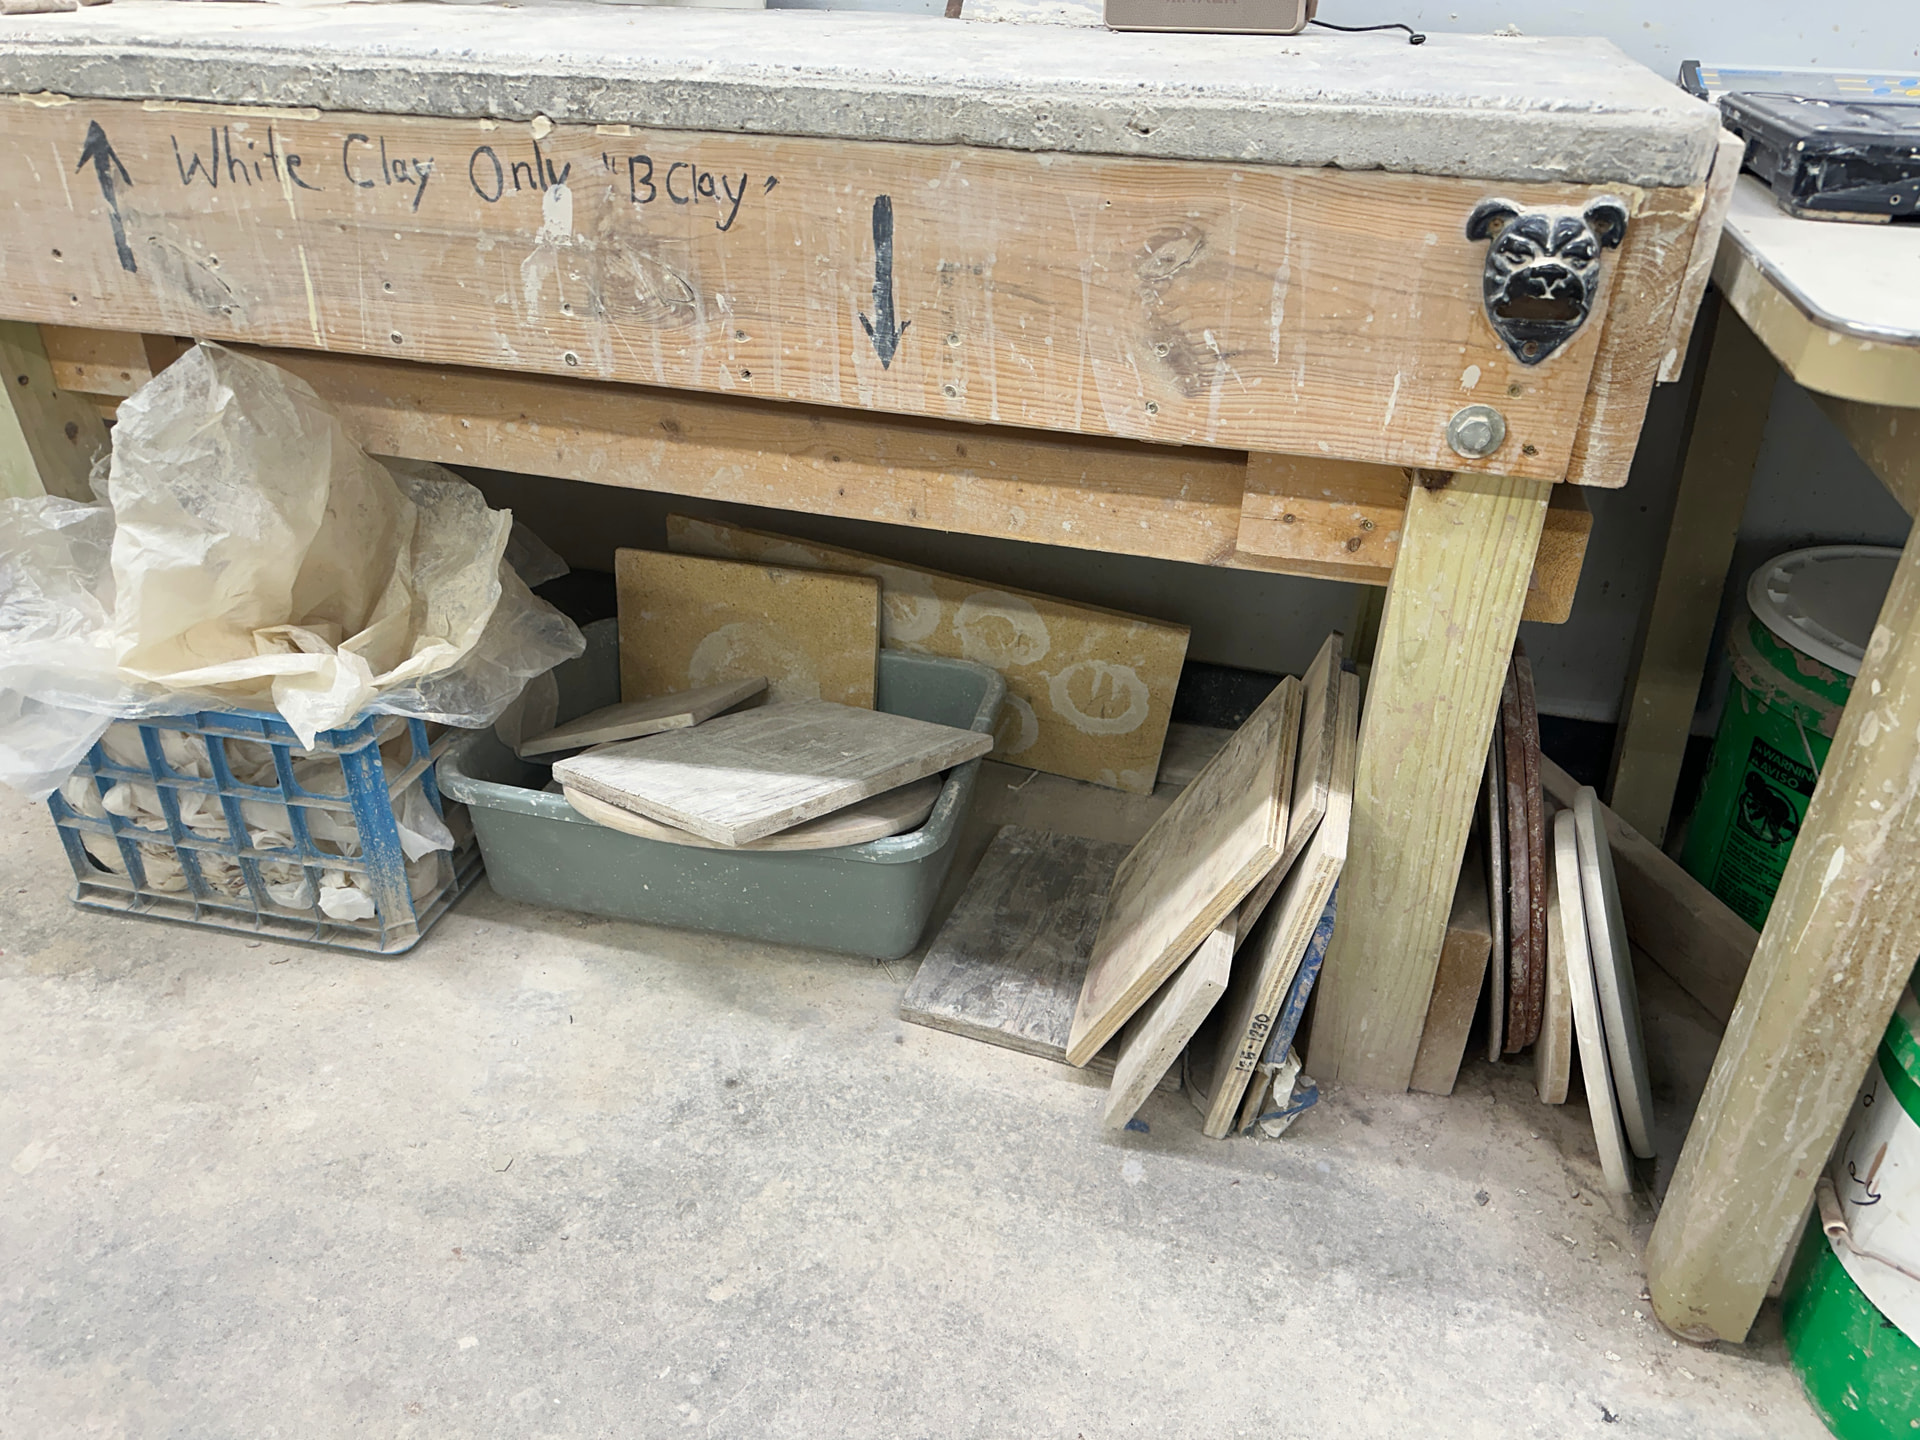
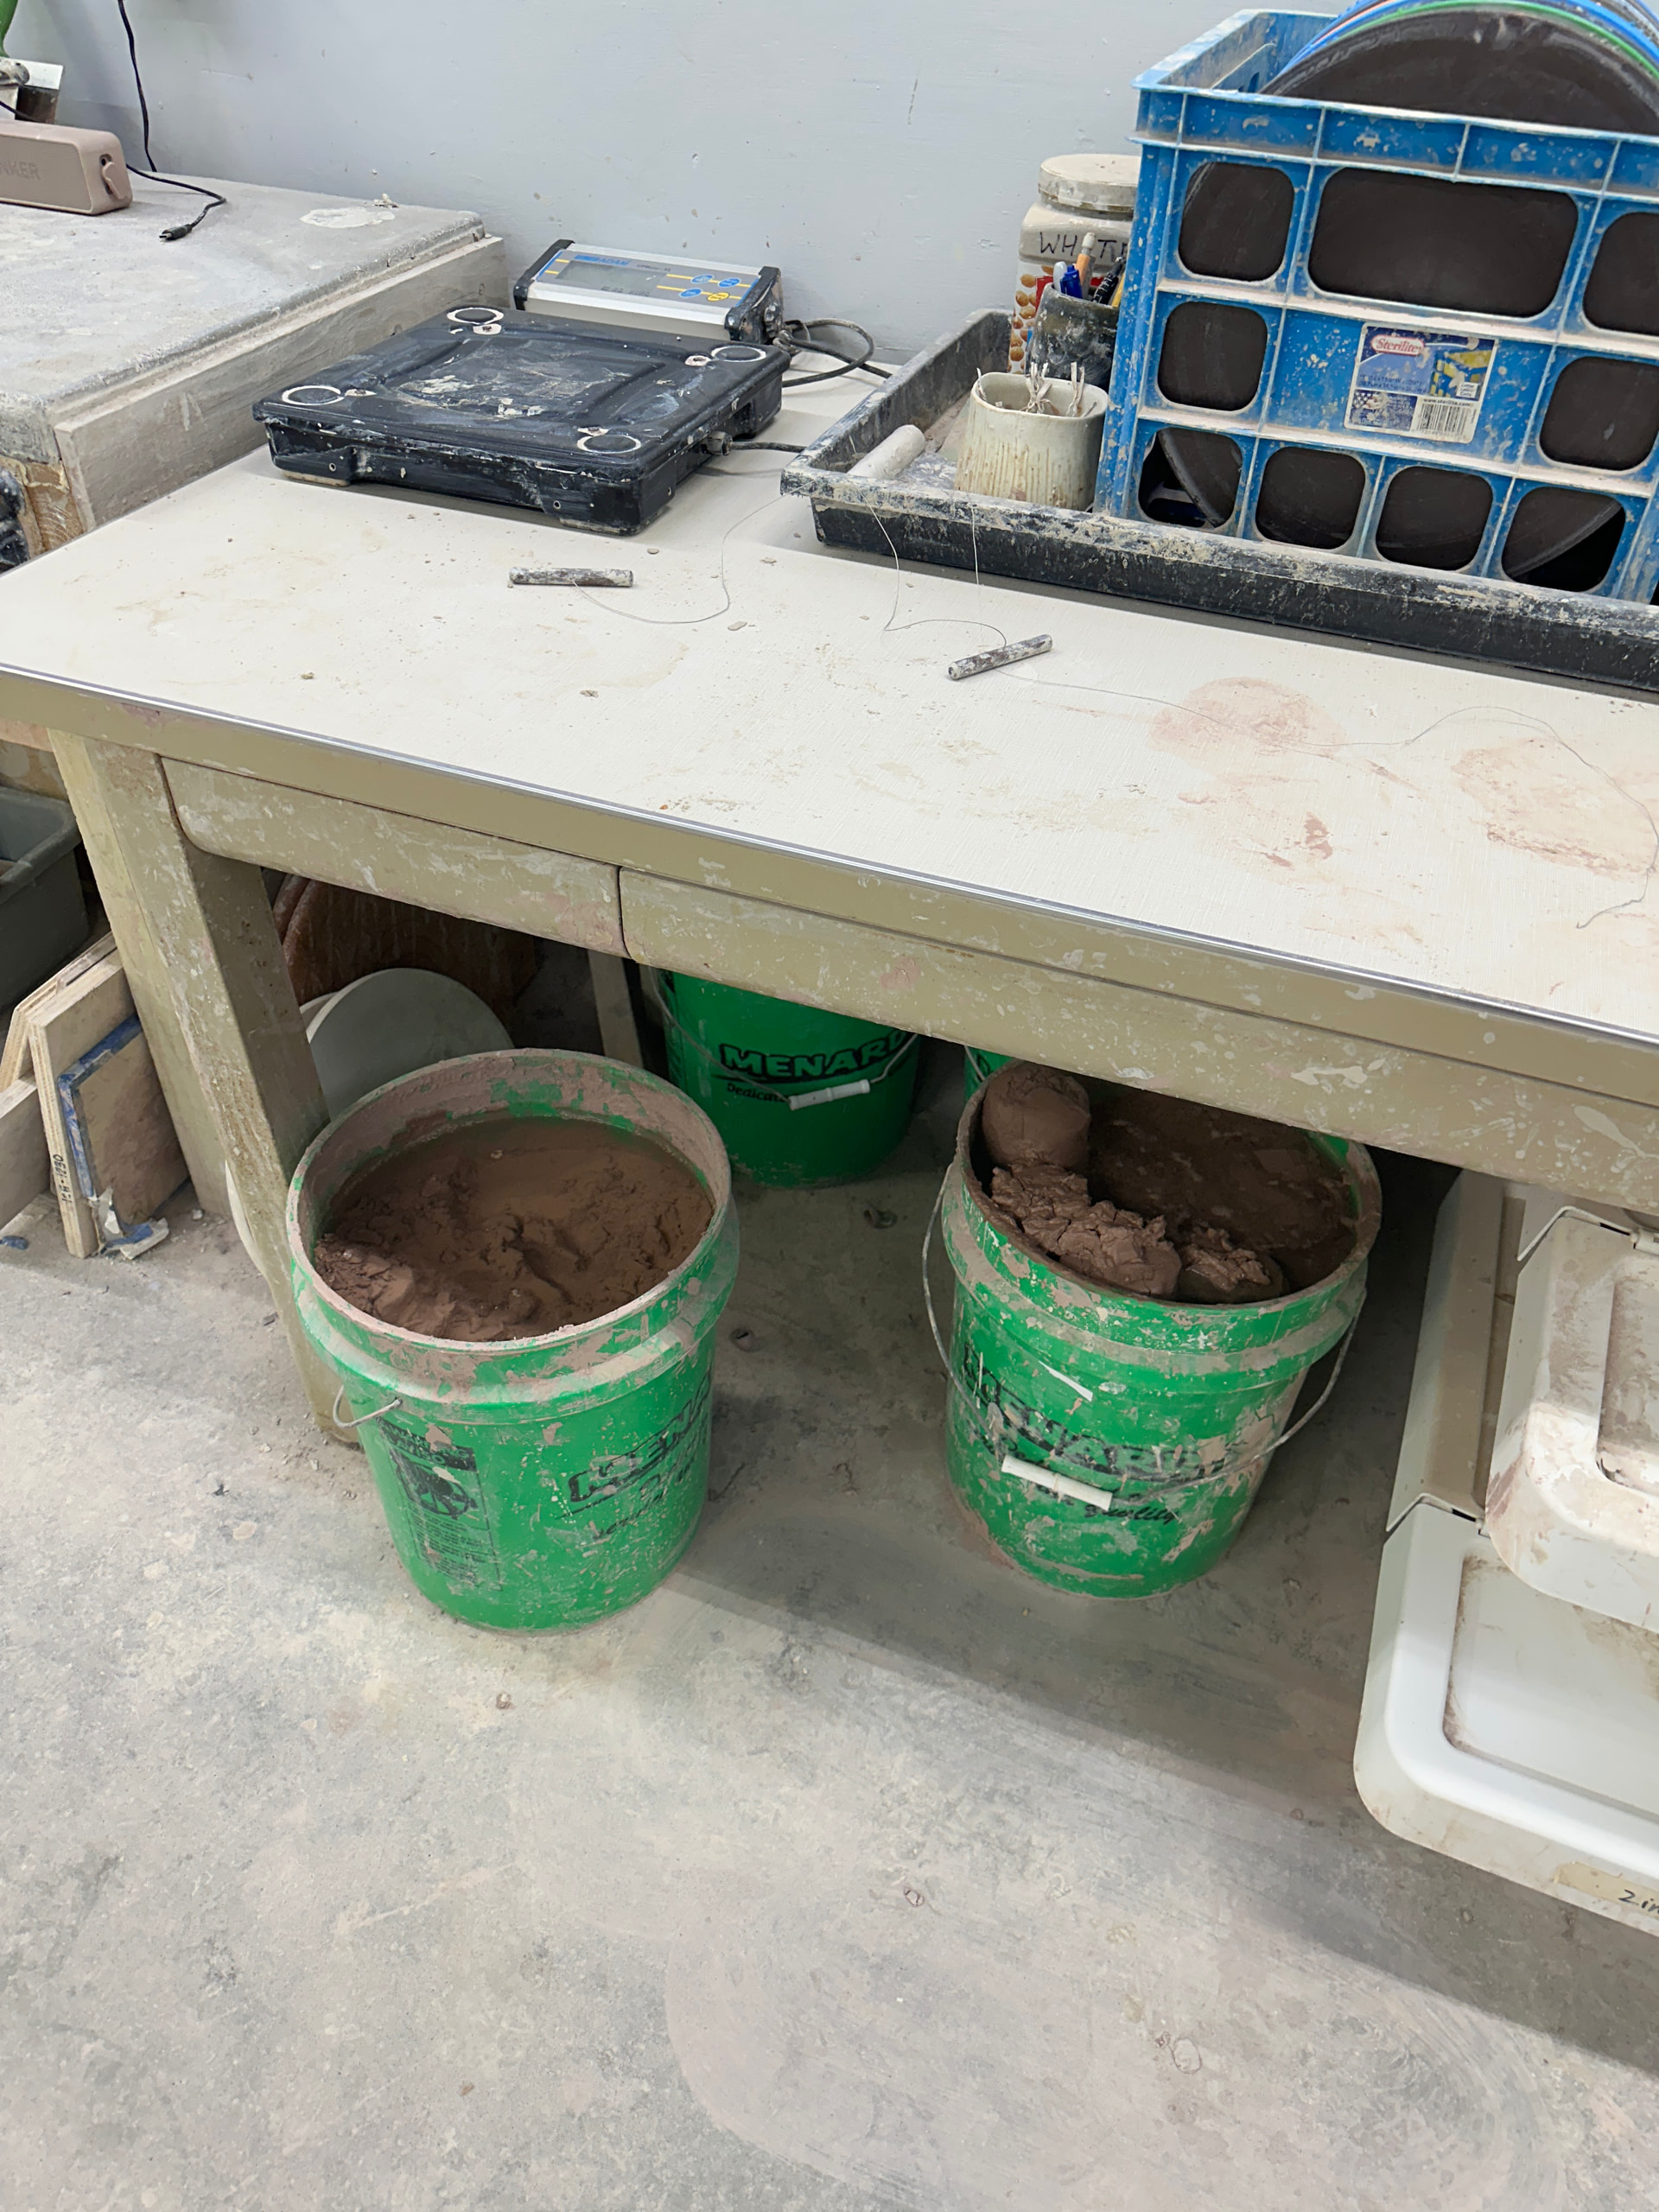
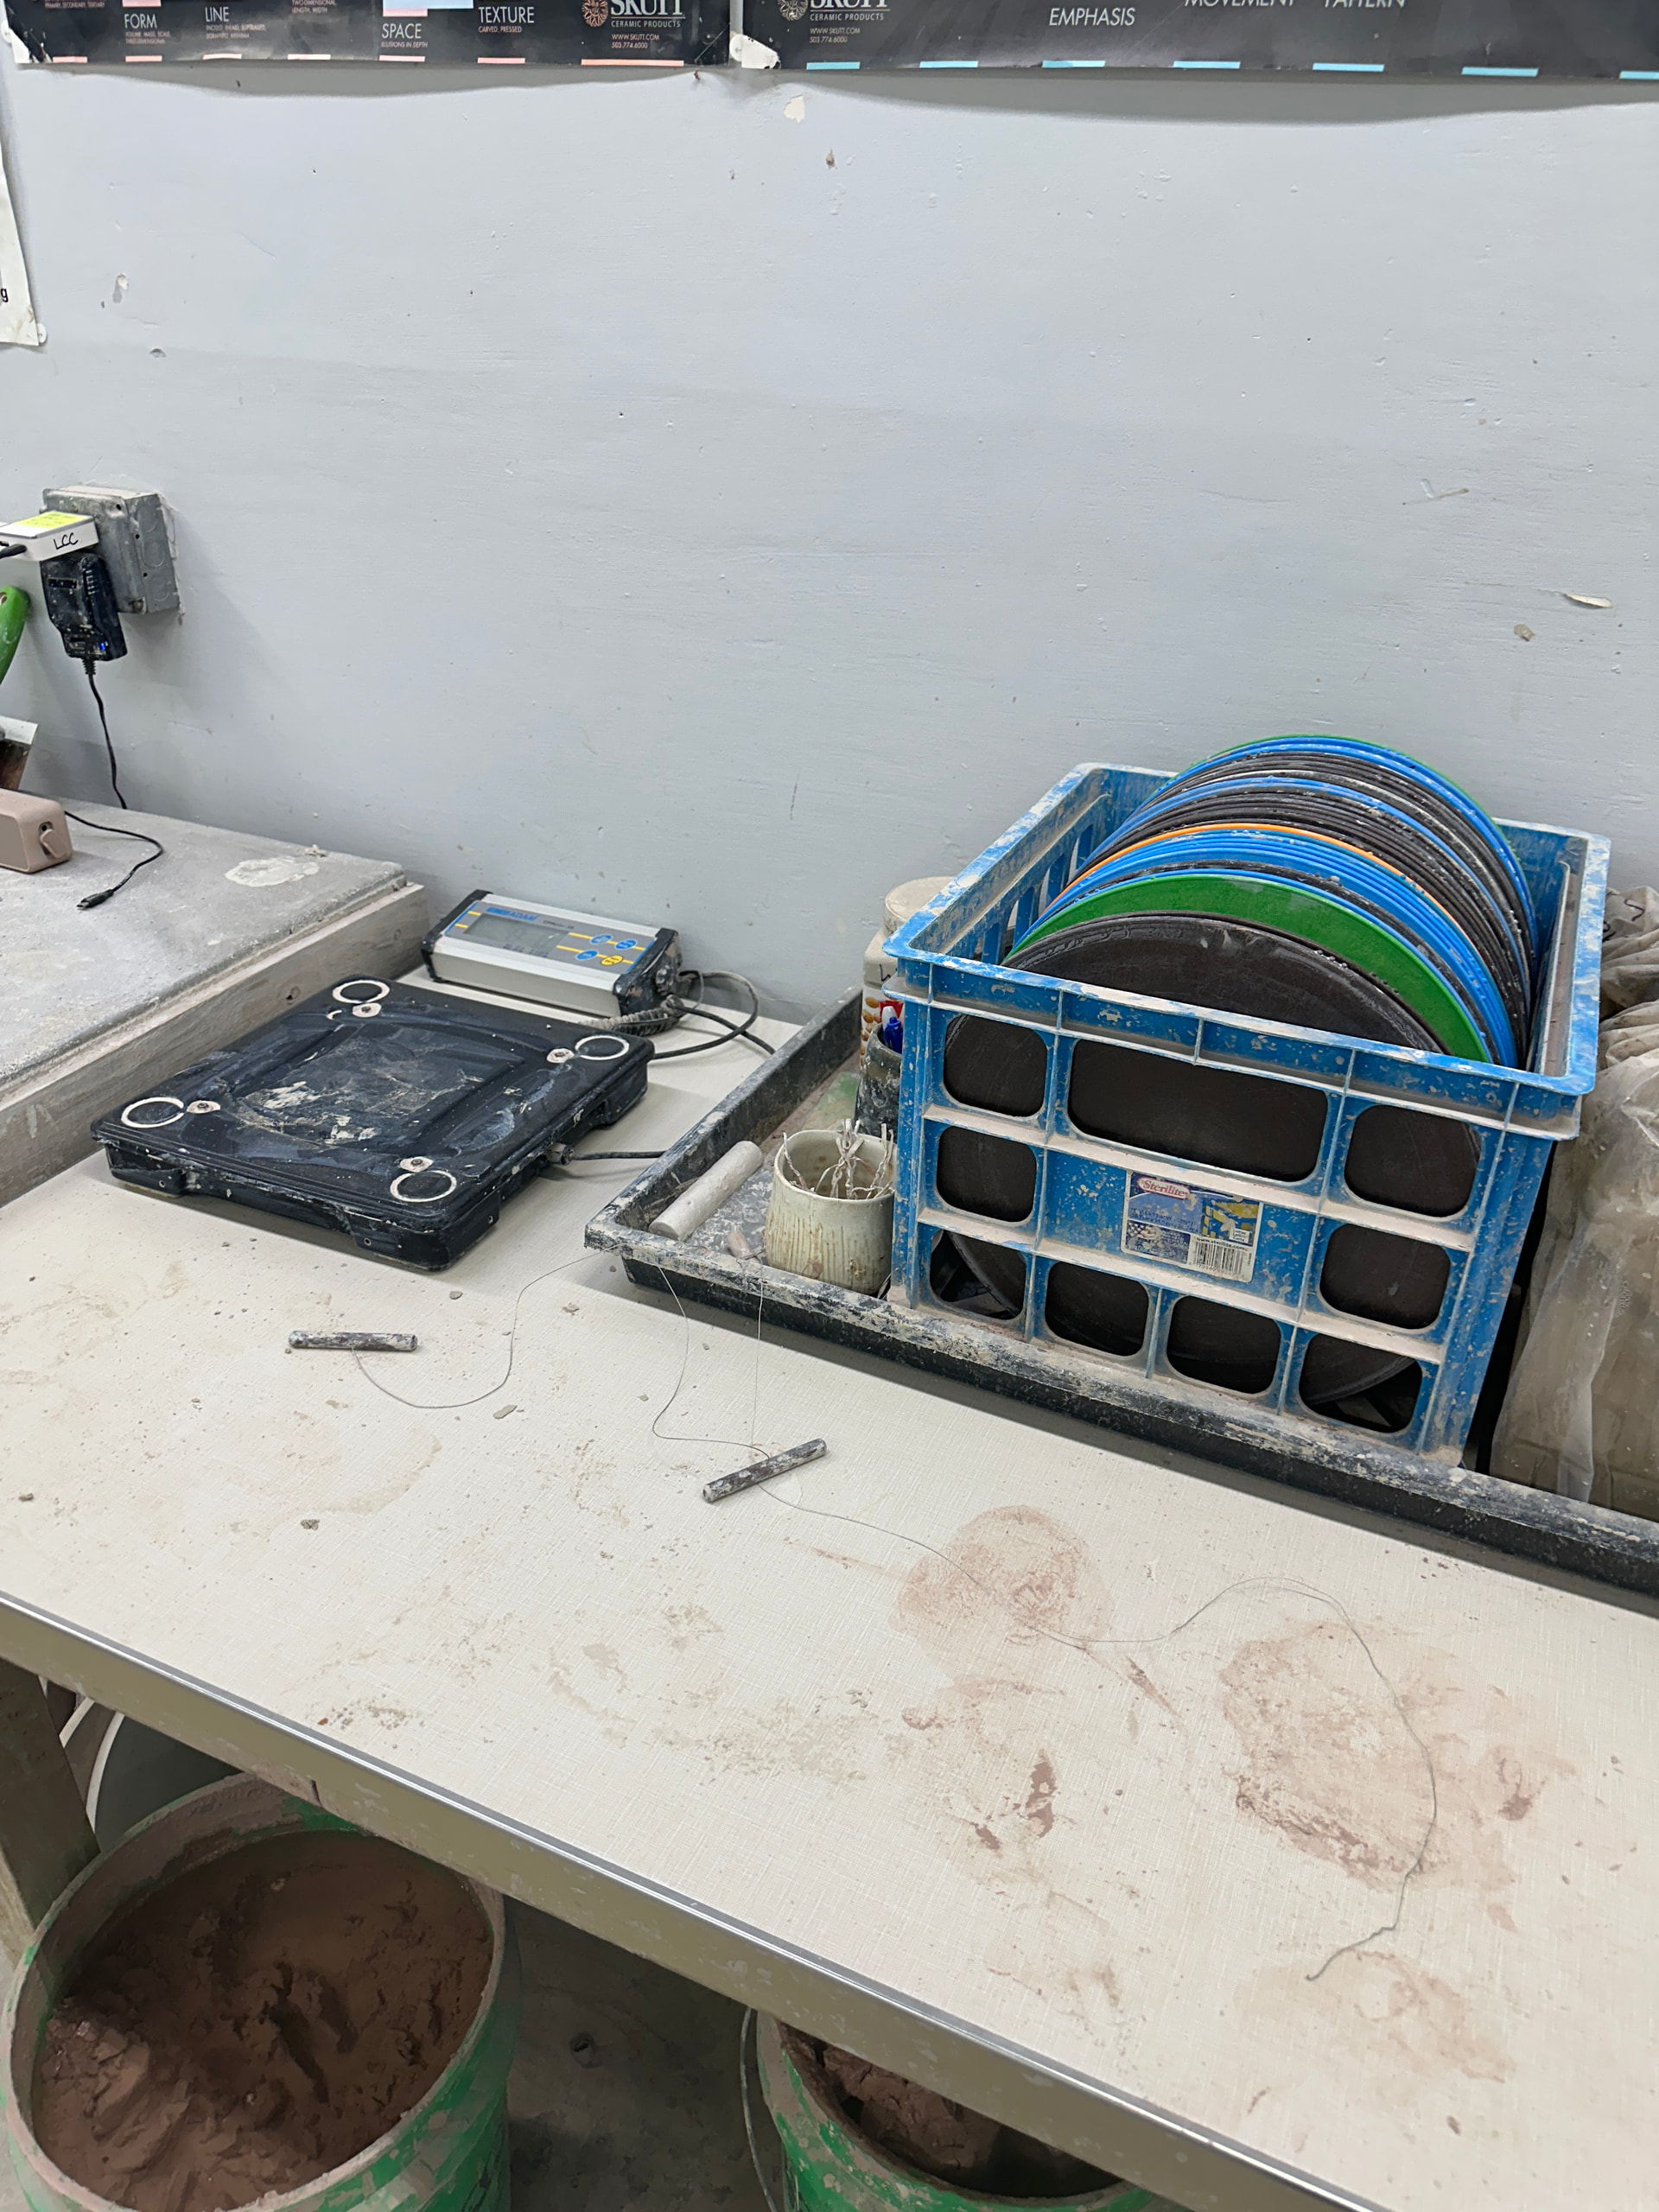
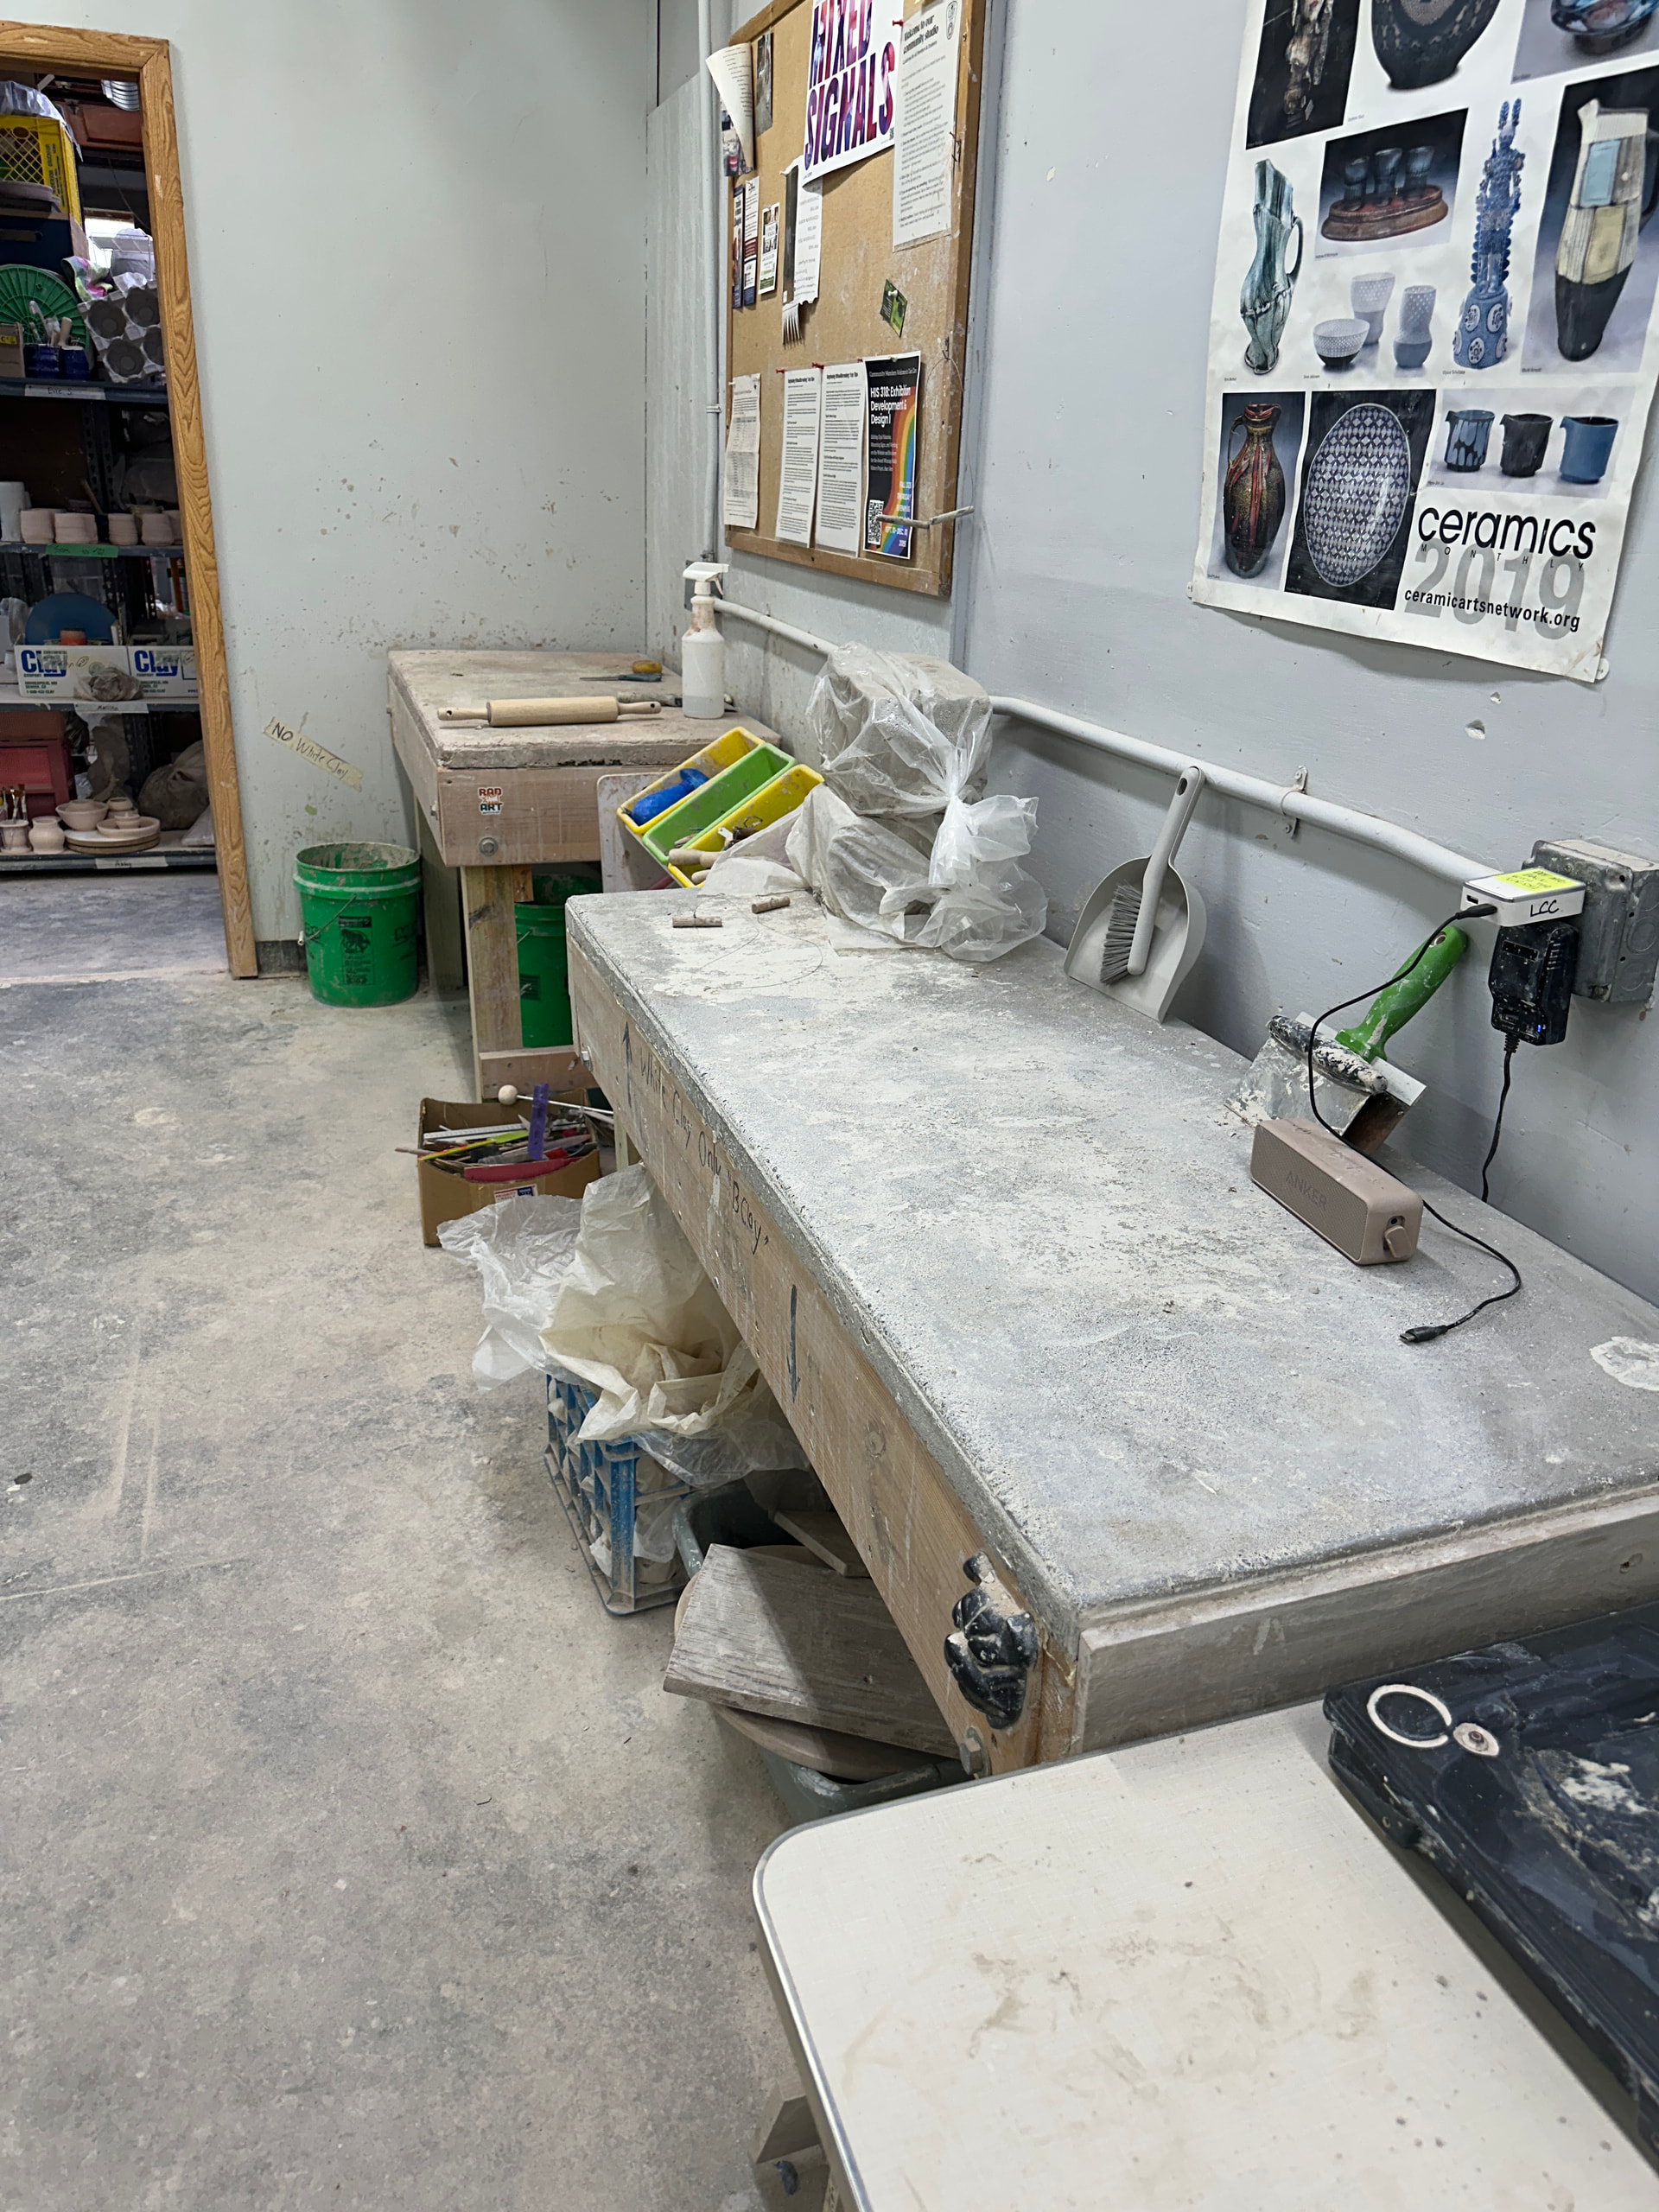
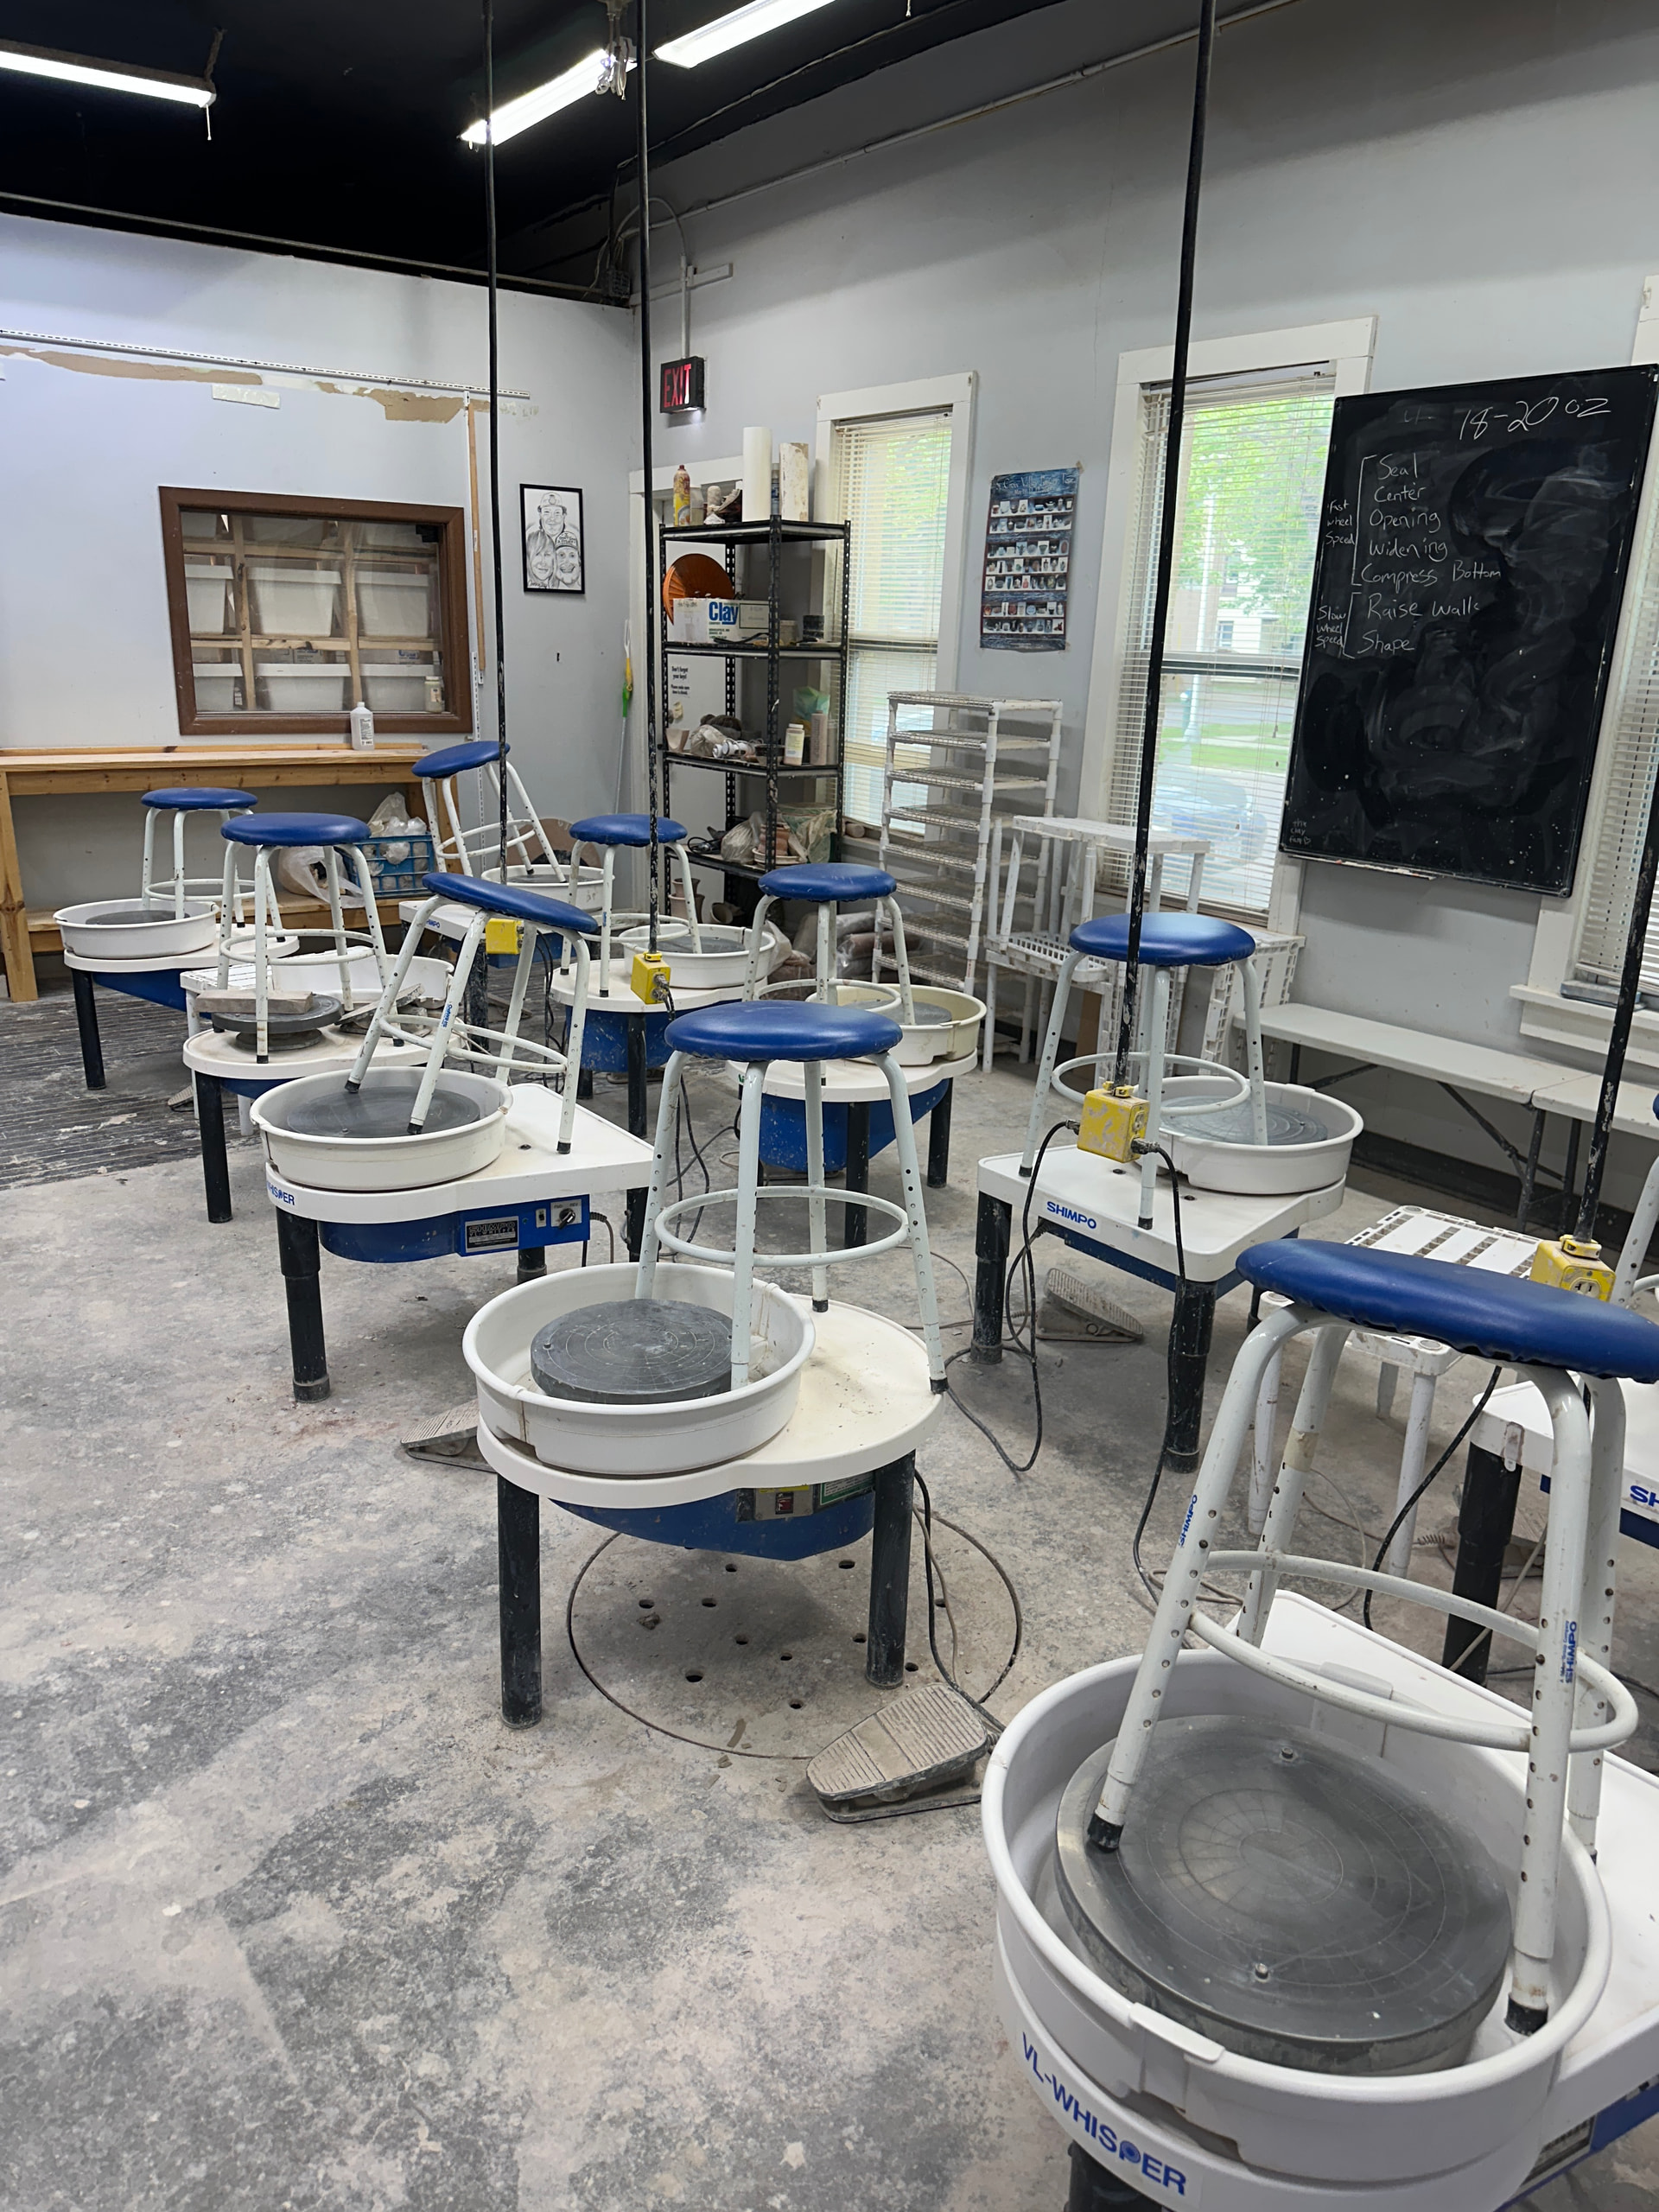
And this is the room with the wheels. Including areas to temporarily put your fresh work, reclaim buckets, two wedging tables, ware boards, tools, bats, and a scale for weighing the clay.
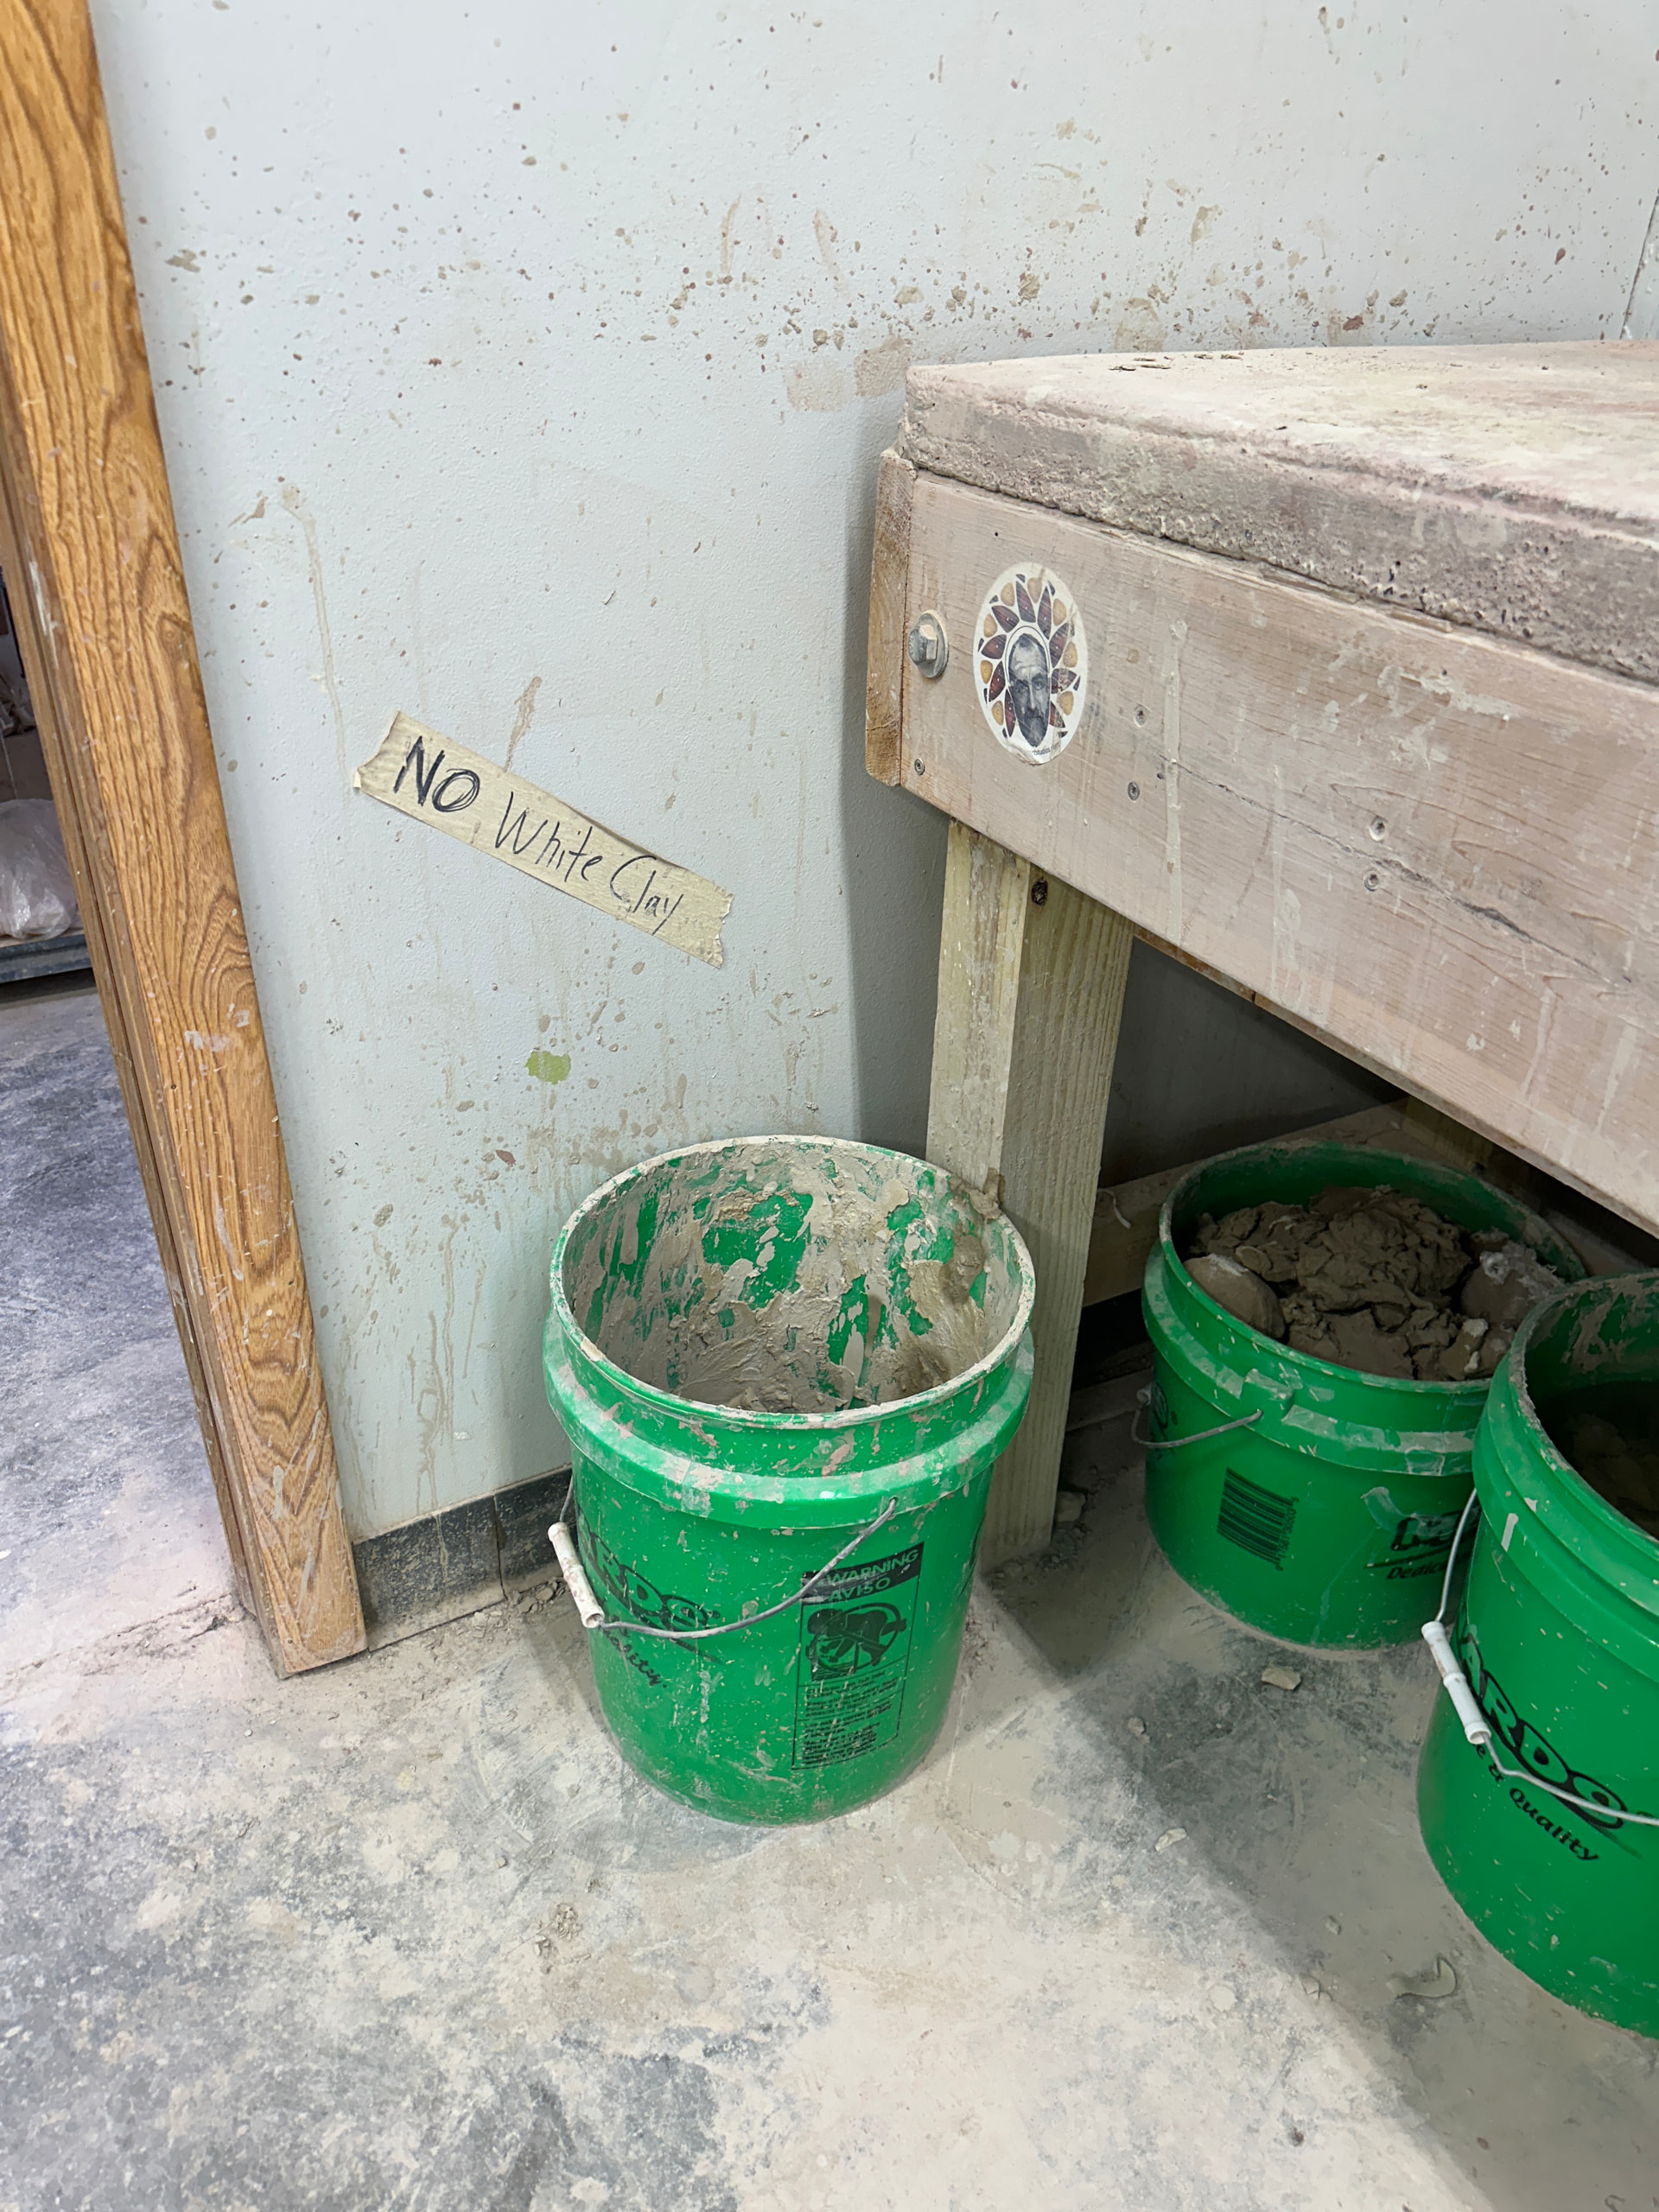
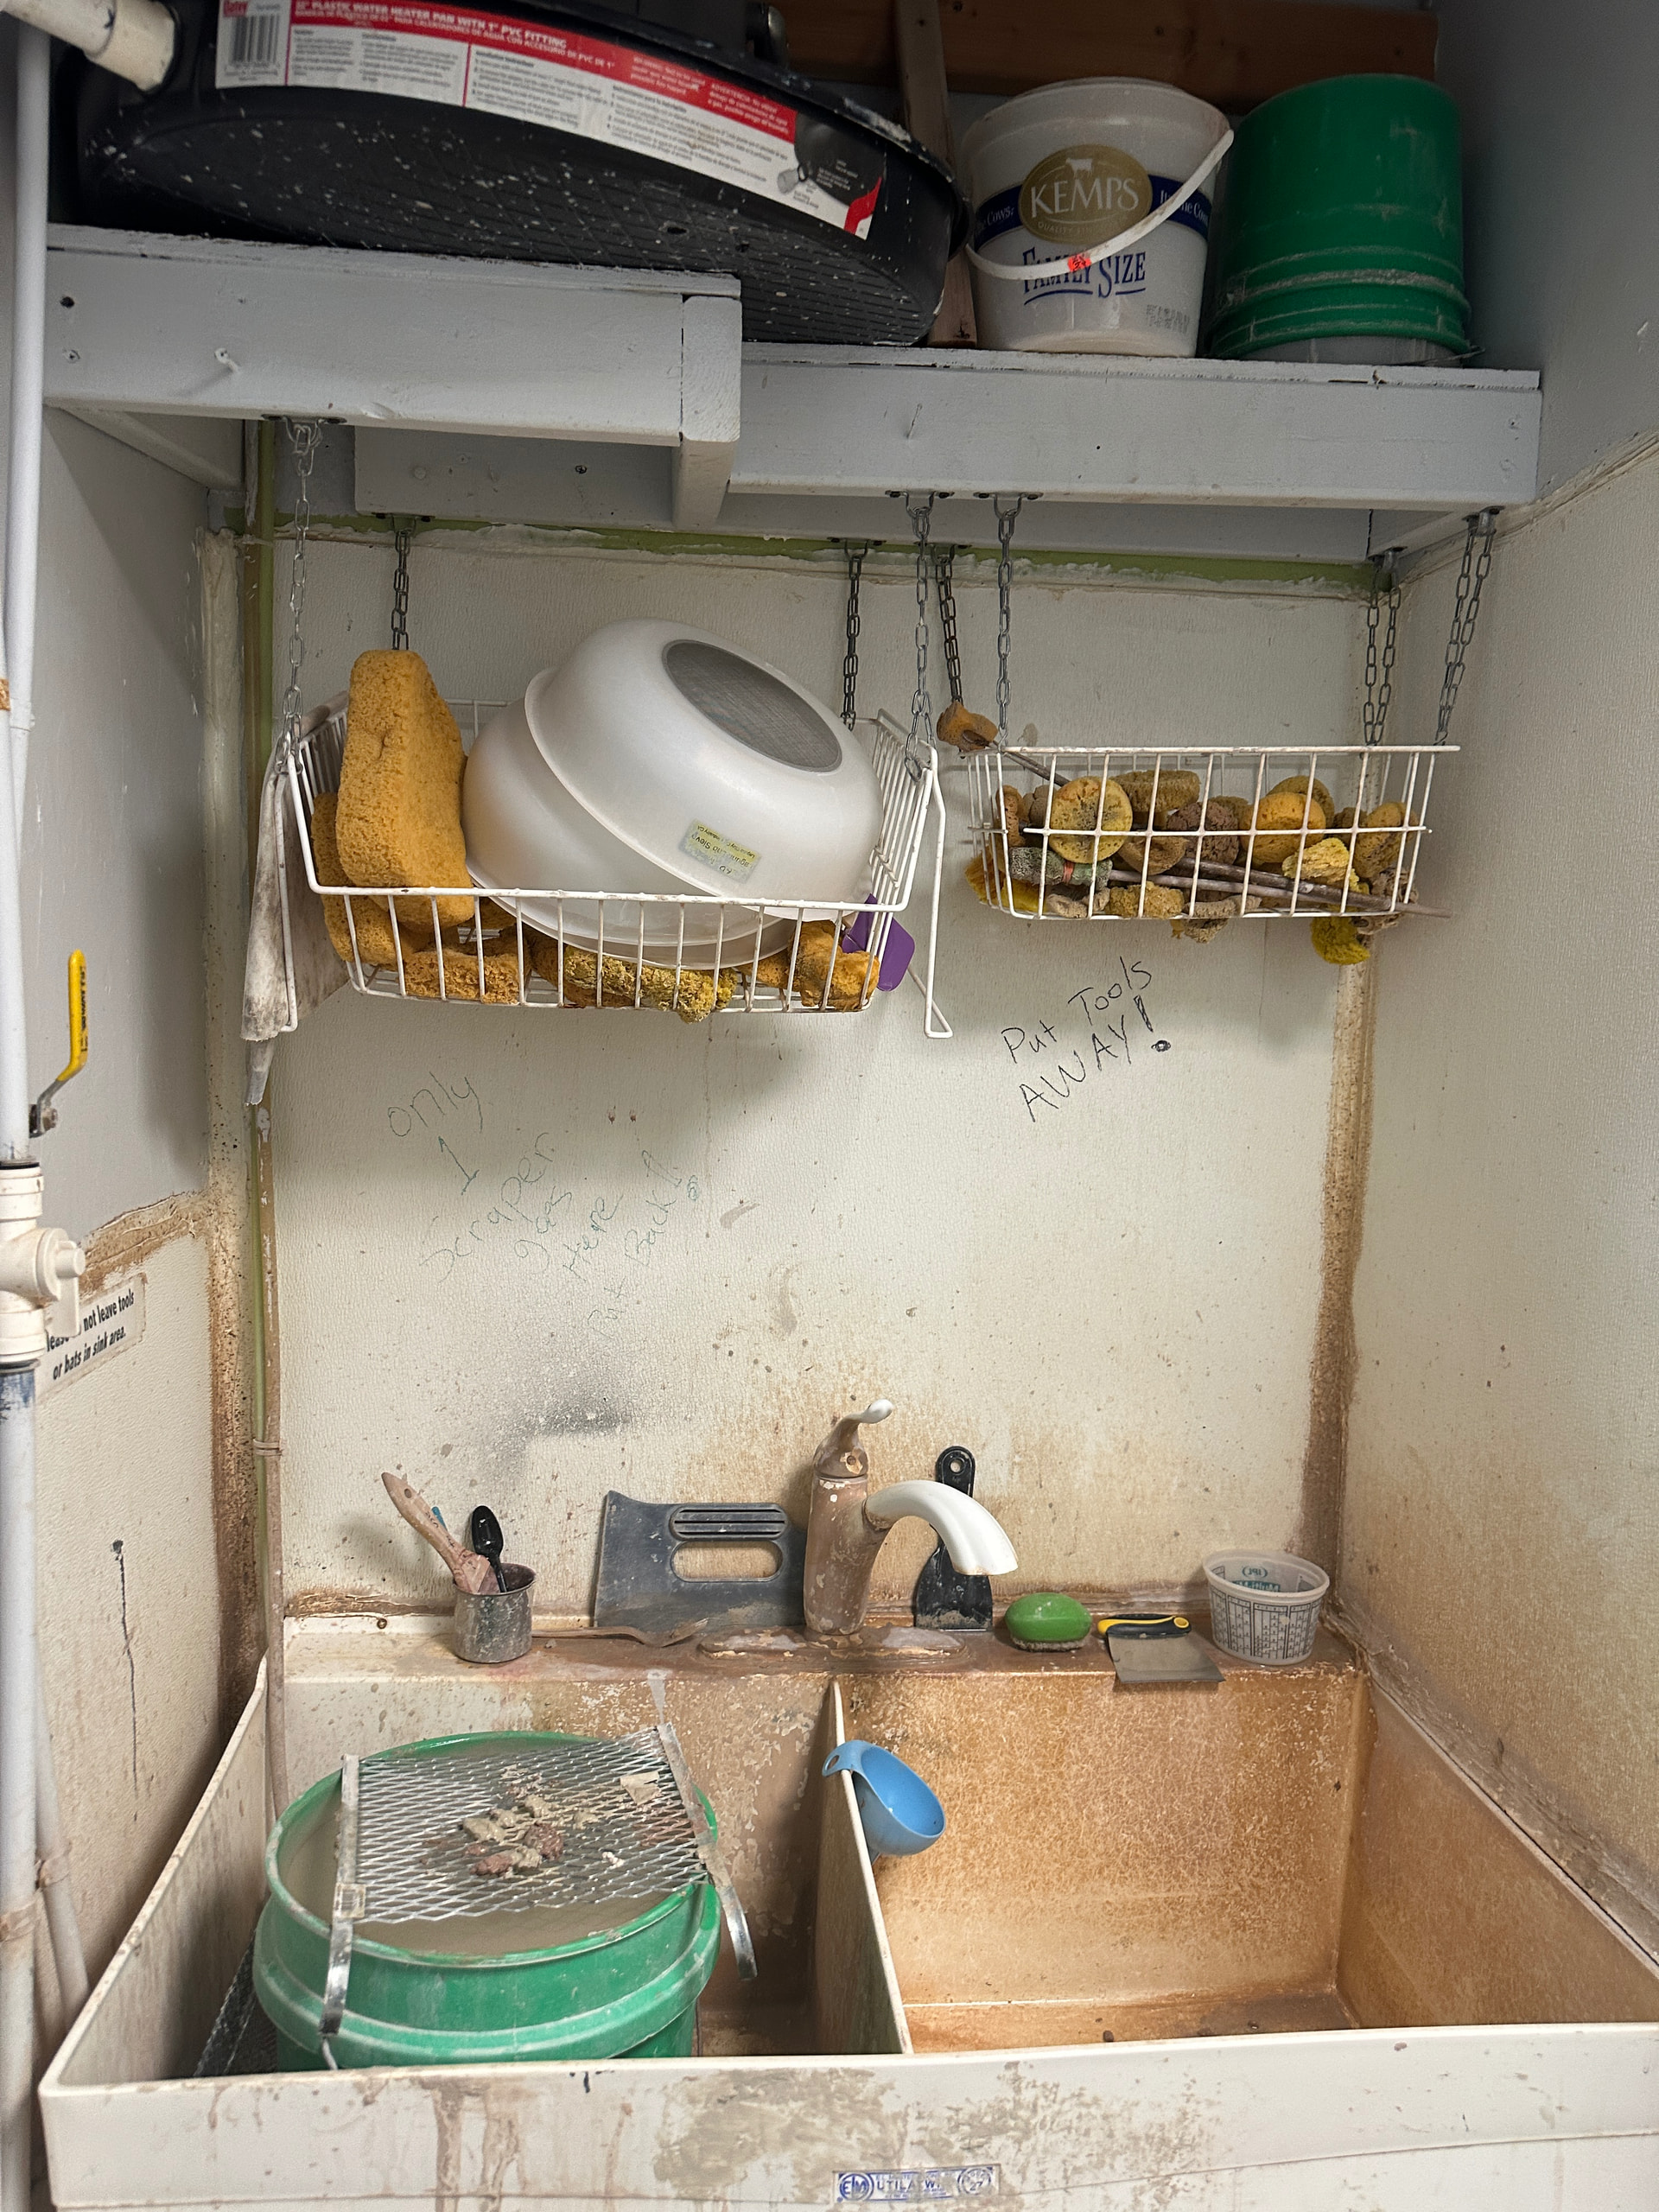
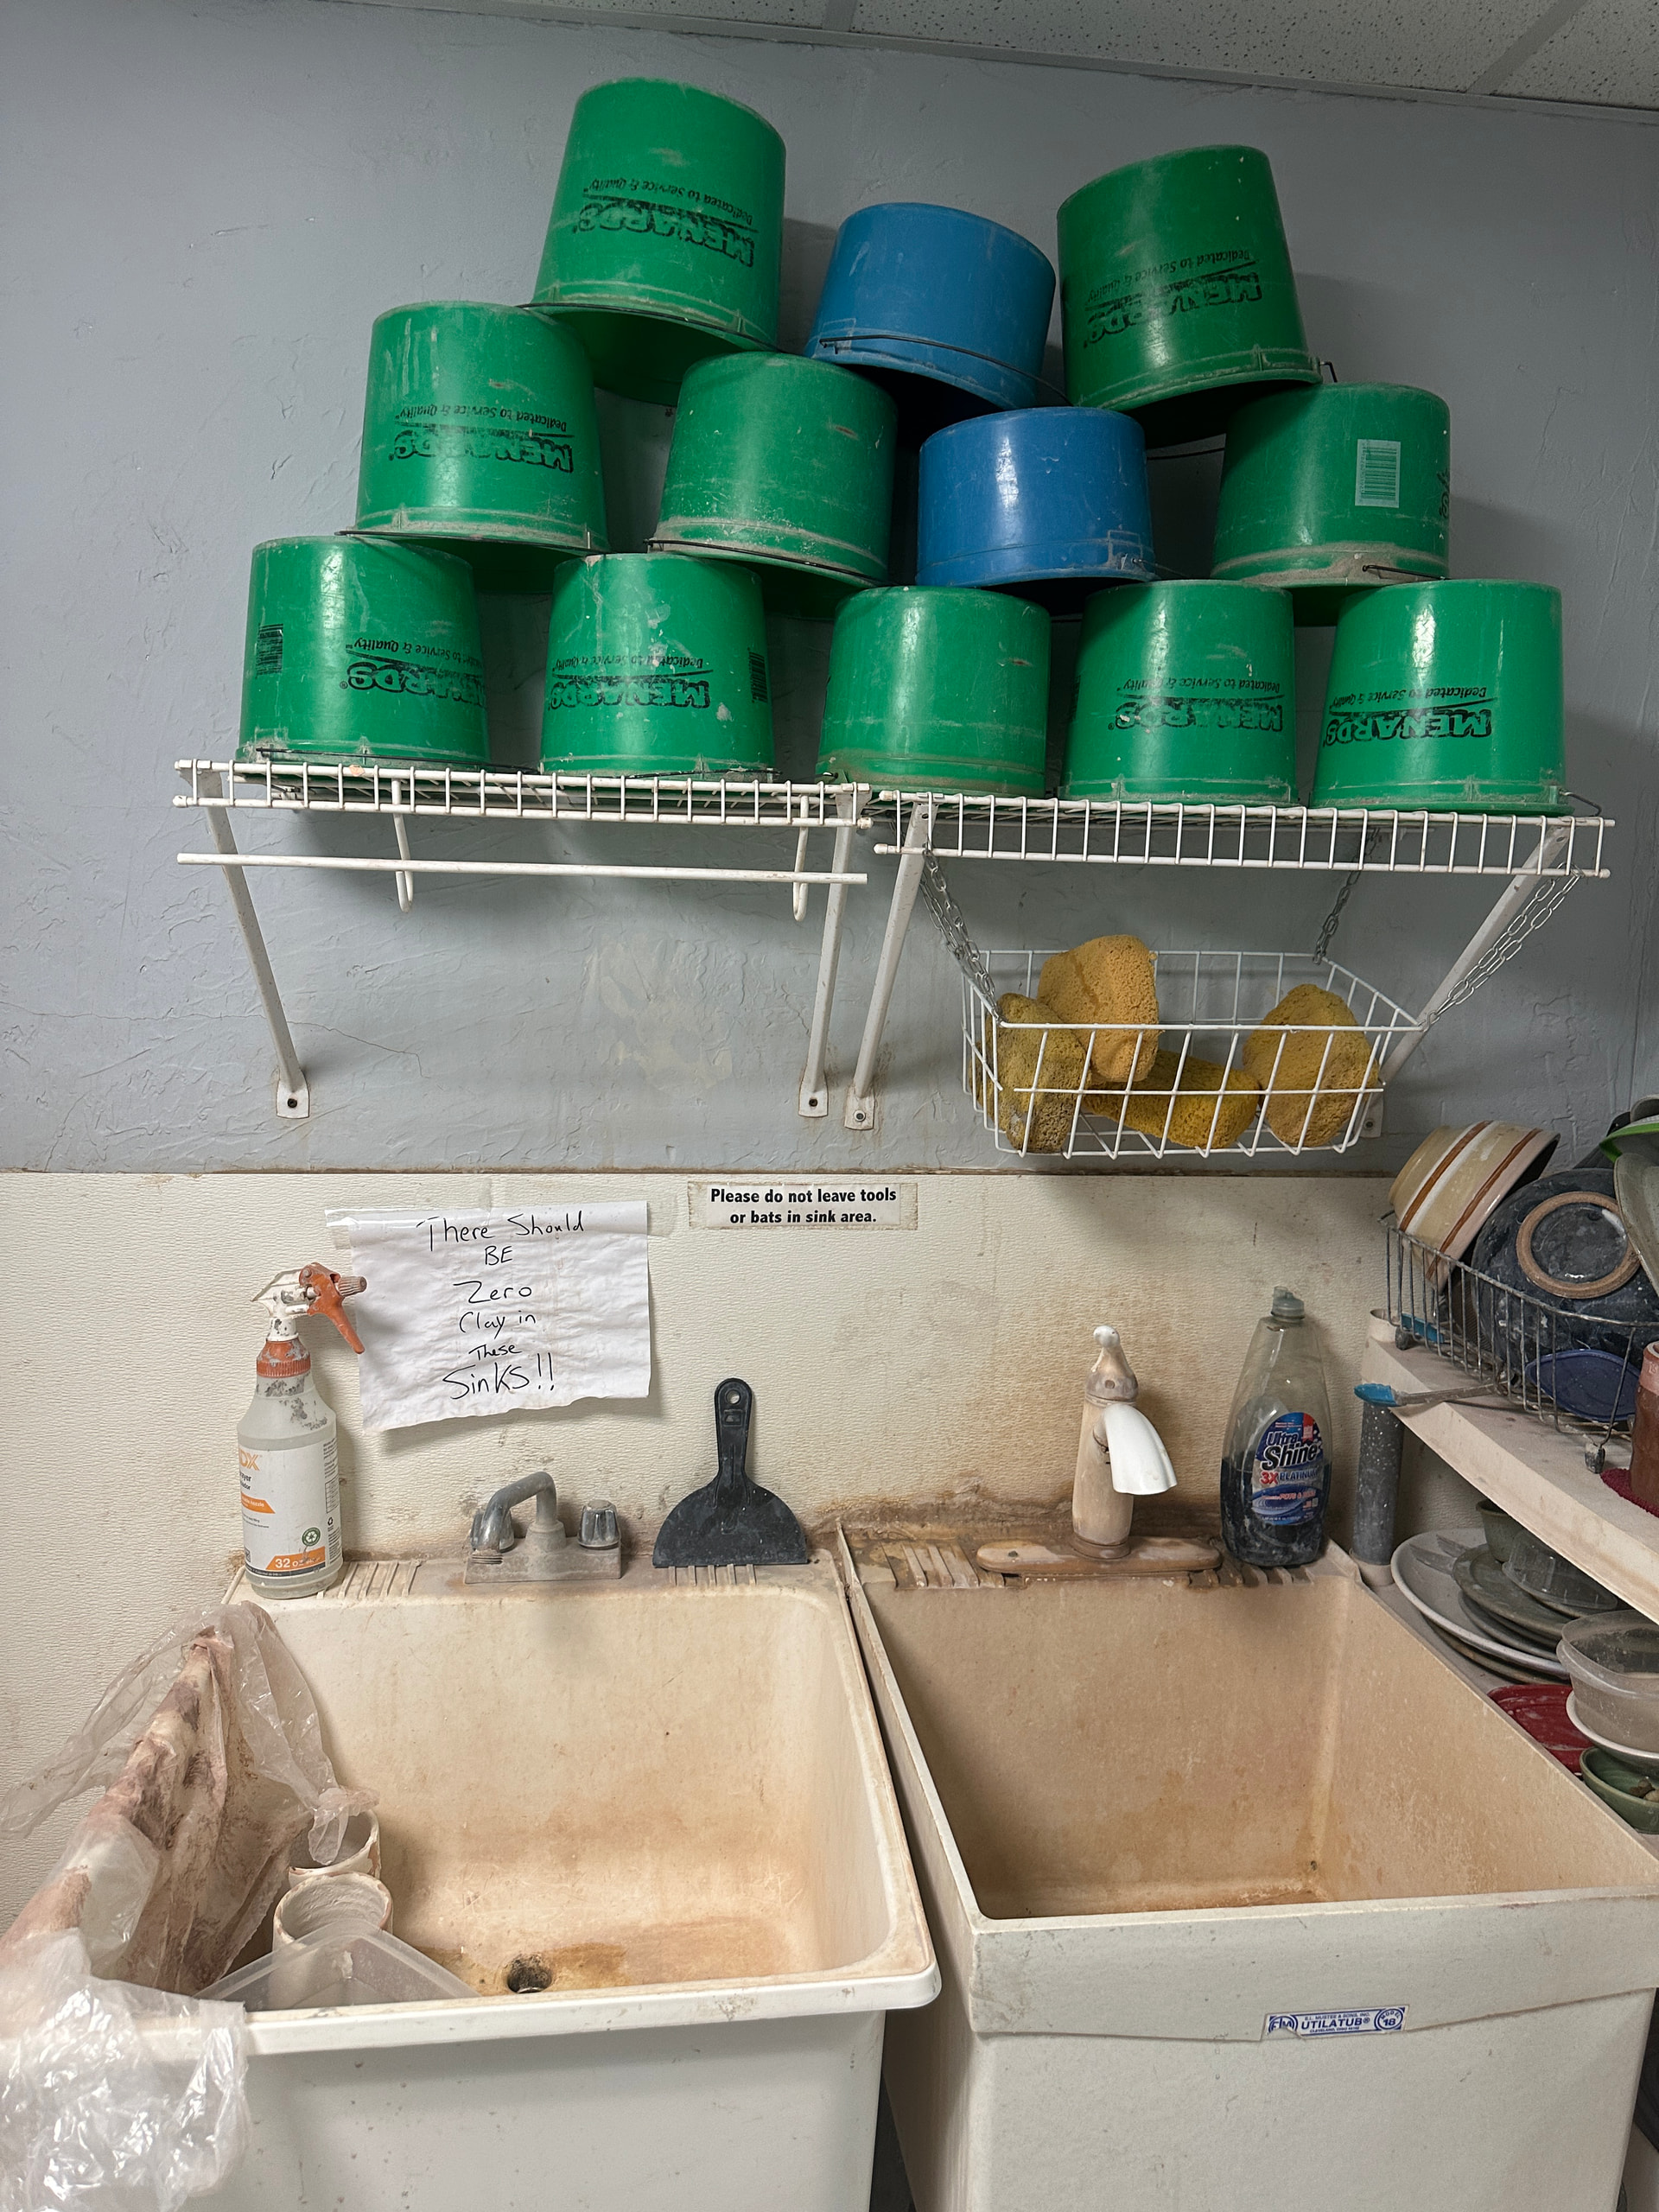
Sinks with buckets and sponges. Clean up area and a big bucket to dump your watery clay bucket into before going down the clay sink. The other sink no clay is allowed to go into.
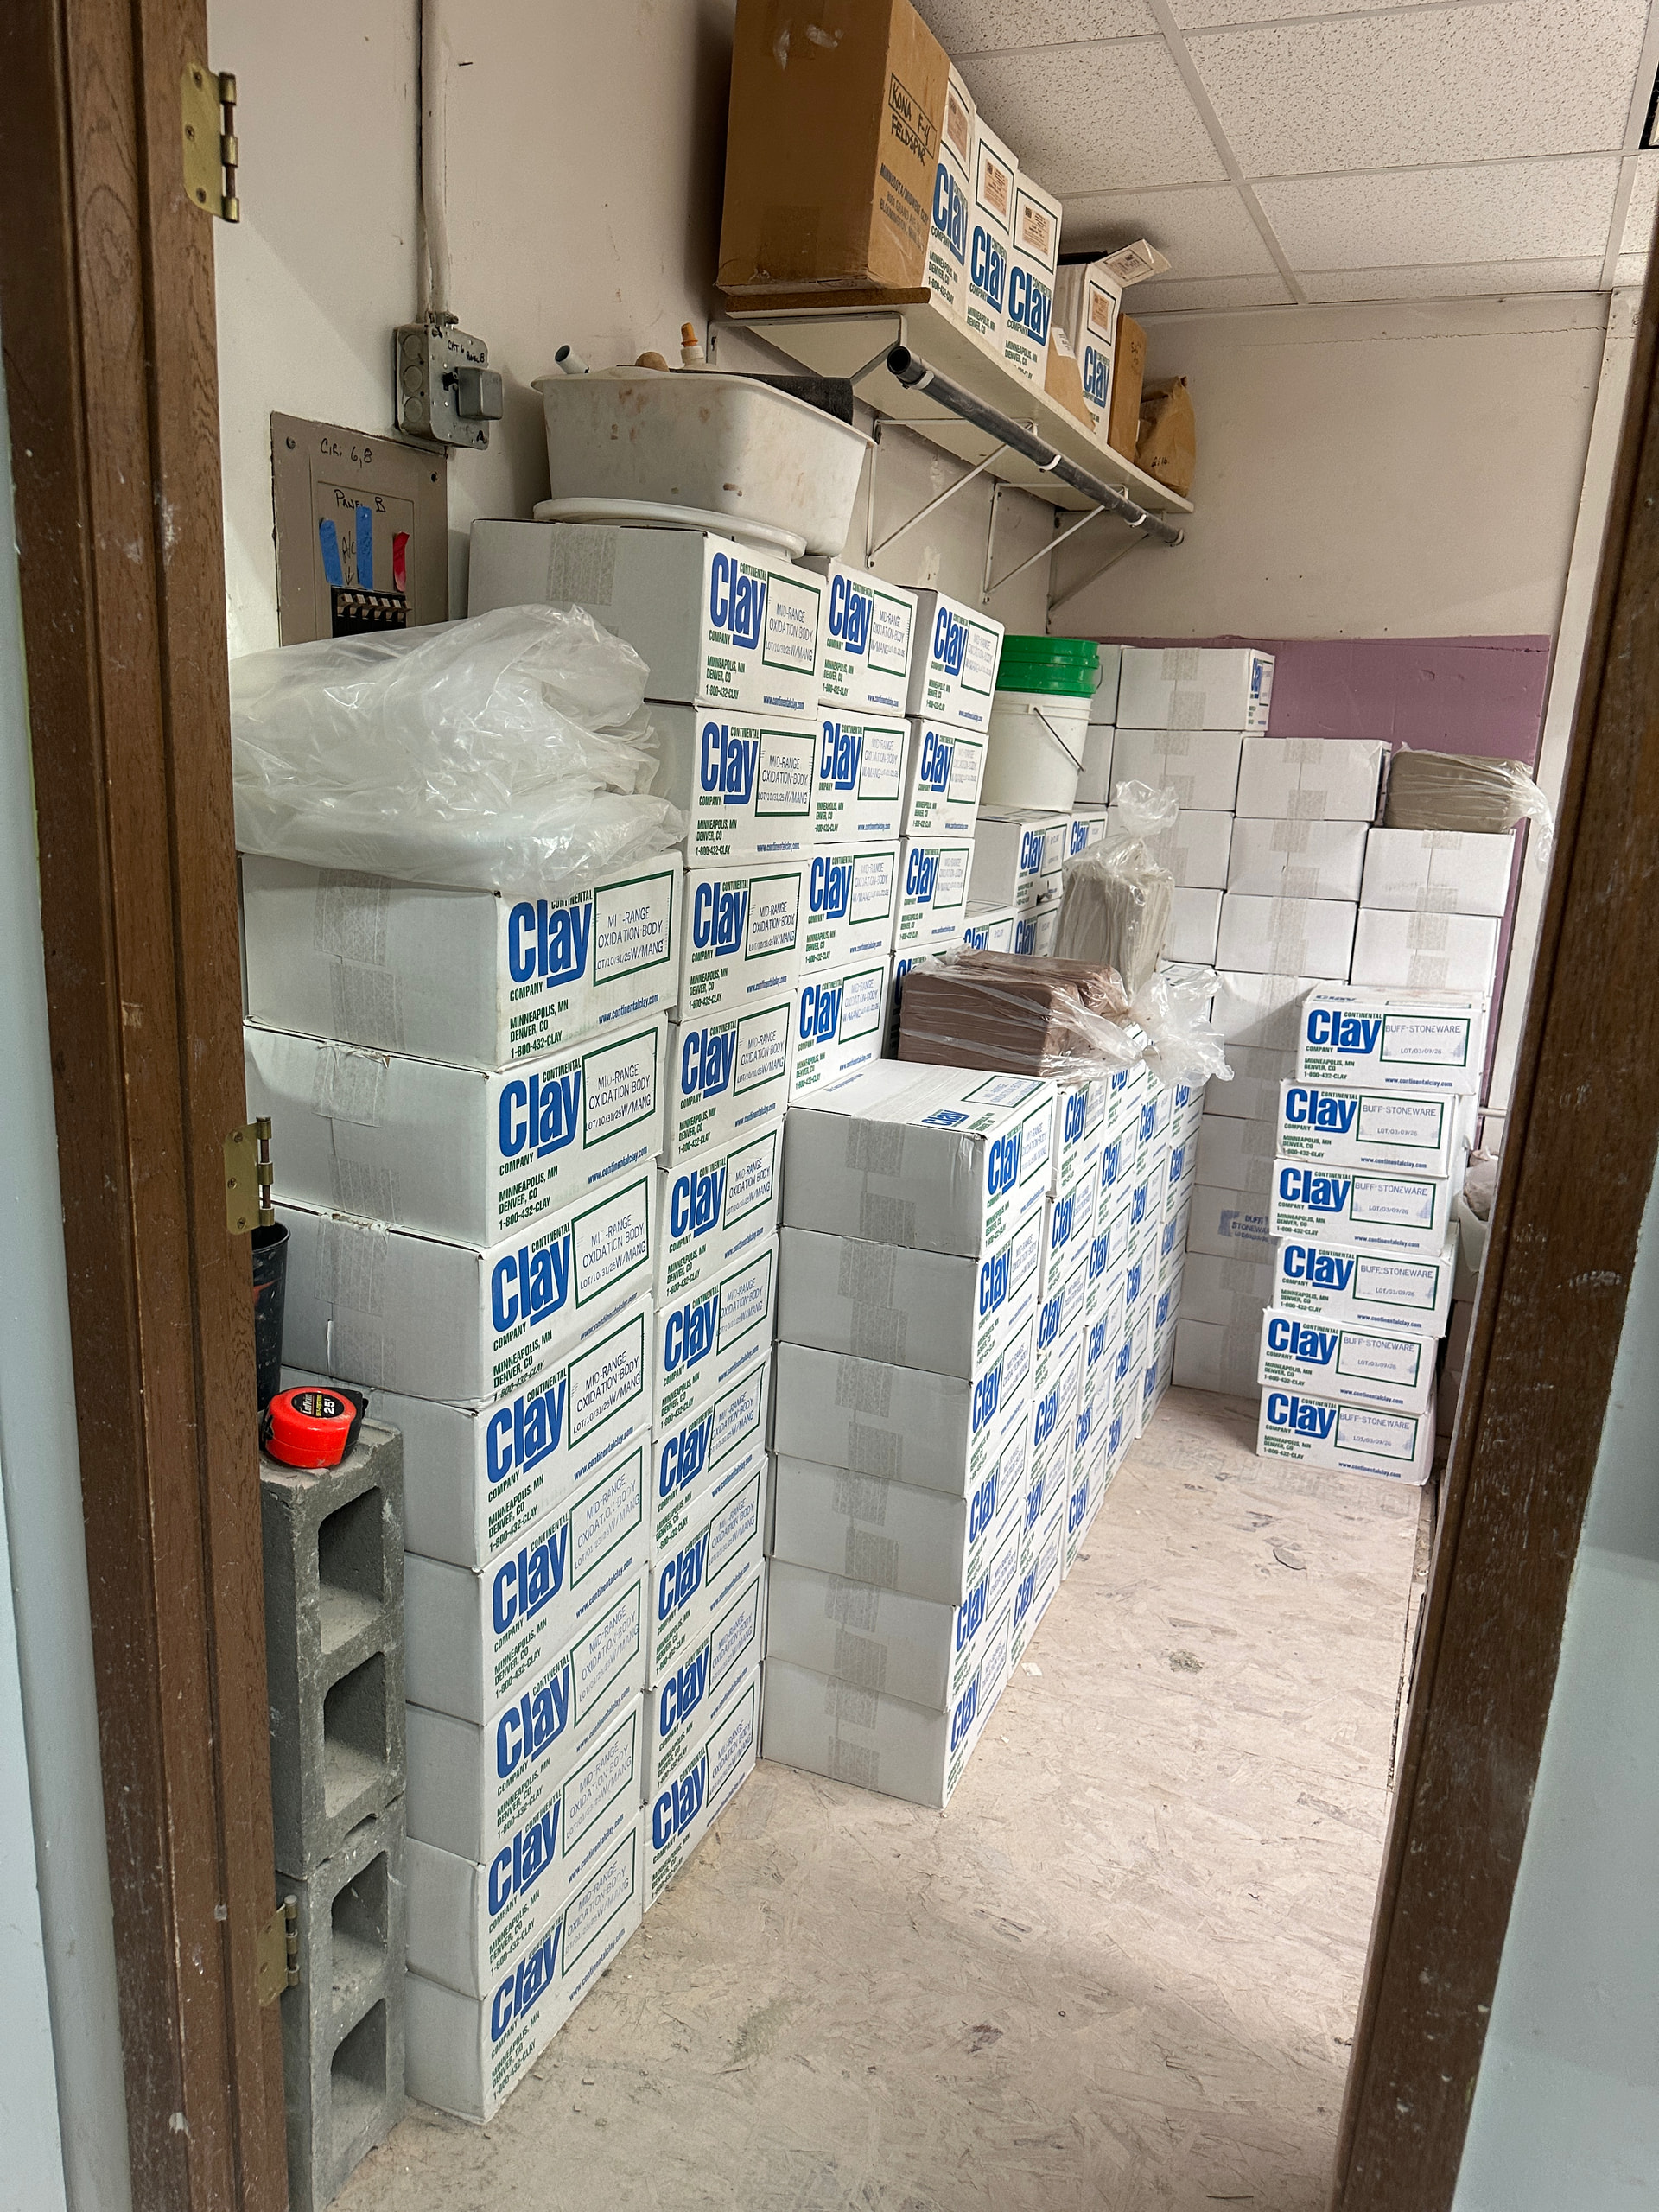
And finally the room with the clay. And the dry glazes are stored here prior to being mixed for use.
Awesome! Thanks for all the pictures and descriptions, that’s great!
1 Like